Model Windmills:
A Traditional windmill:

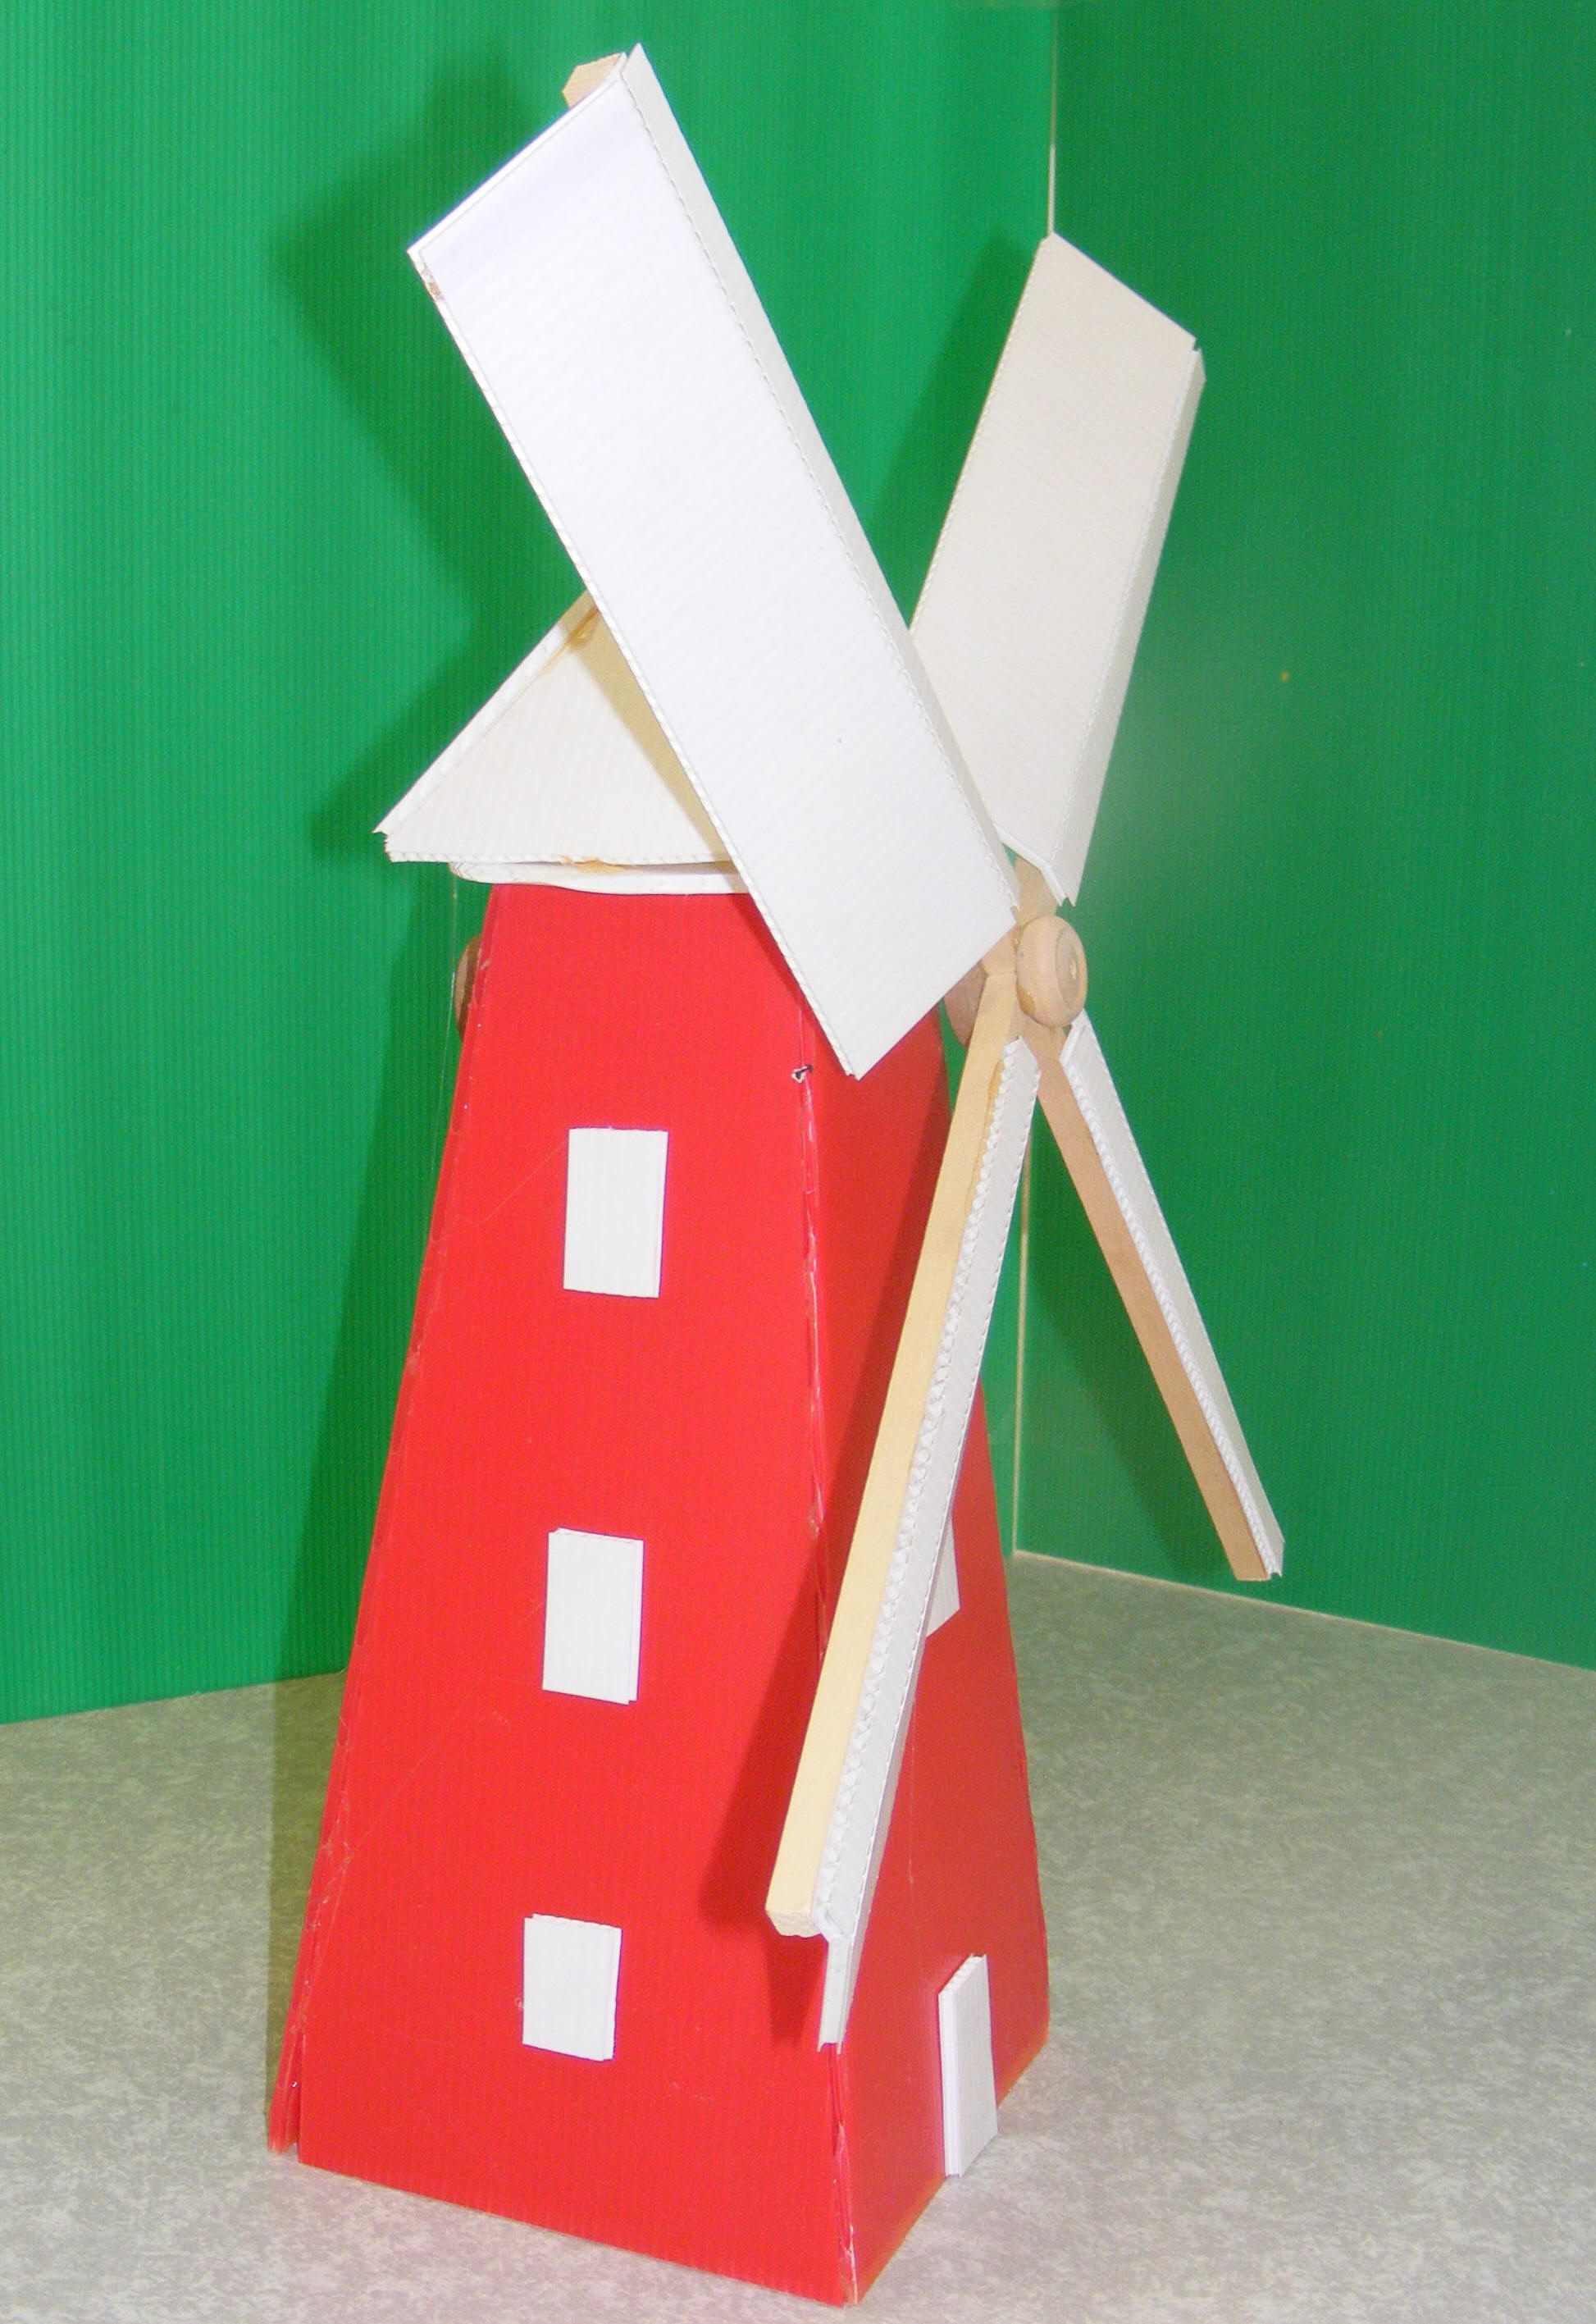
This model of a 'traditional' windmill is made of correx and turns easily about 1.5 metres from a domestic electric fan on 'medium' power setting. The sails are angled by scoring and bending the strips of correx. I scored 'across' the 'grain' of the flutes in the correx. The sails are glued onto pieces of C100 square section wood about 30cm long. The 4 pieces of wood are glued onto a large MDF wheel (W106) fitted with a length of 5mm wood dowel (C095). This slides into a plastic jumbo straw slotted through the windmill body at a slight angle. A small W100 wheel is glued on the front for added strength. The model is about 50cm high.
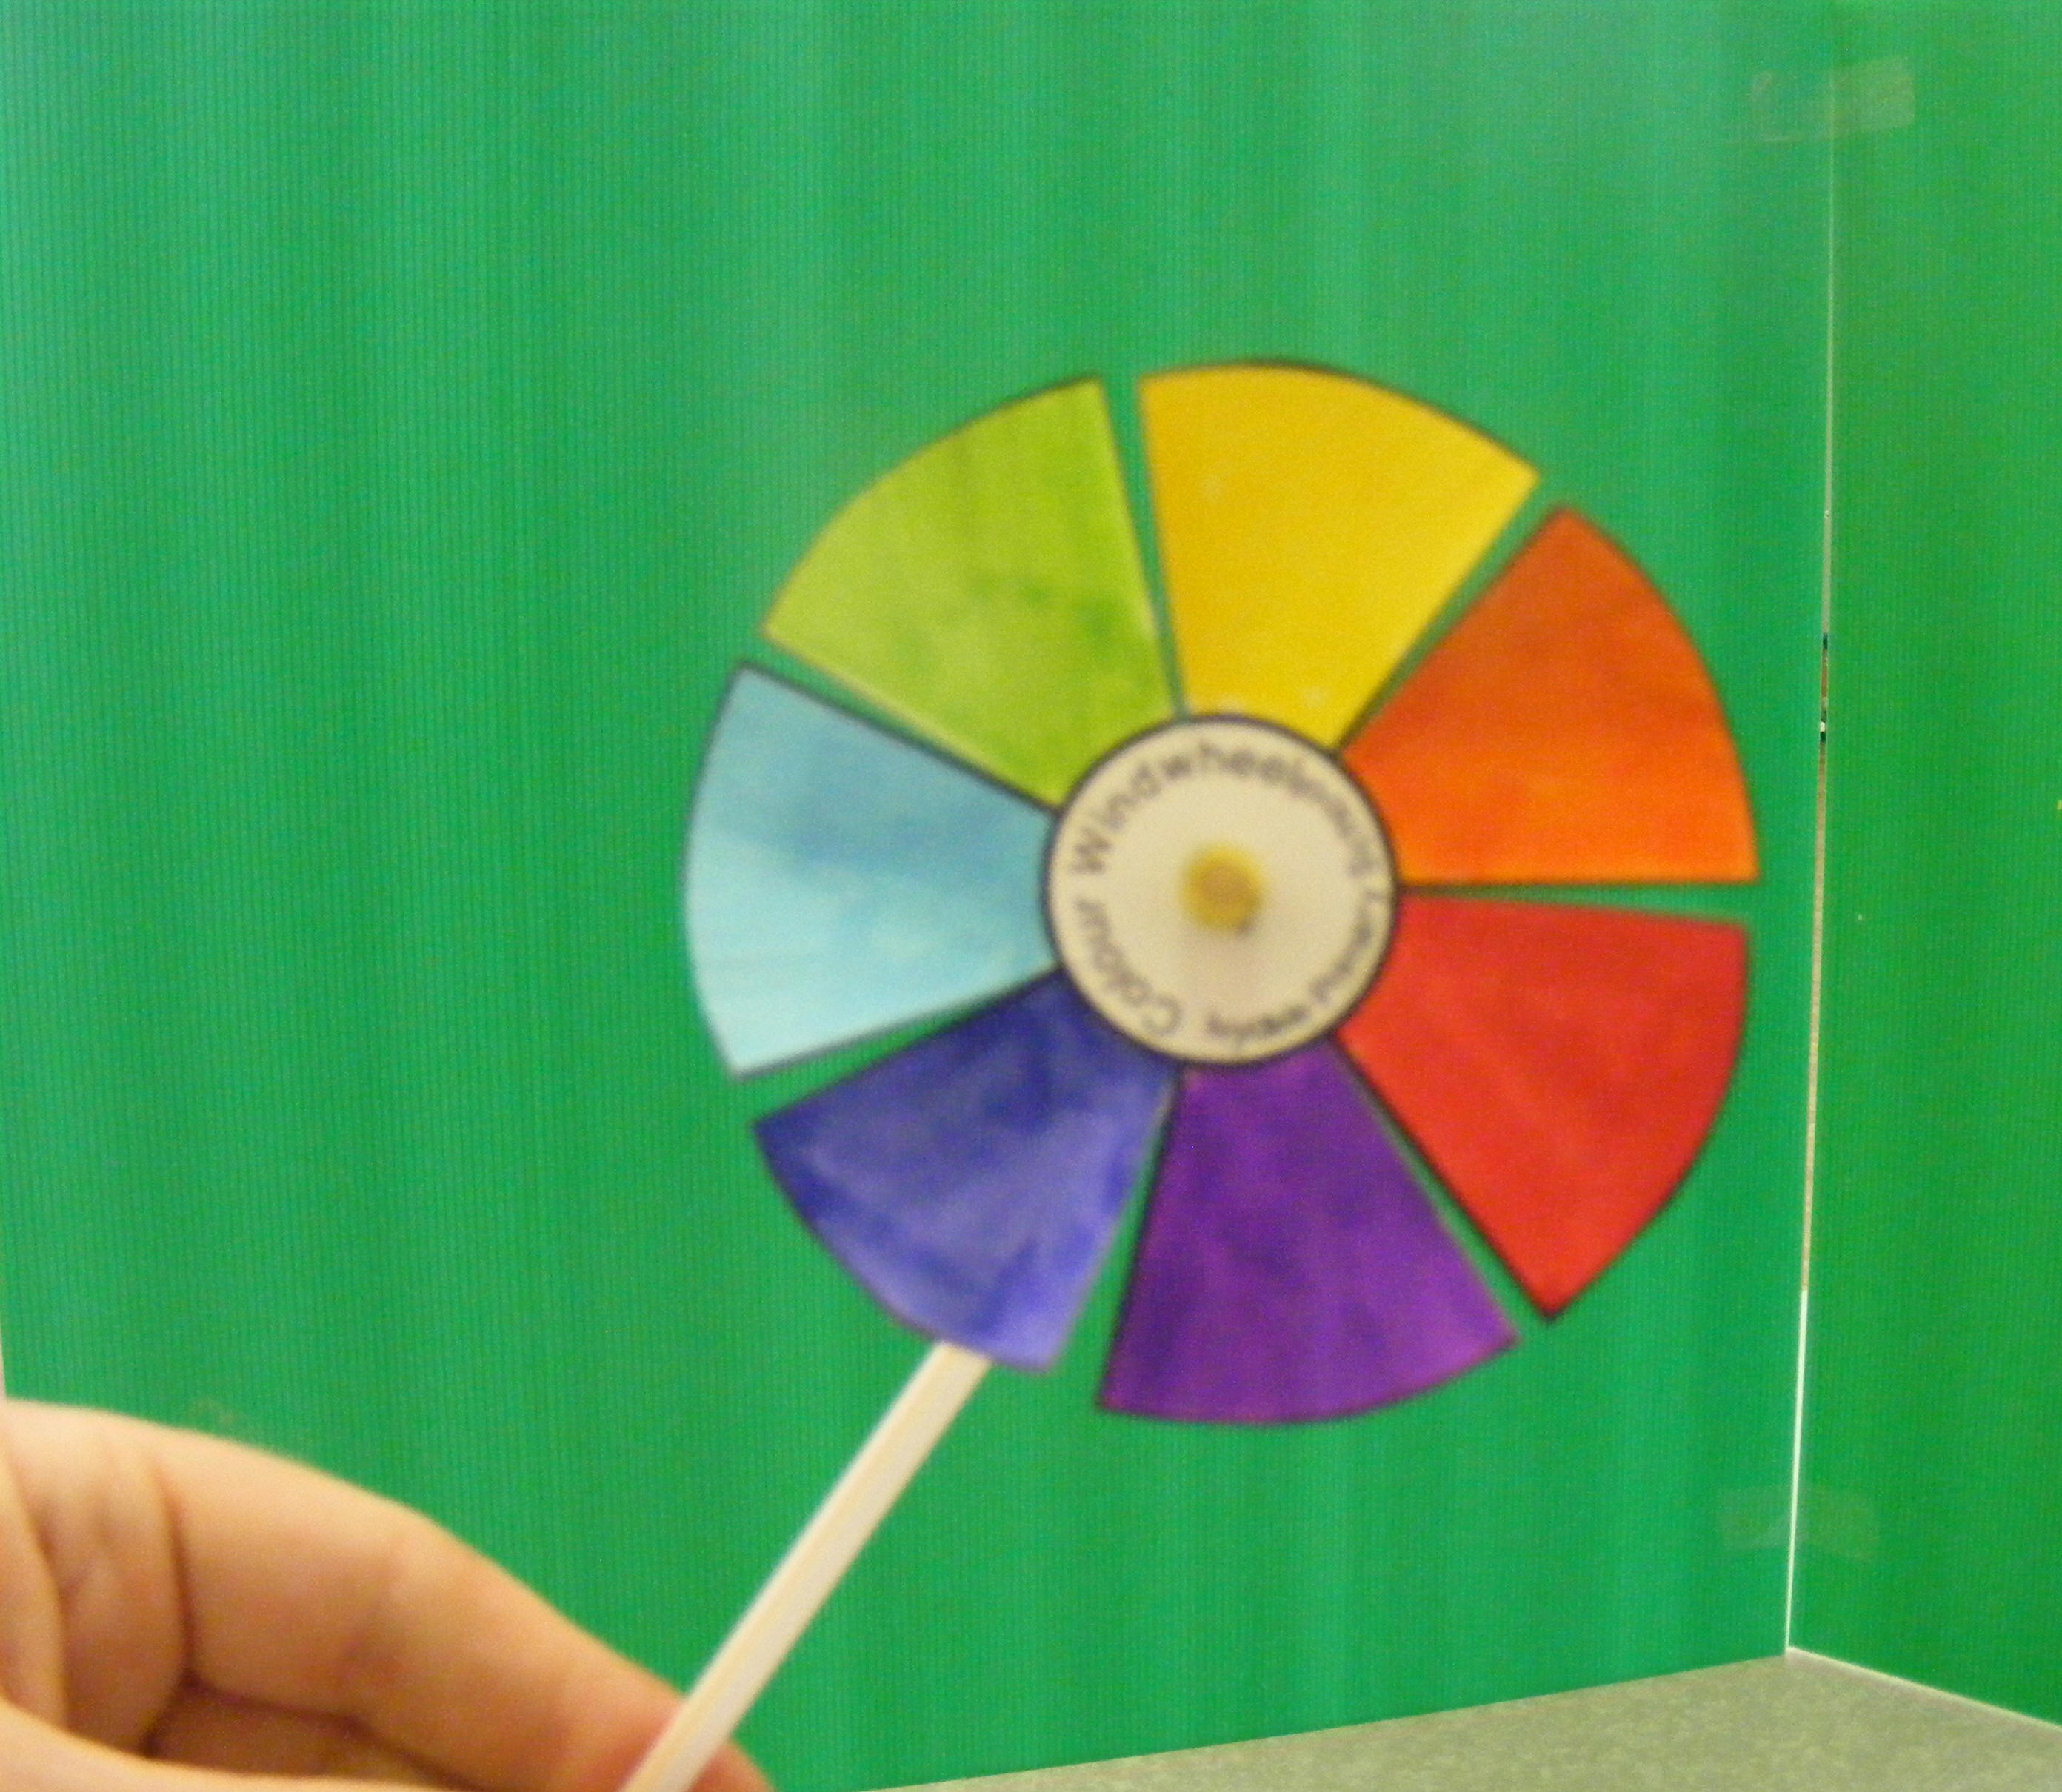
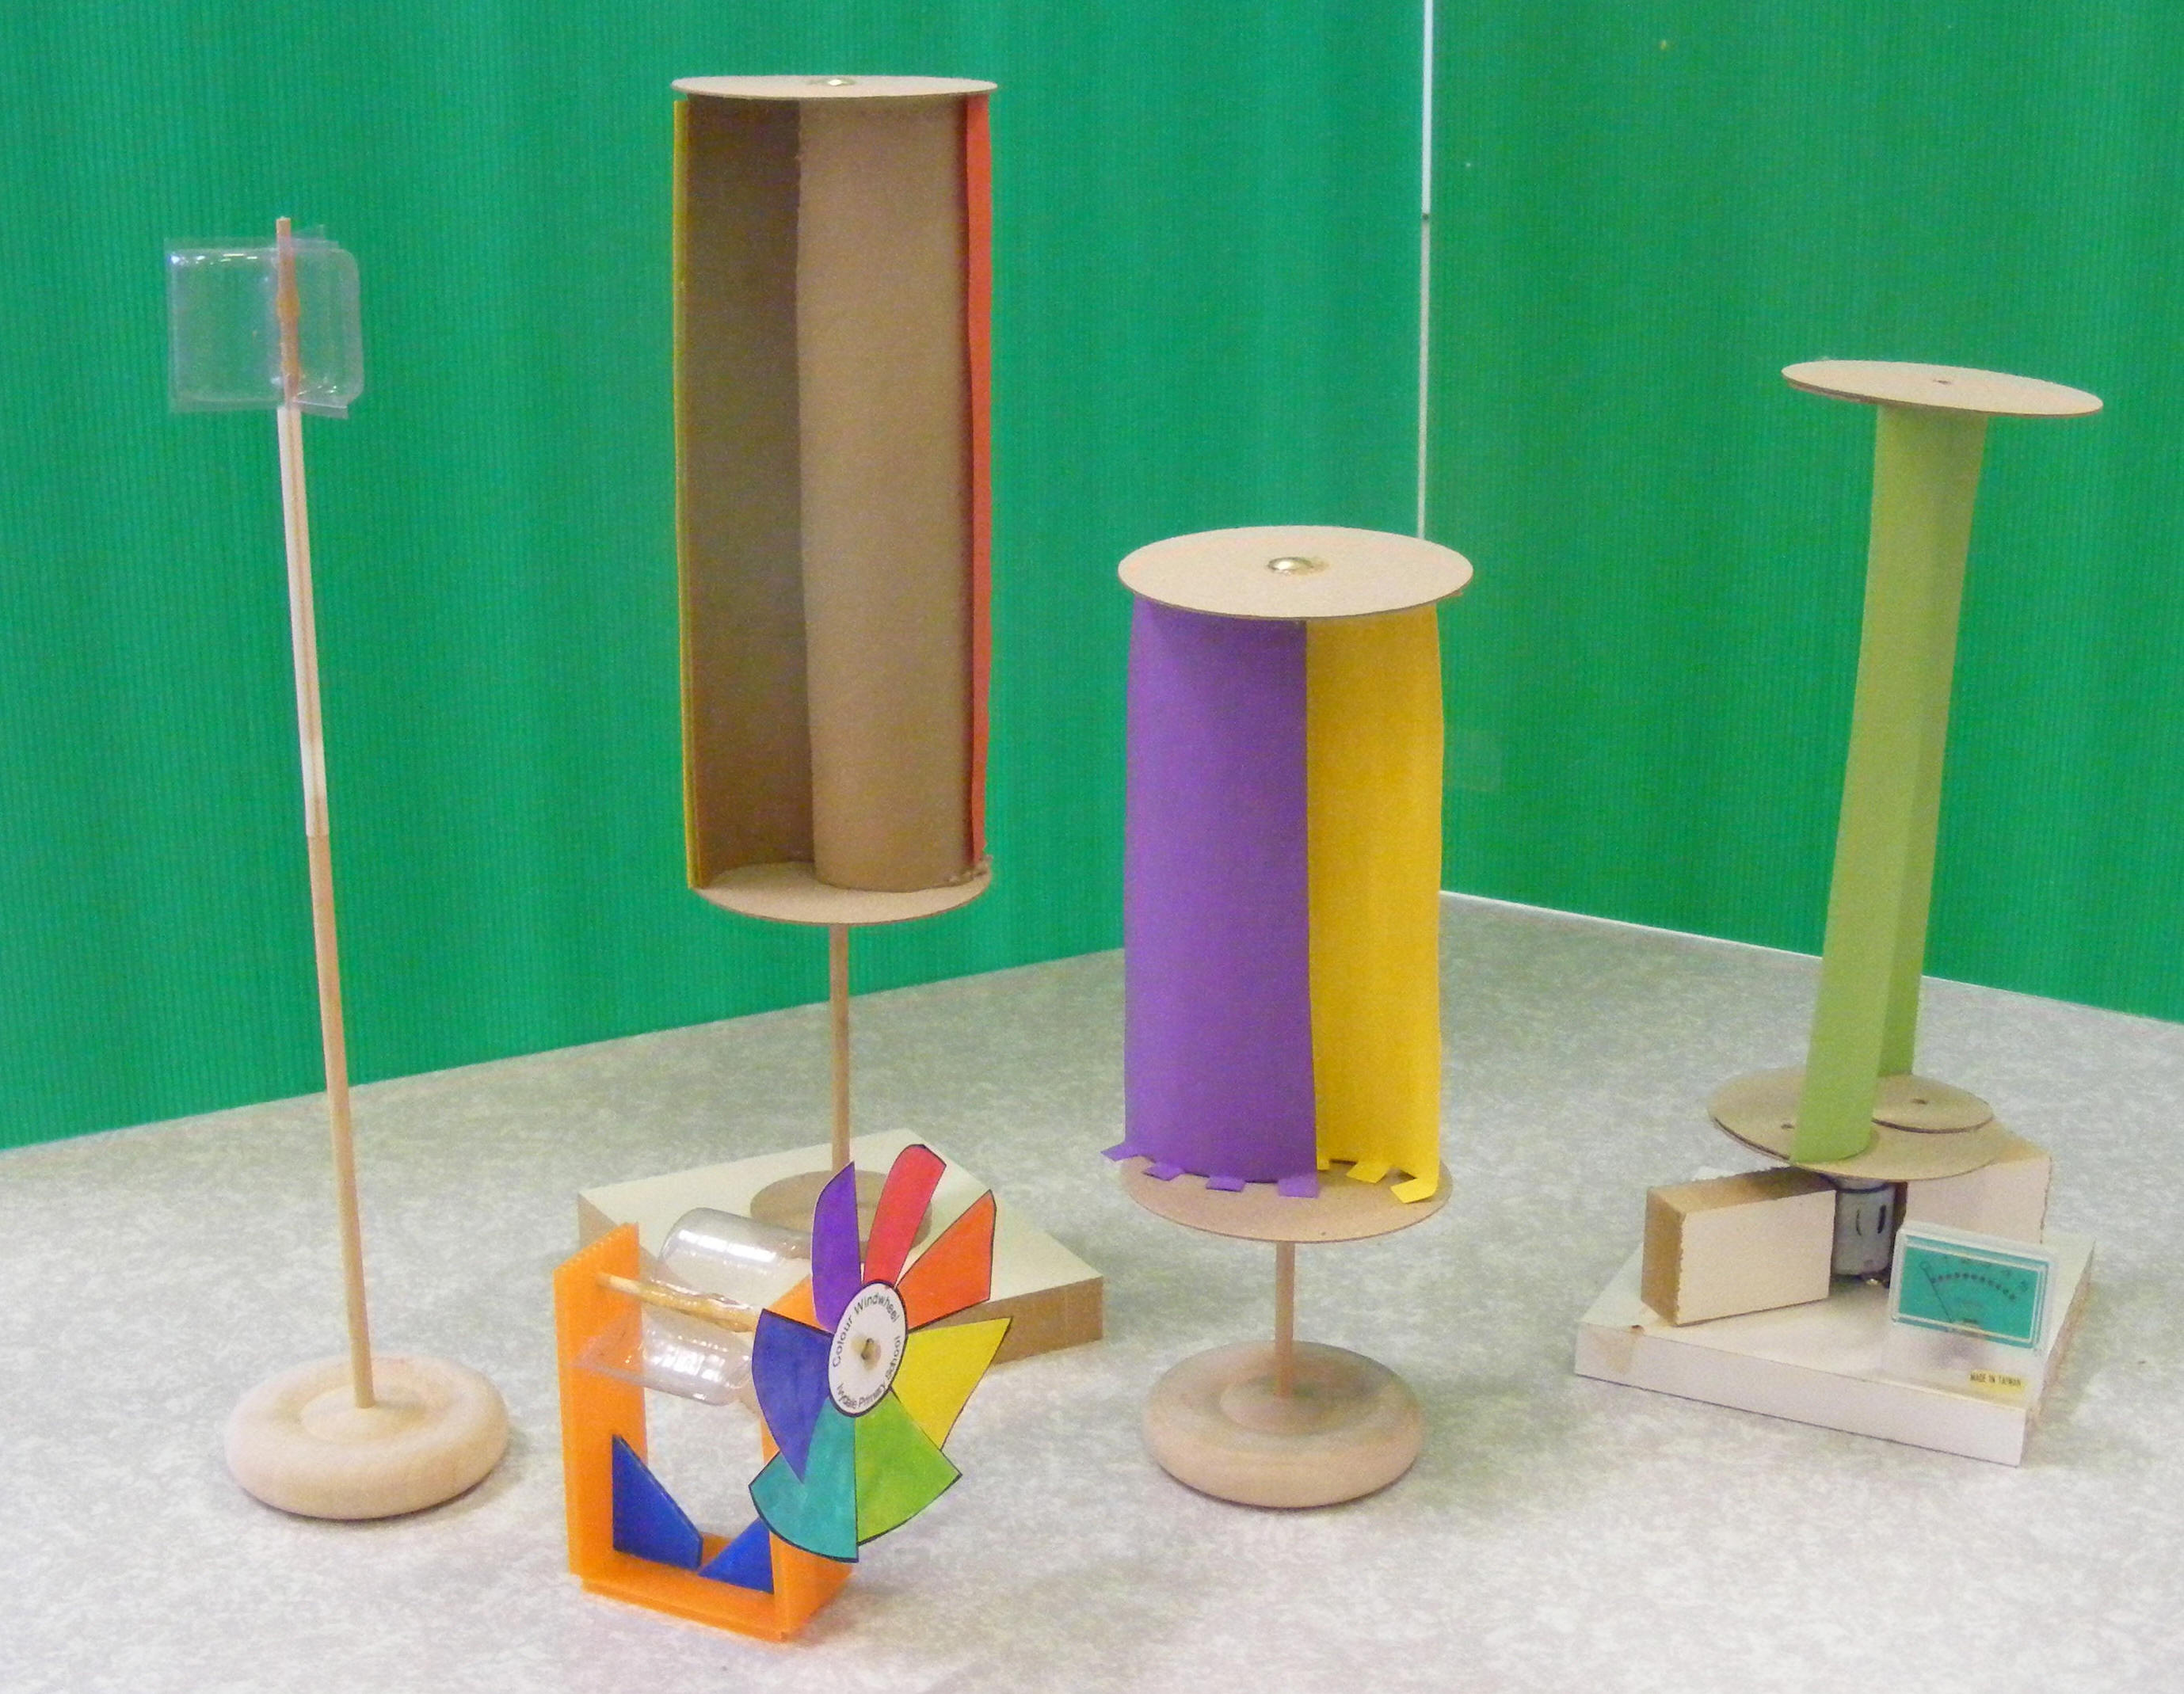
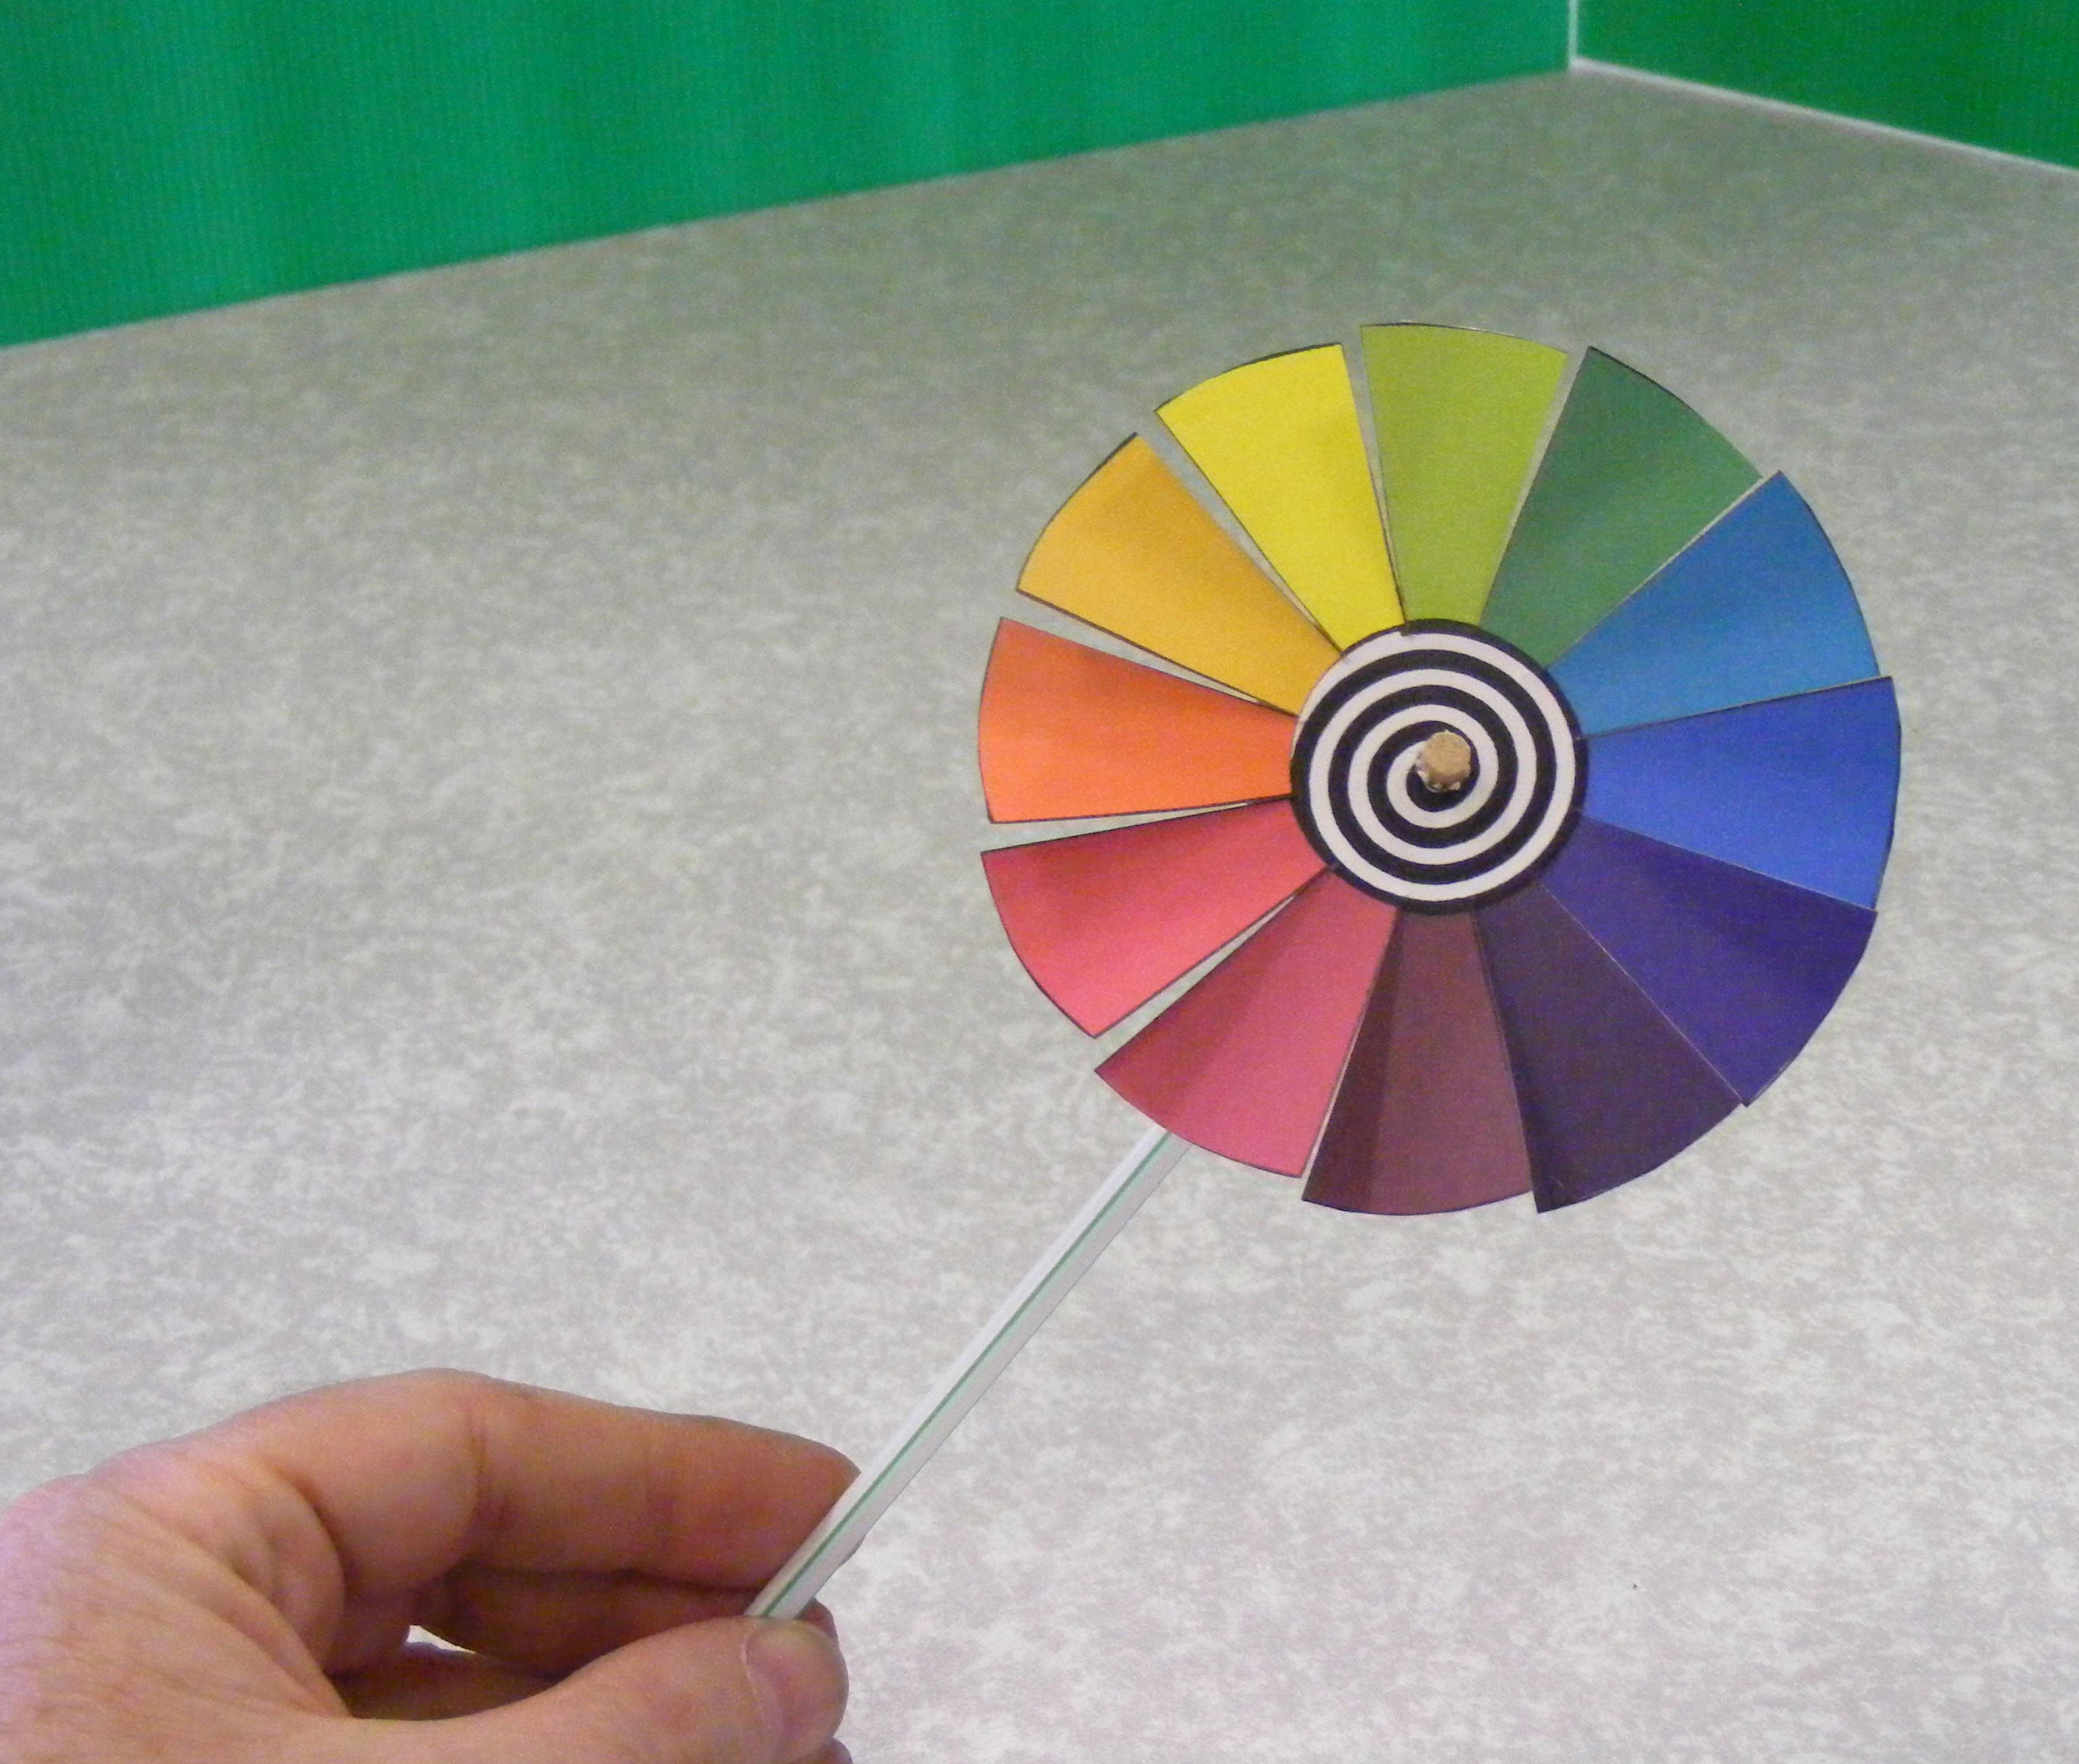
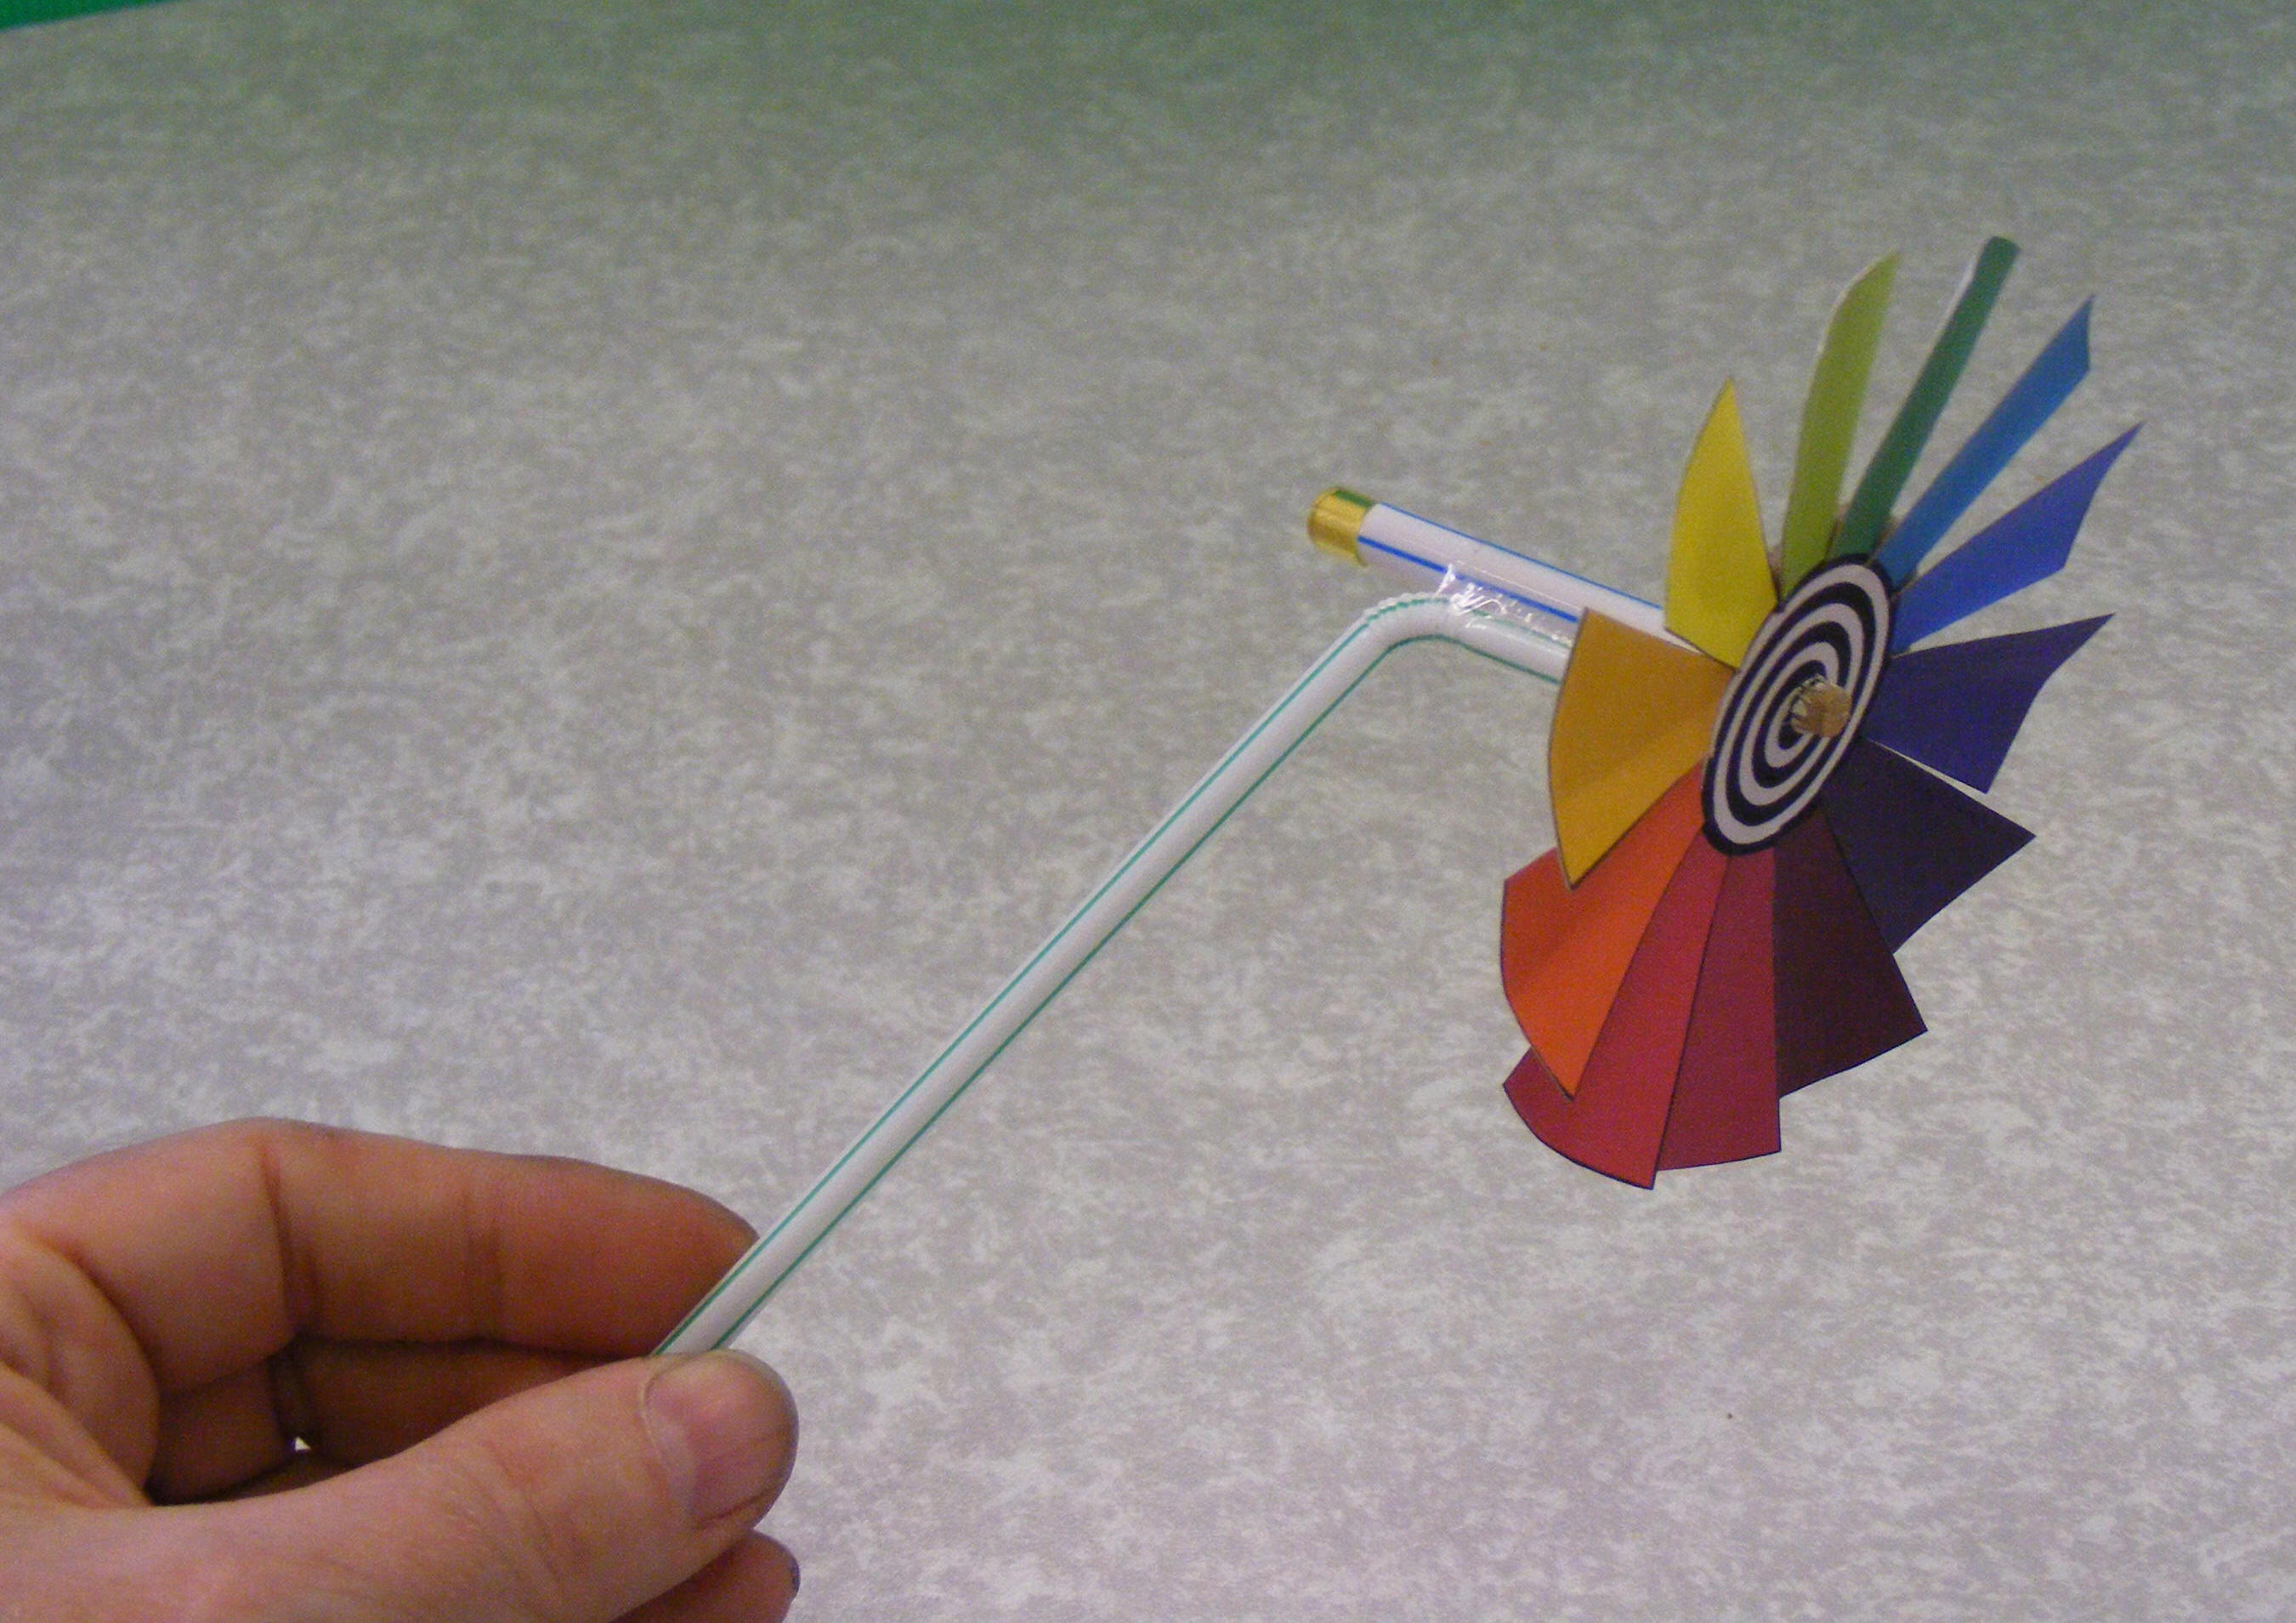
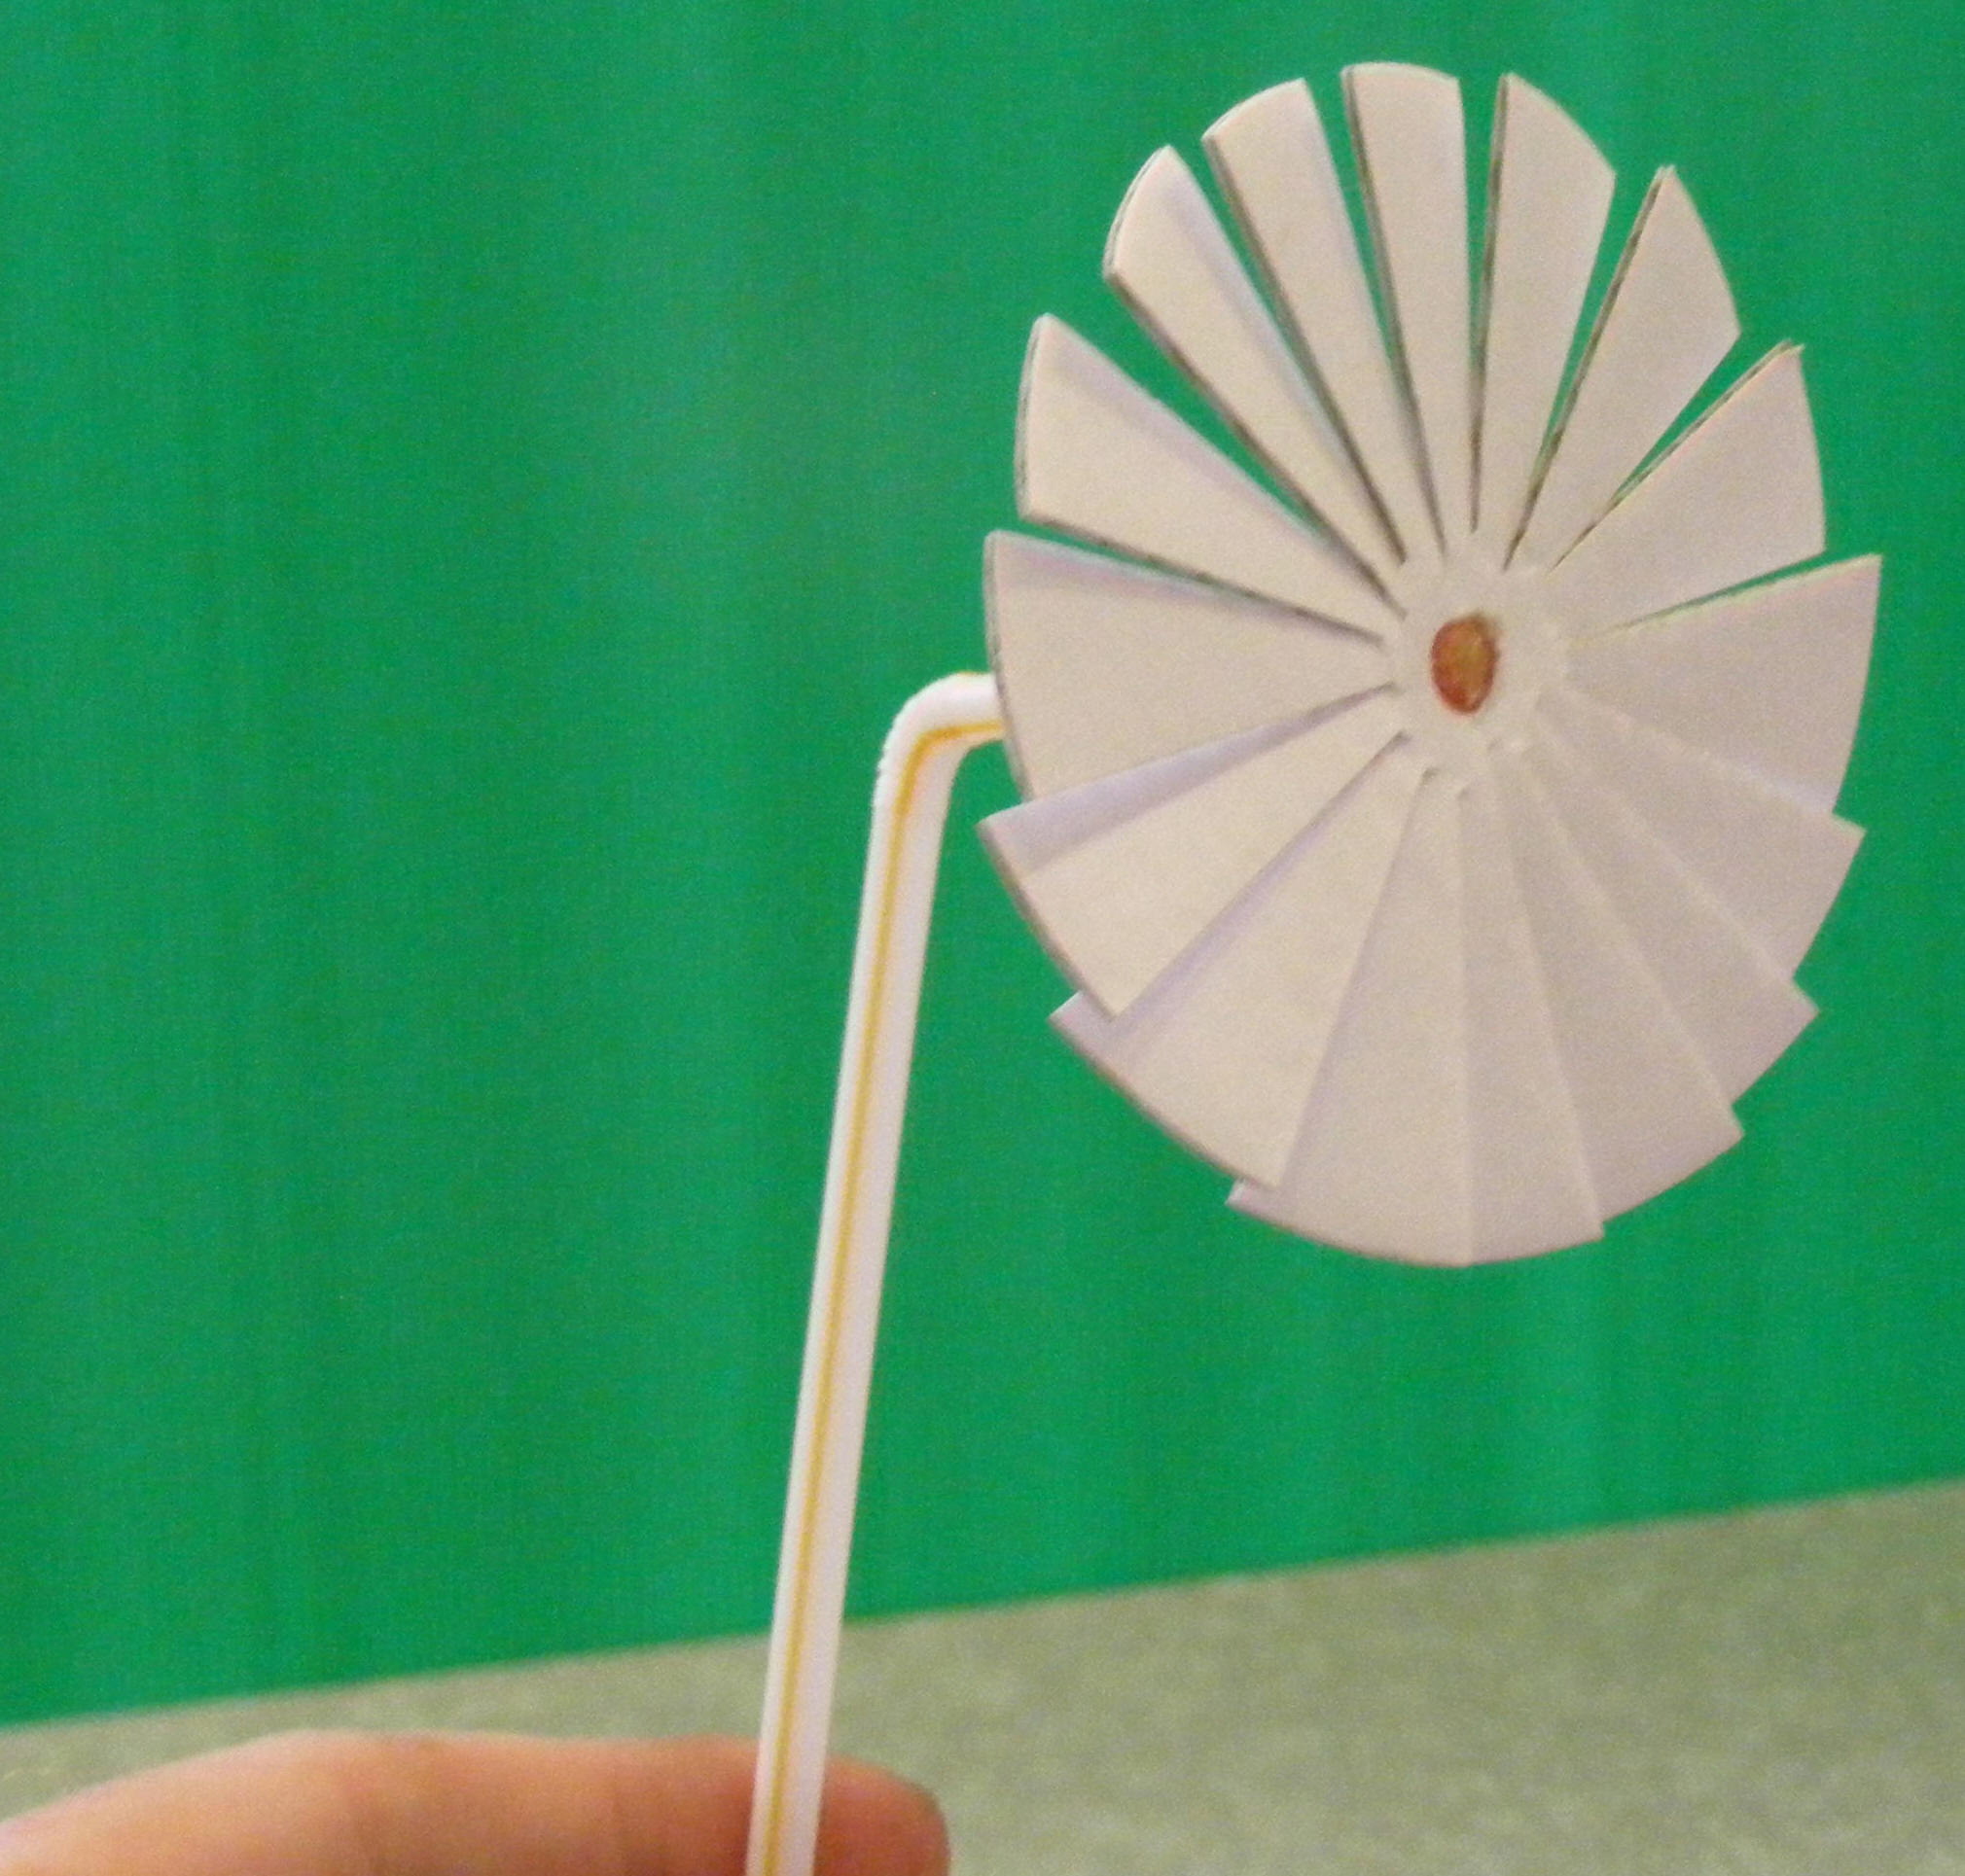
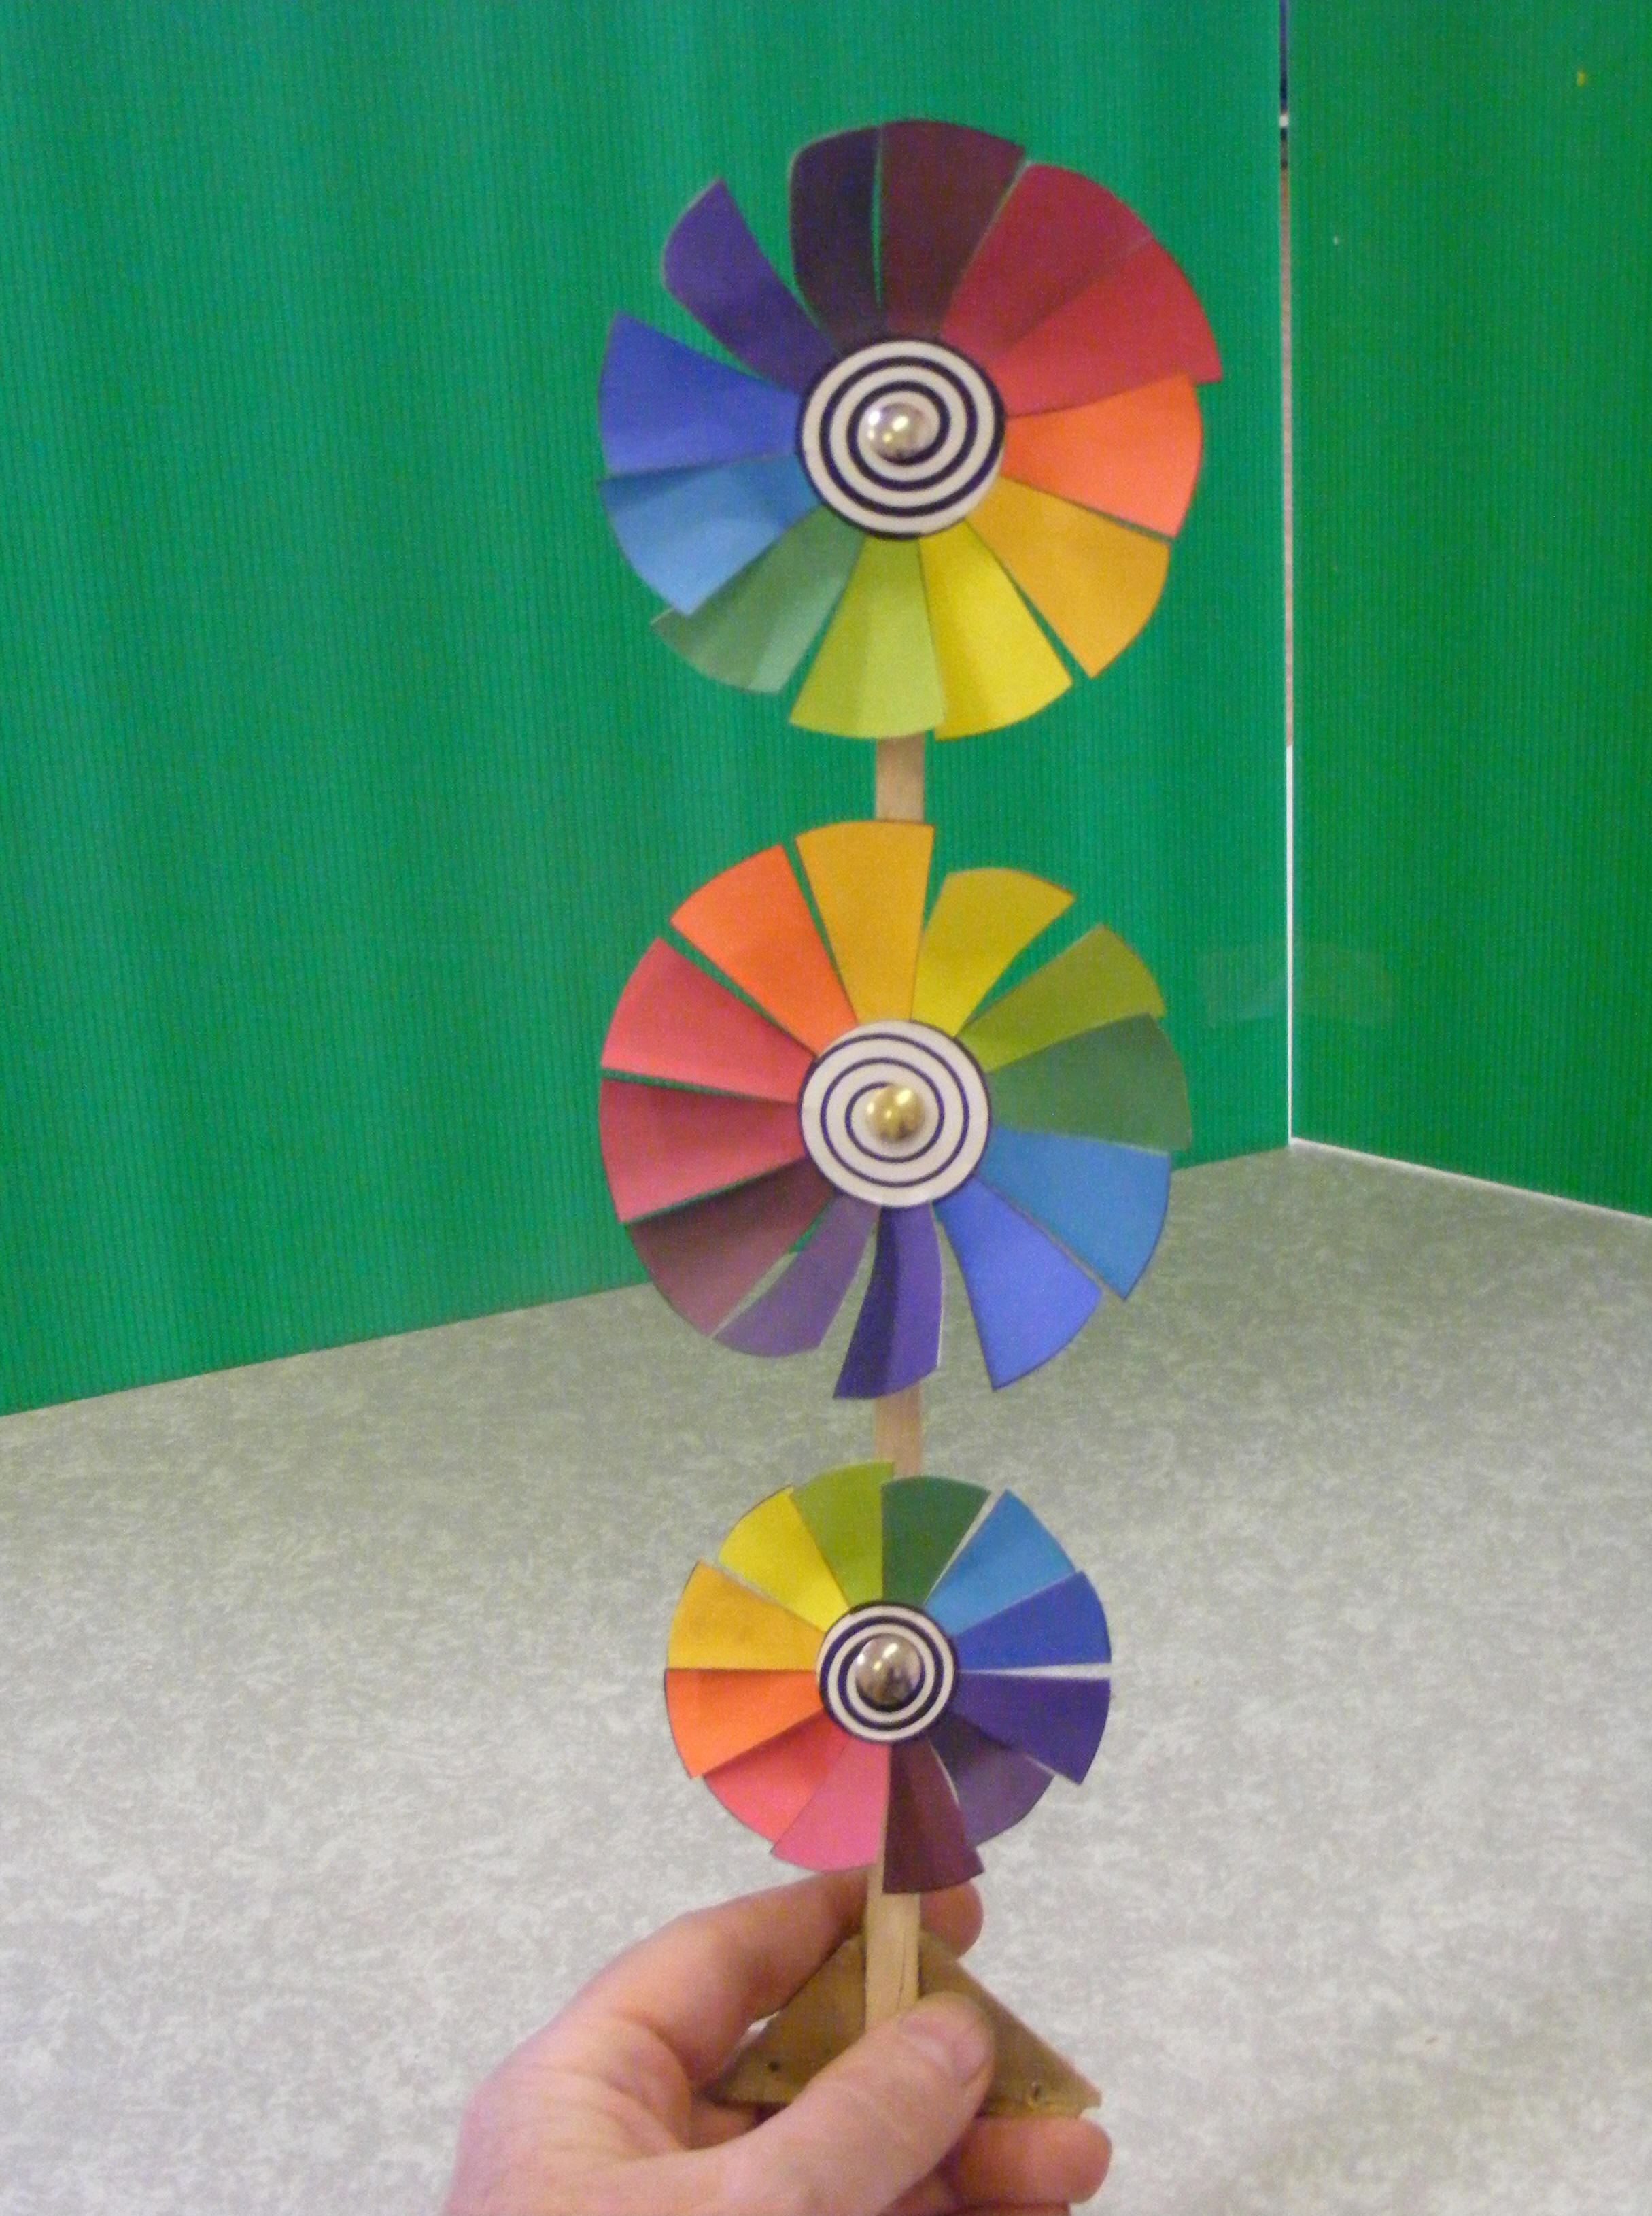
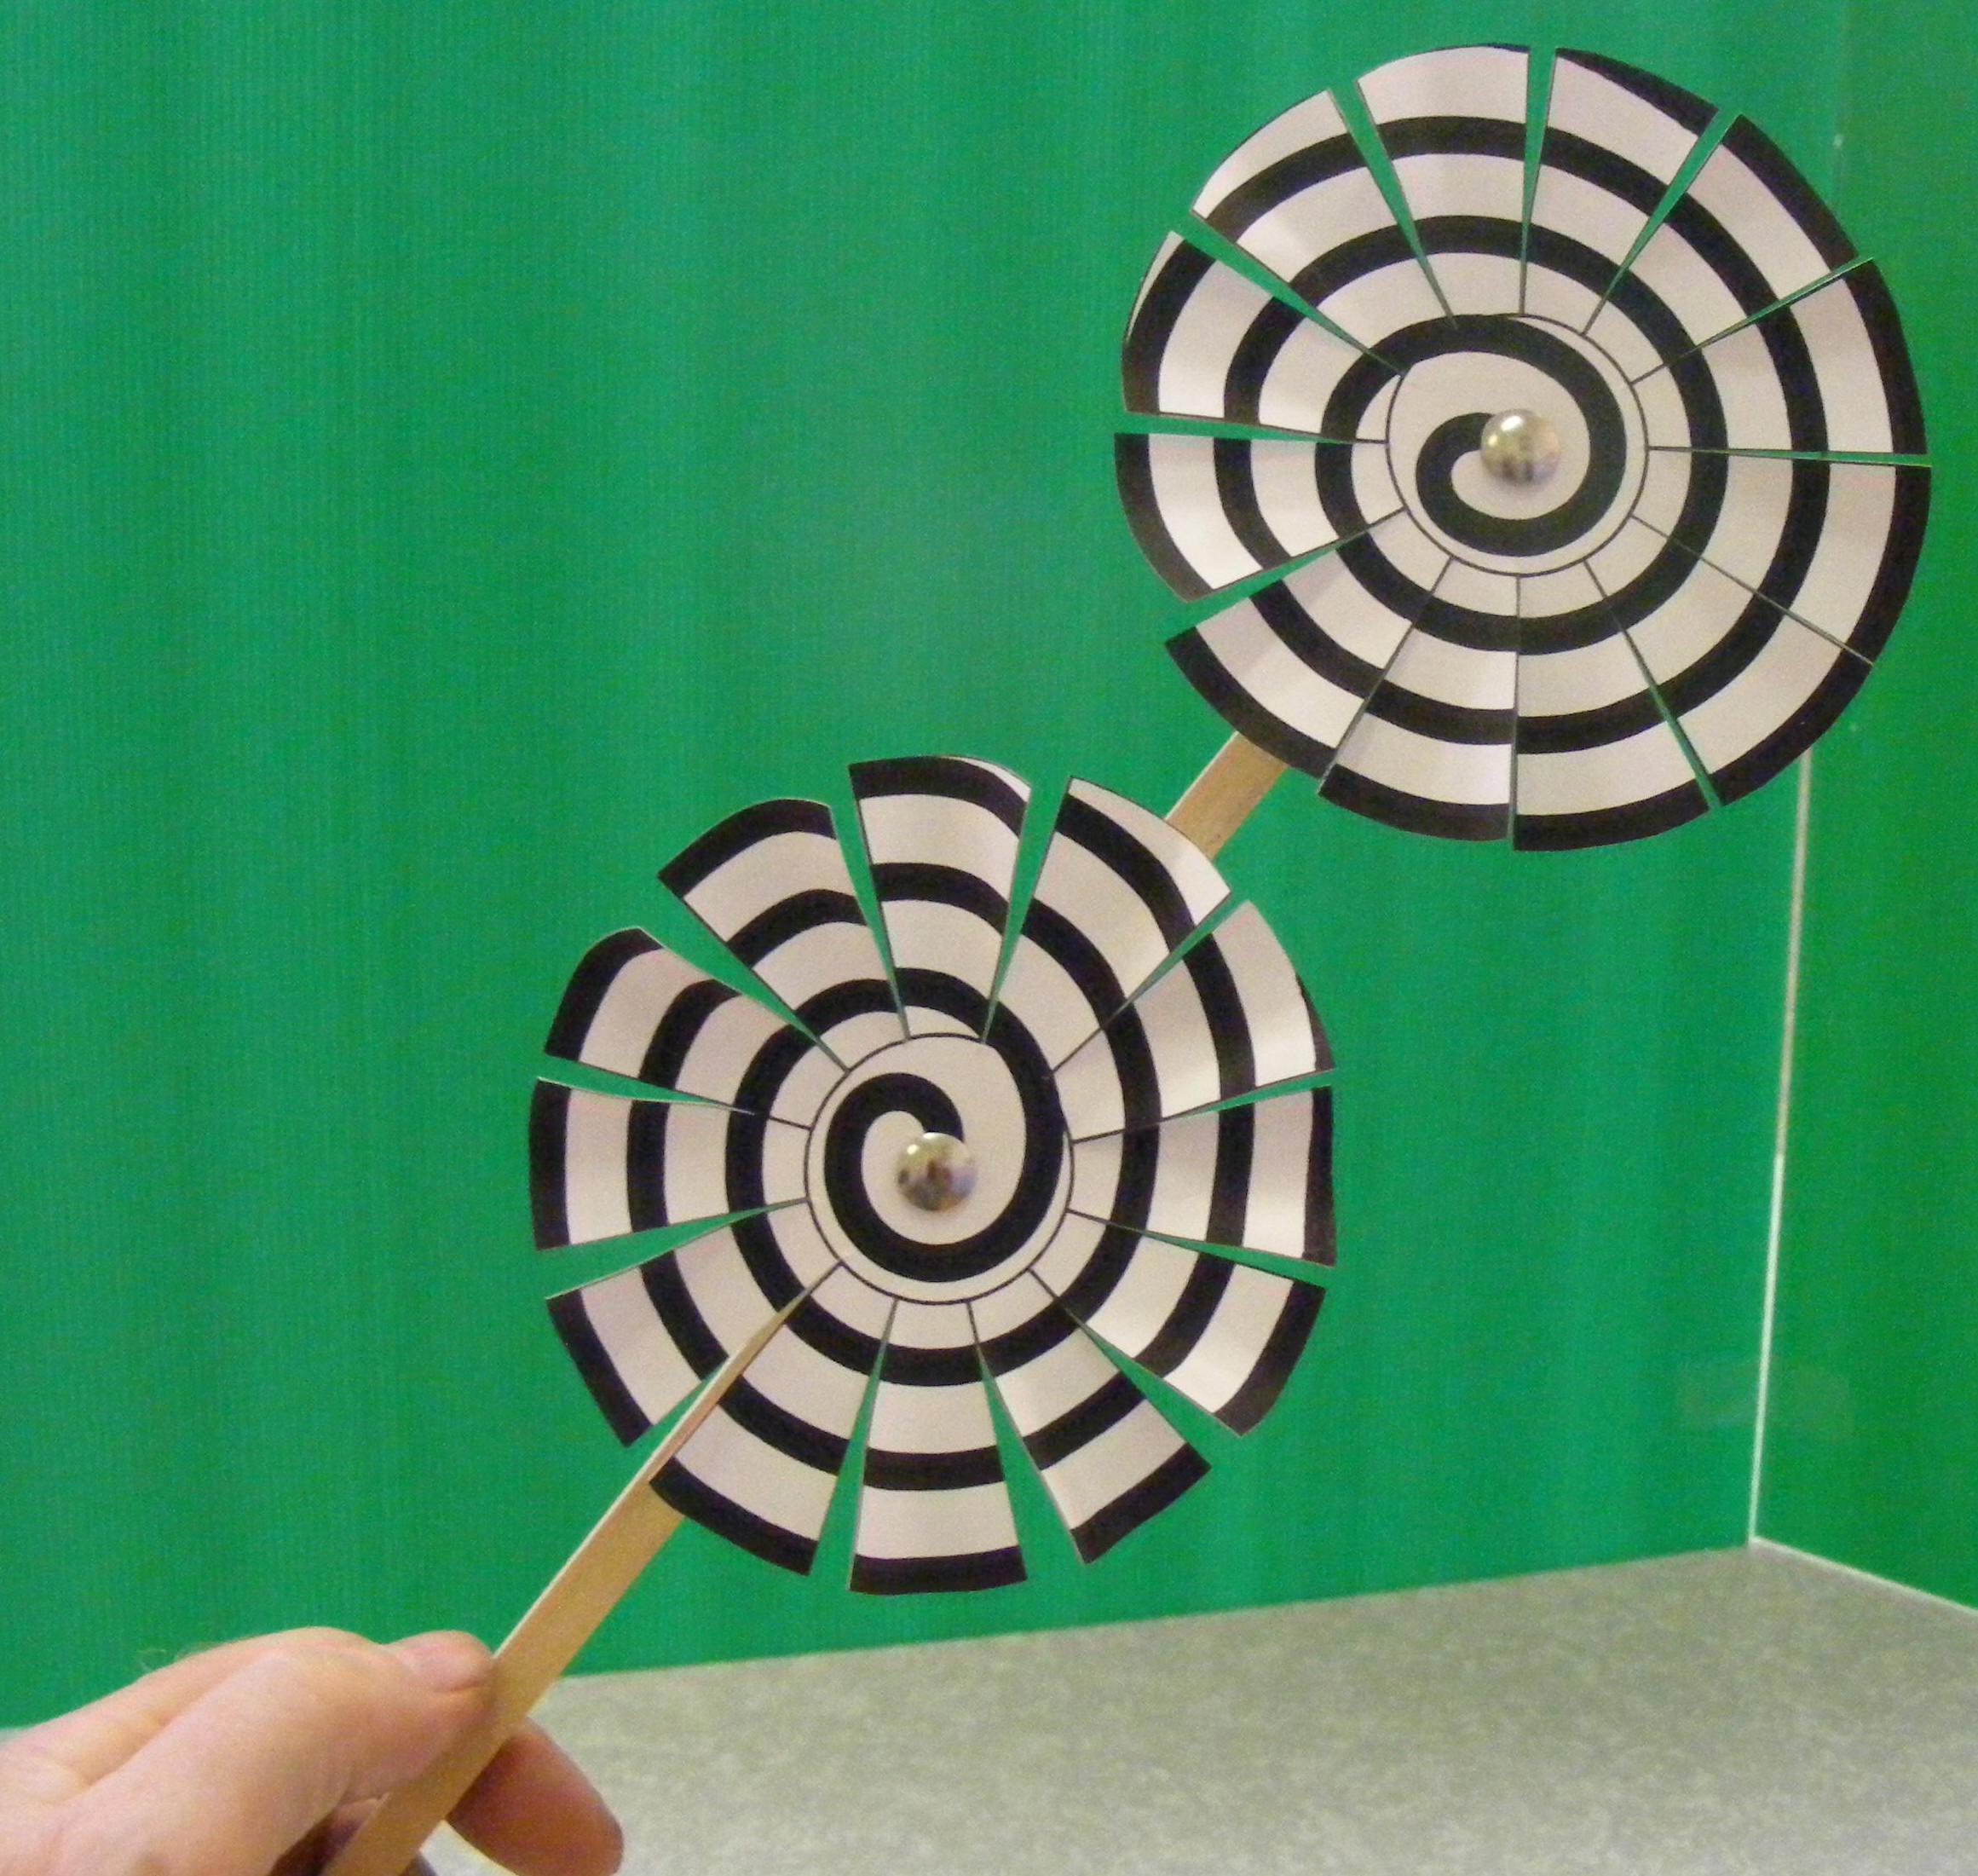
Colour Wind-Wheels:
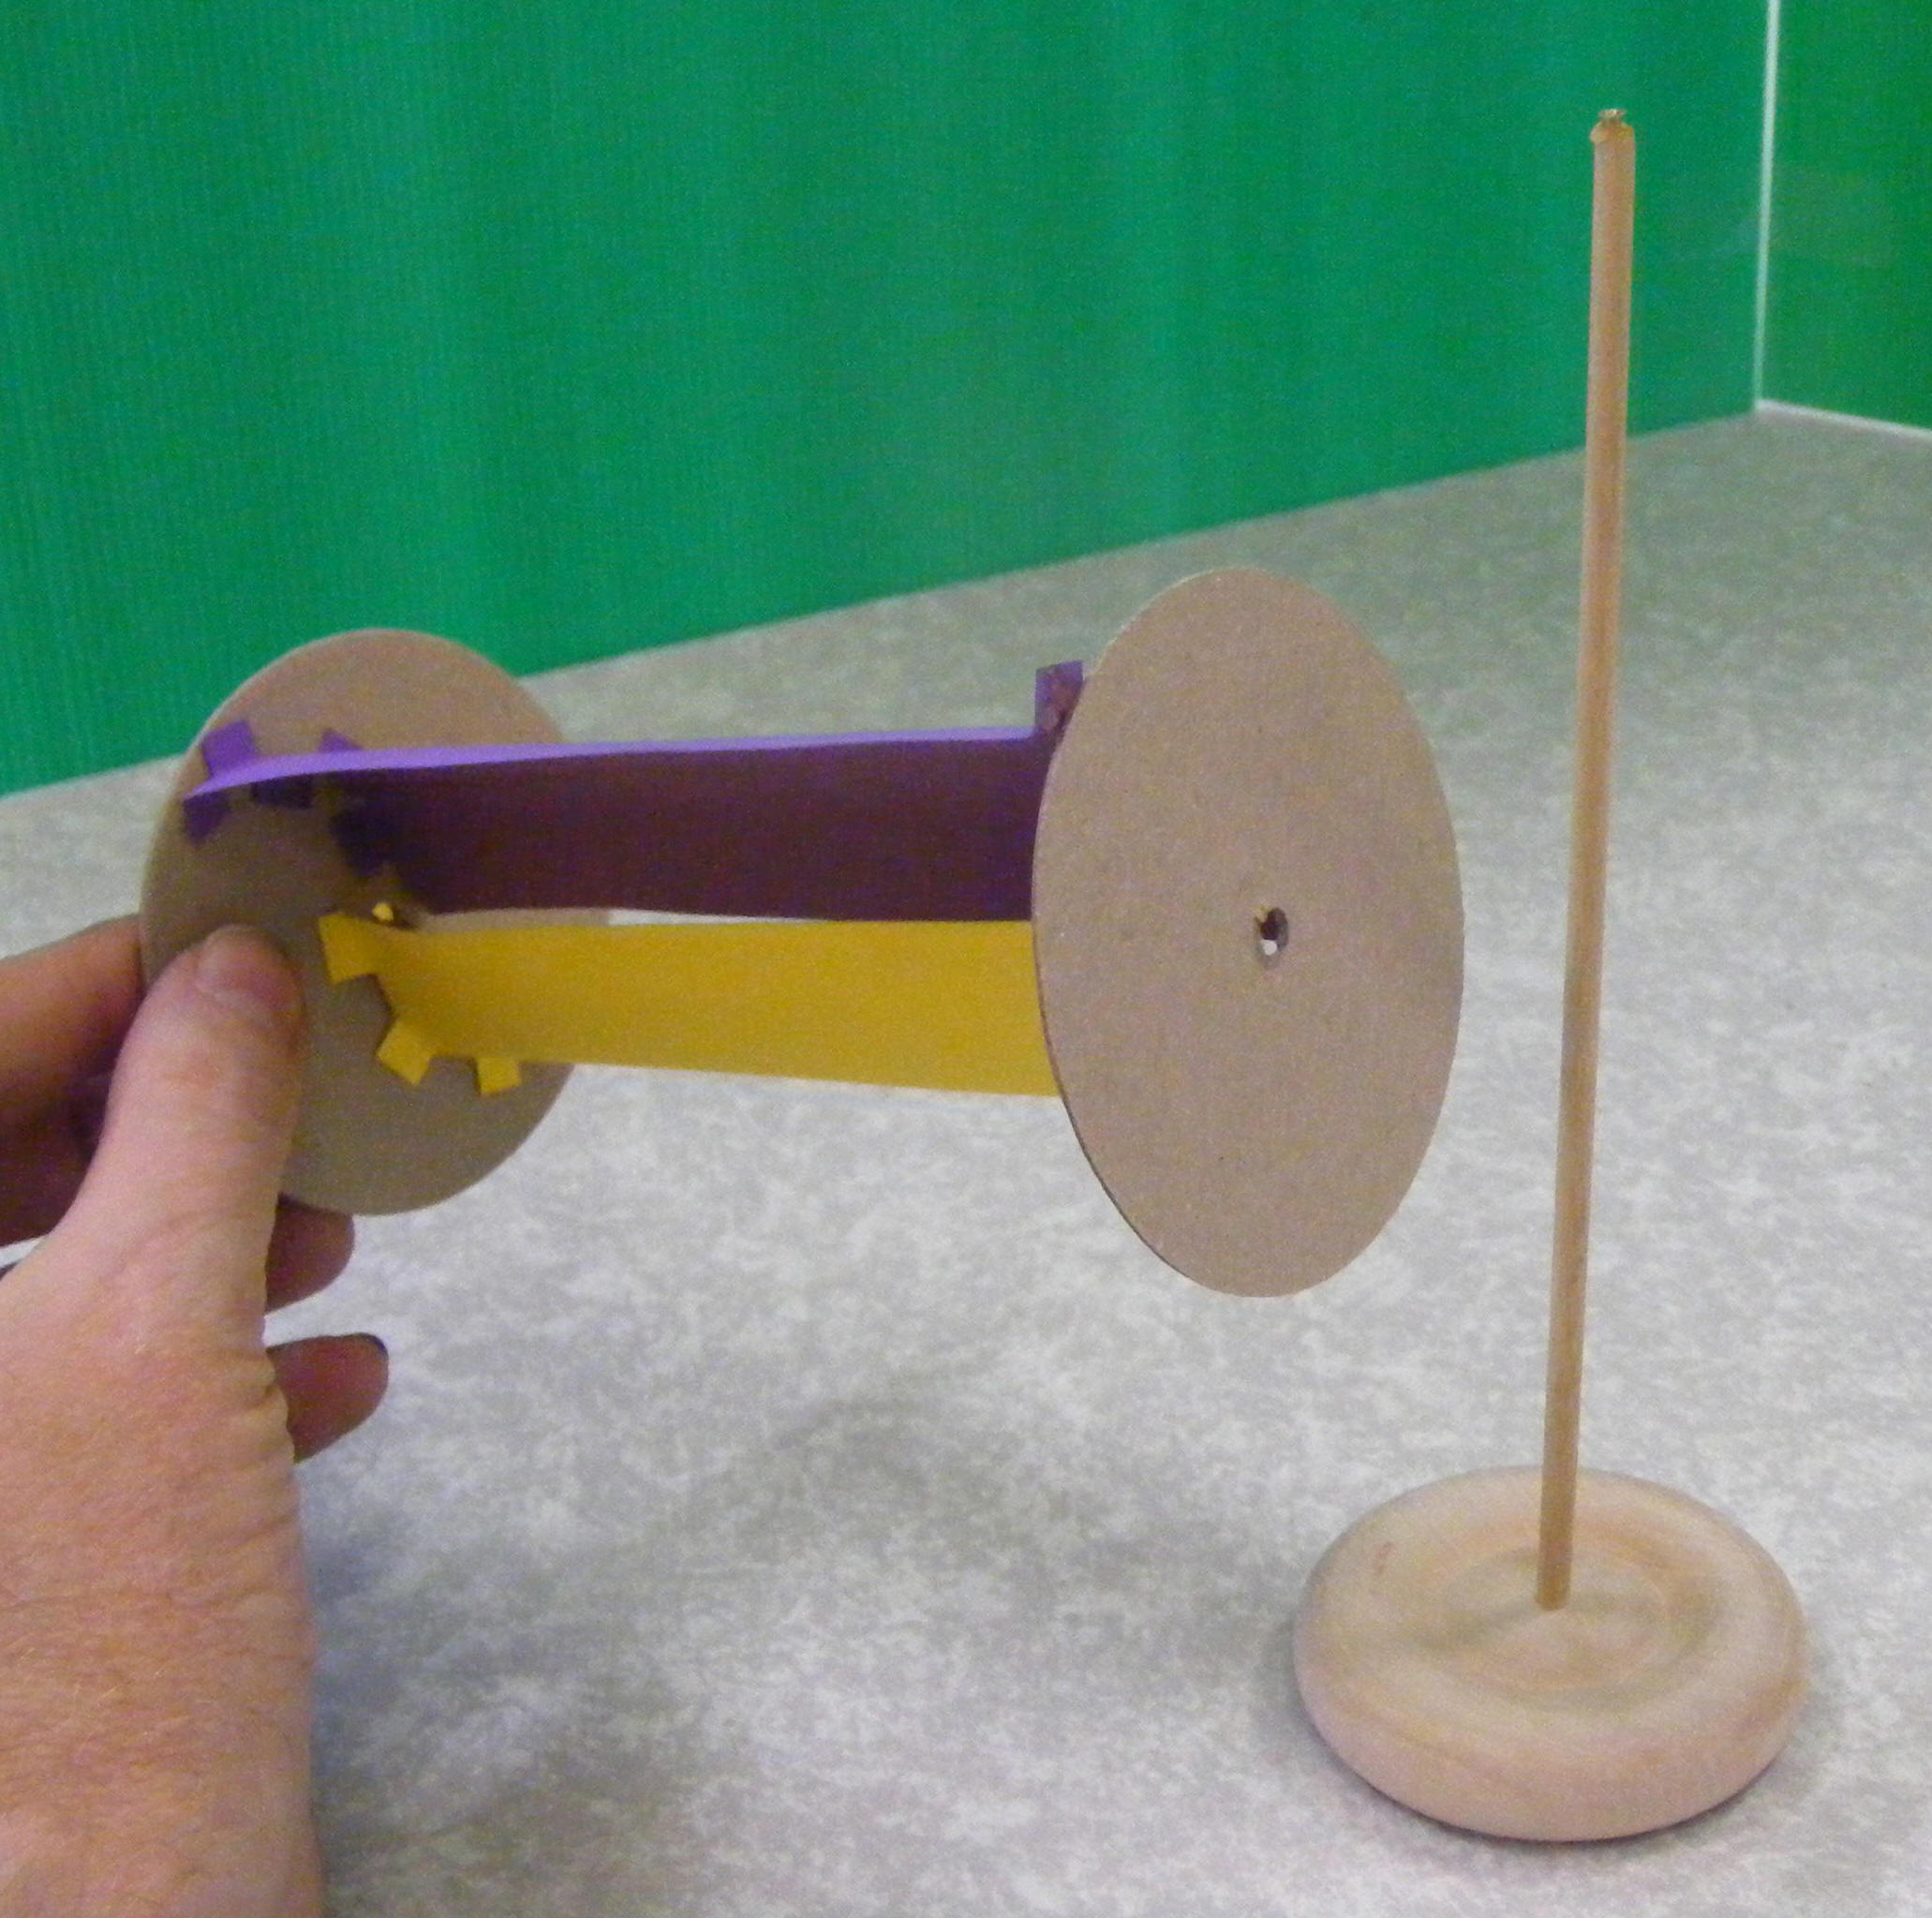
A card disc is marked out with seven vanes and coloured-in. A short piece of 5mm dowel (C095) is pushed through the disc and a small piece of PVC tubing pushed over the end. The dowel is then slid through a short piece of jumbo plastic straw (C151) taped onto a bendy straw (C152) - make sure it overhangs the bendy straw at both ends. Another small piece of PVC tubing is pushed onto the other end of the dowel to stop it falling out. Finally each vane is gently bent over along one of its edges making sure every vane is bent the same way.
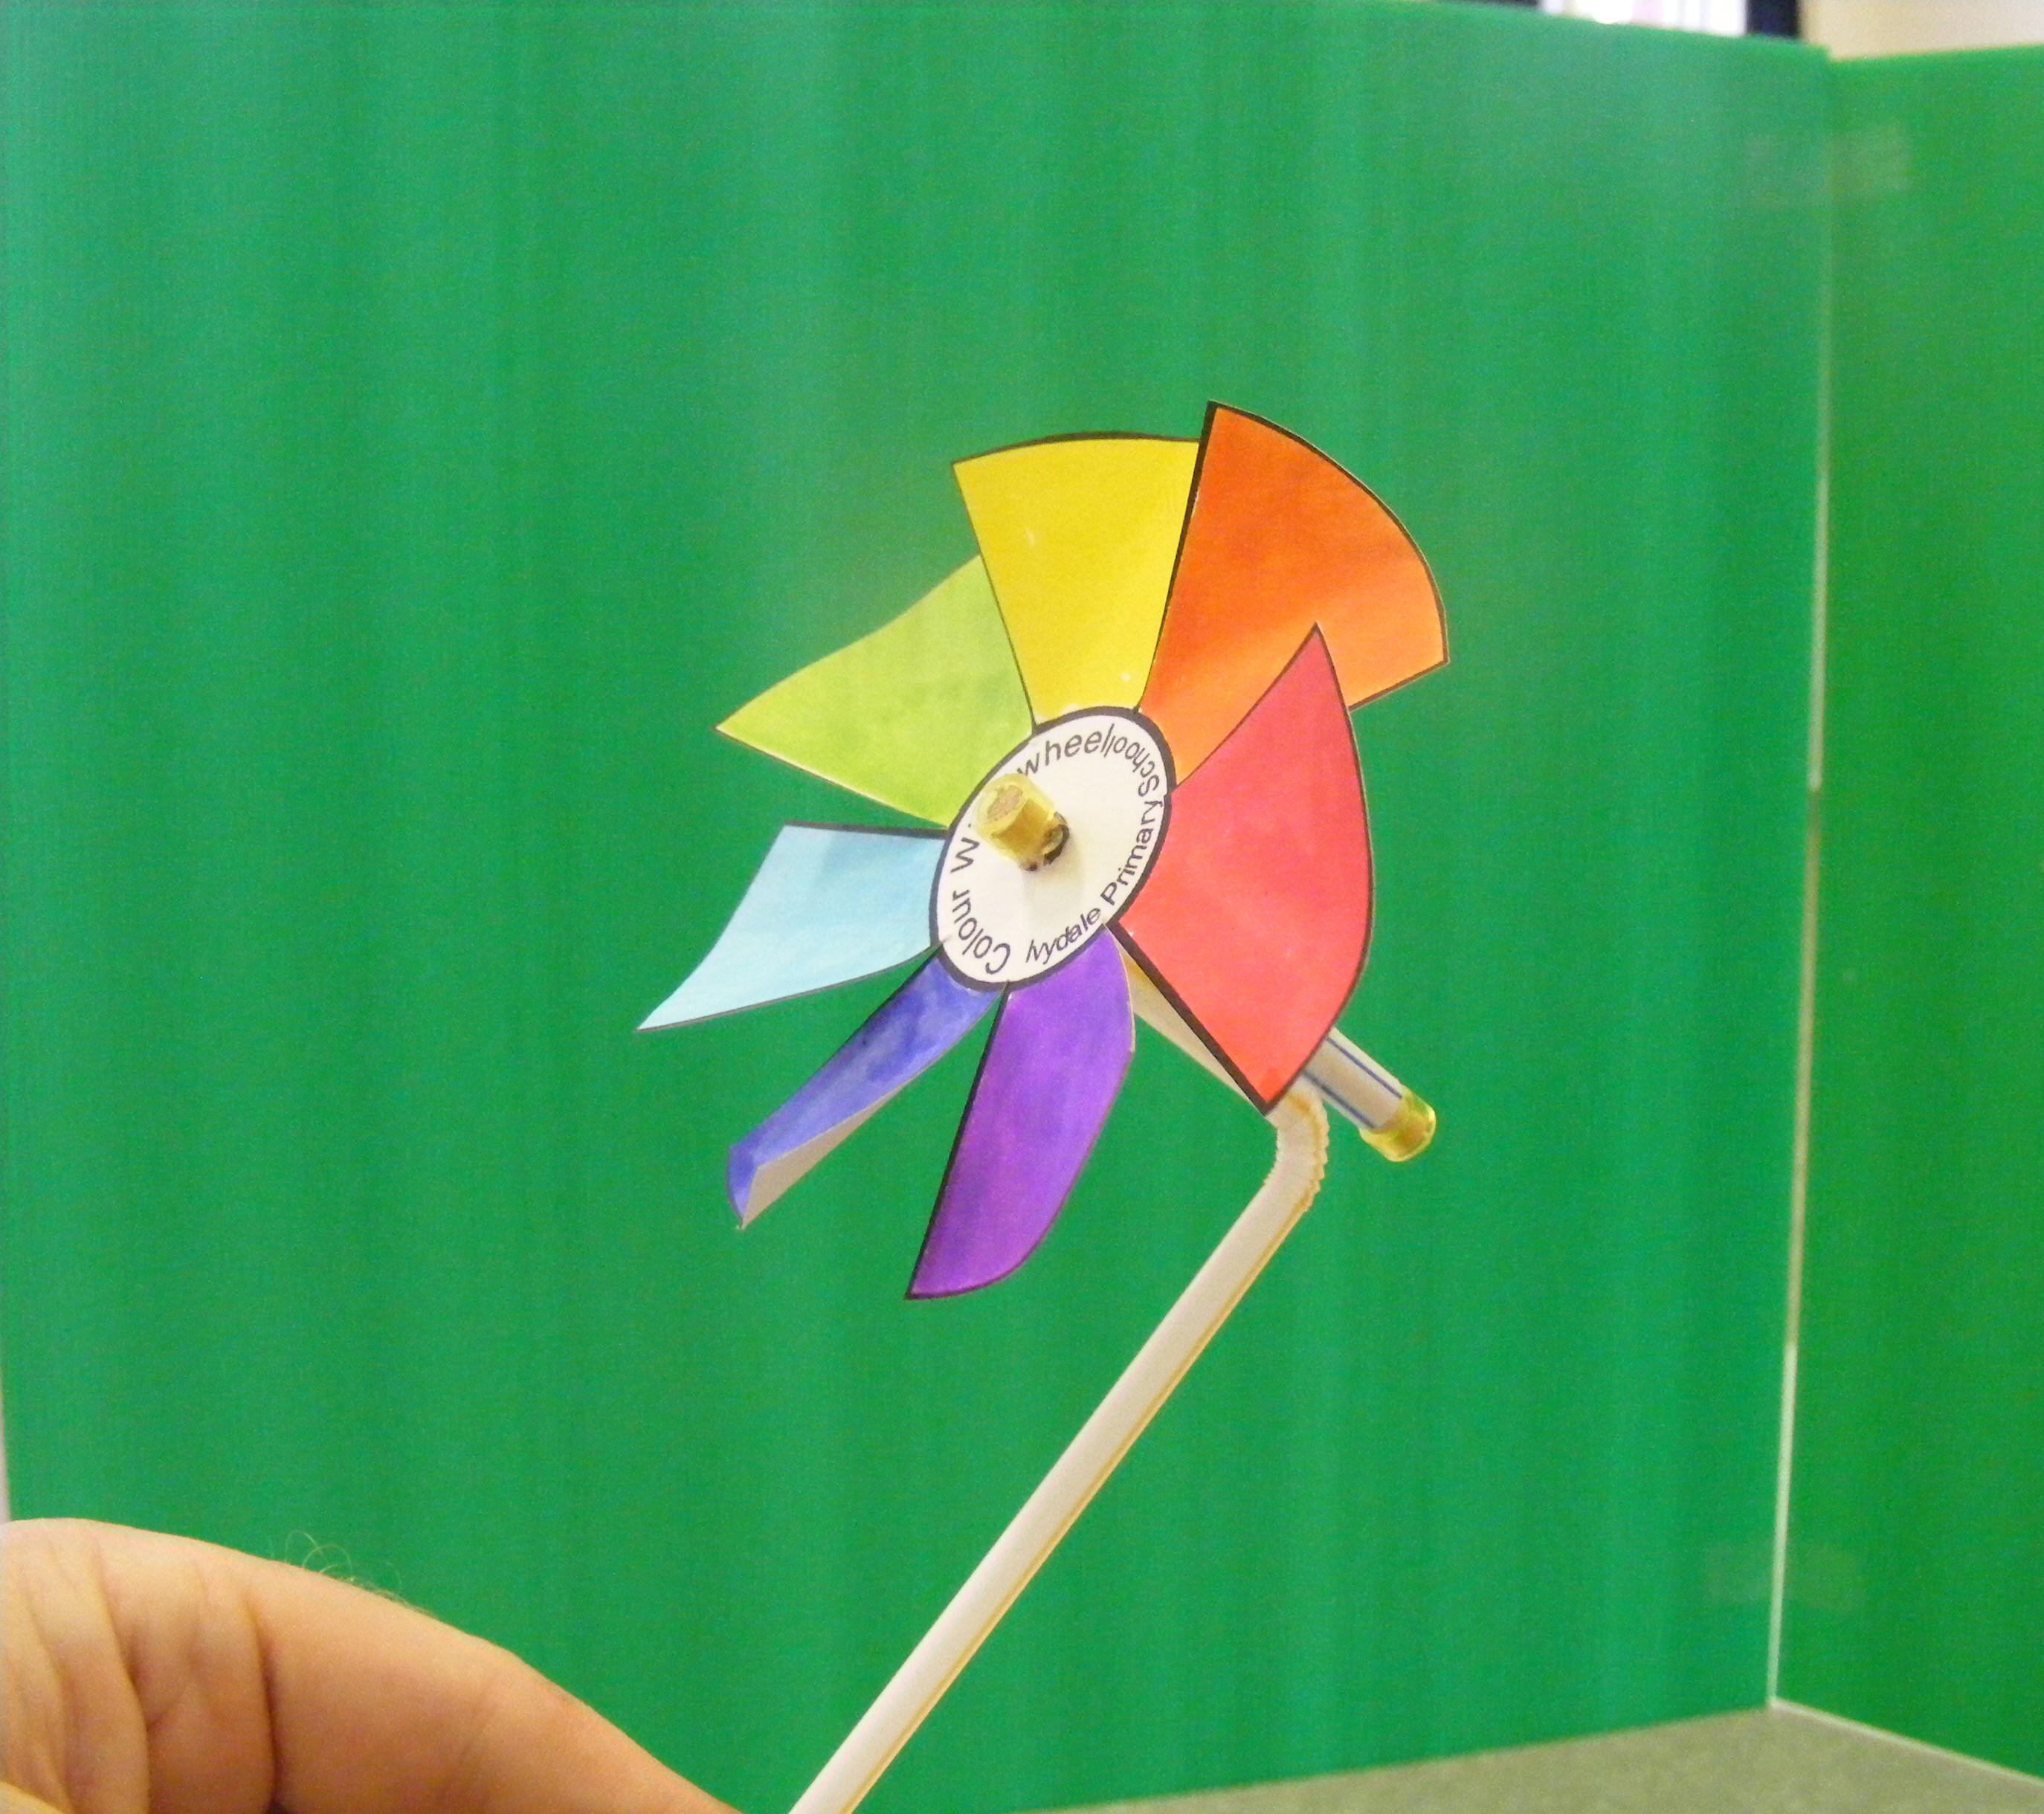
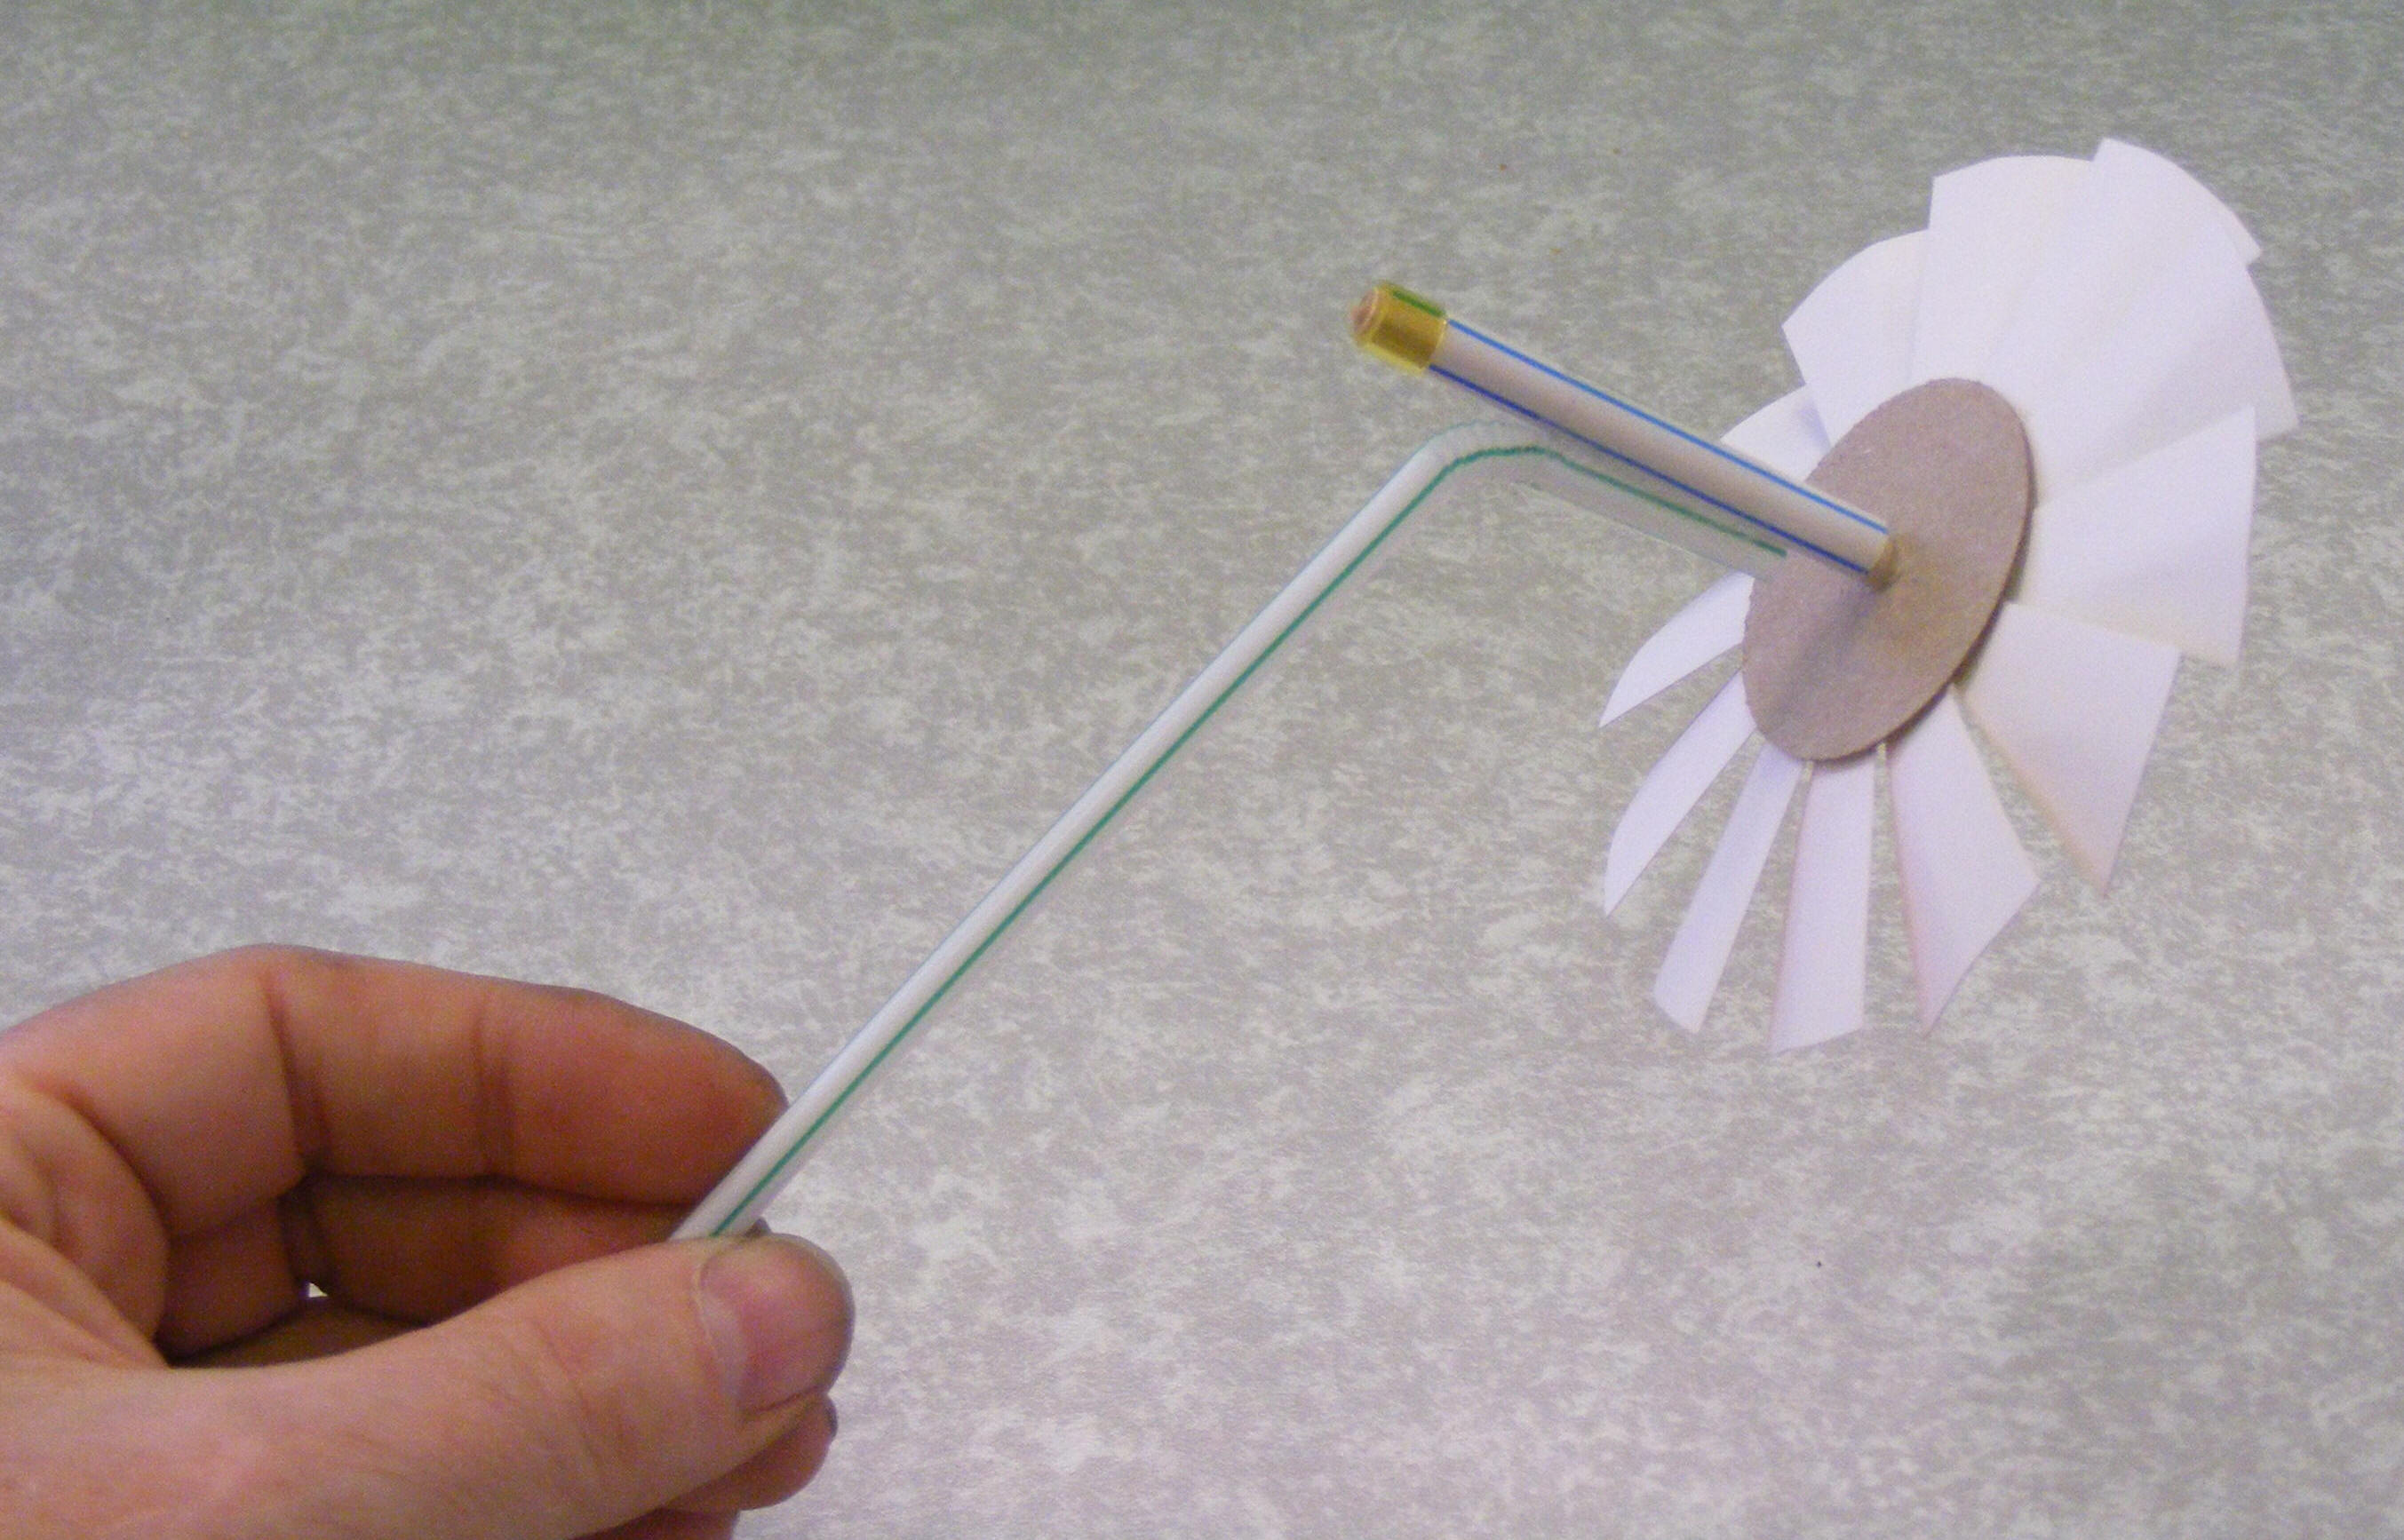
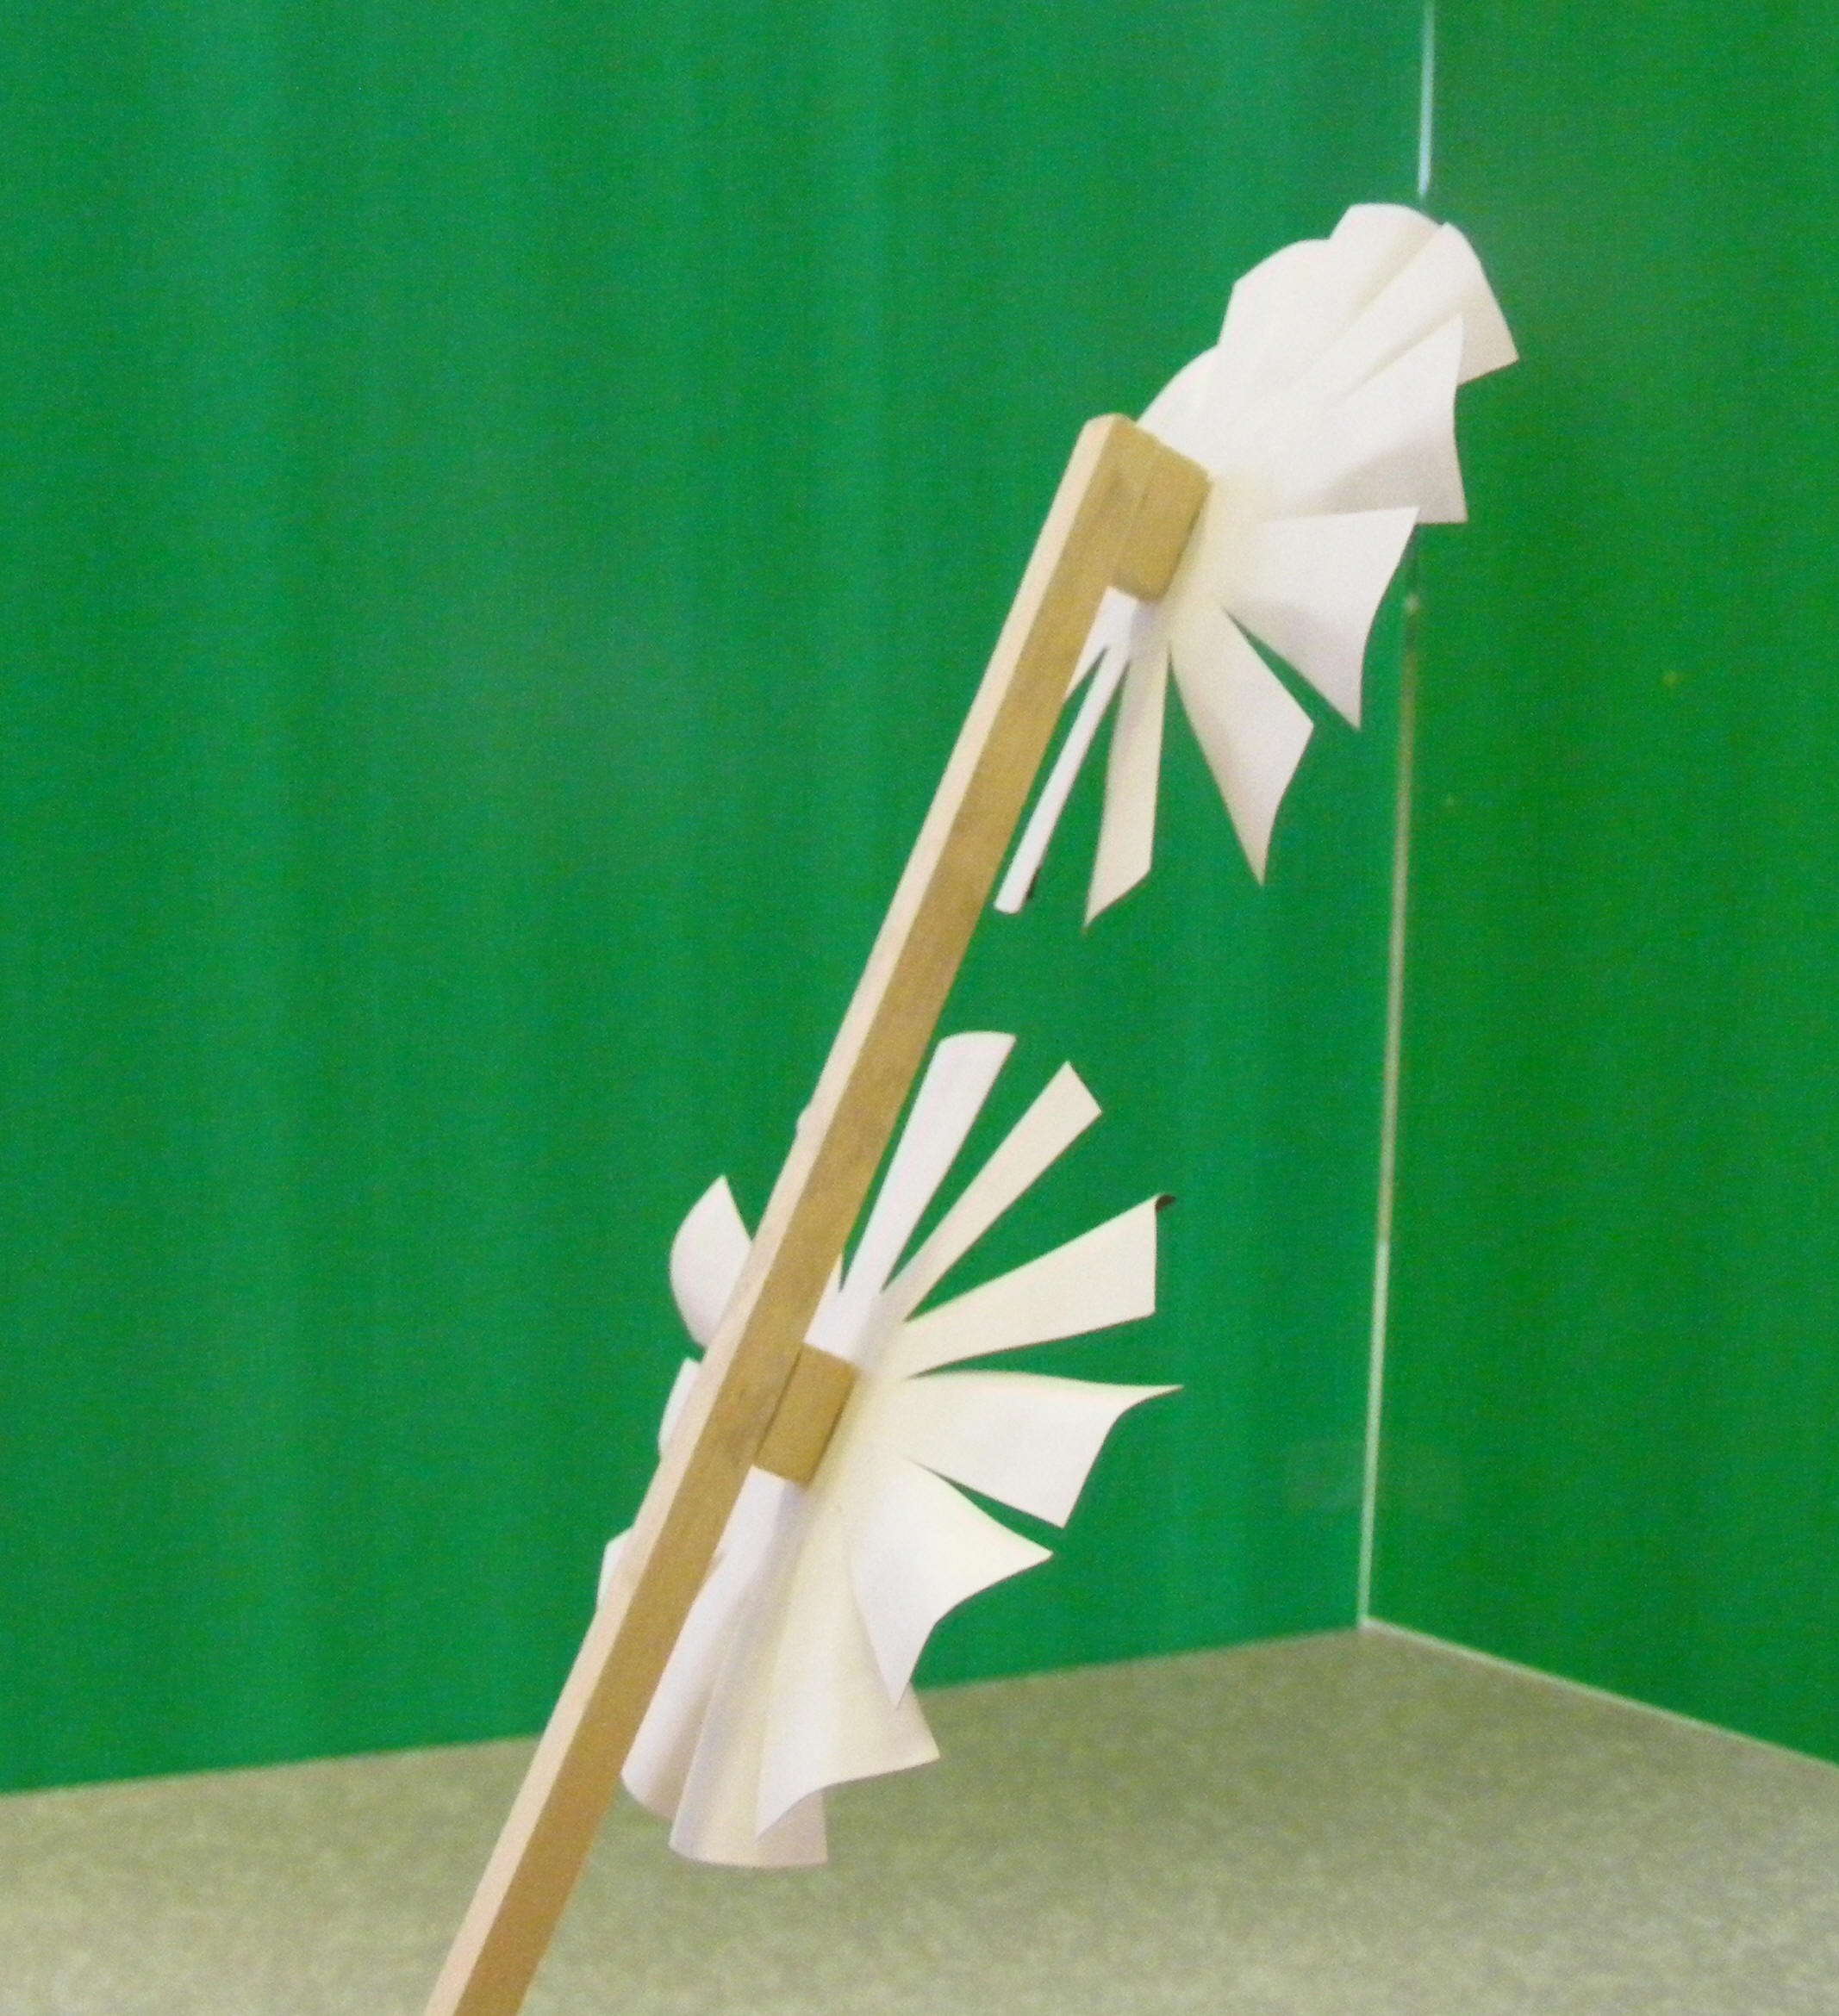
Flower Windmills:
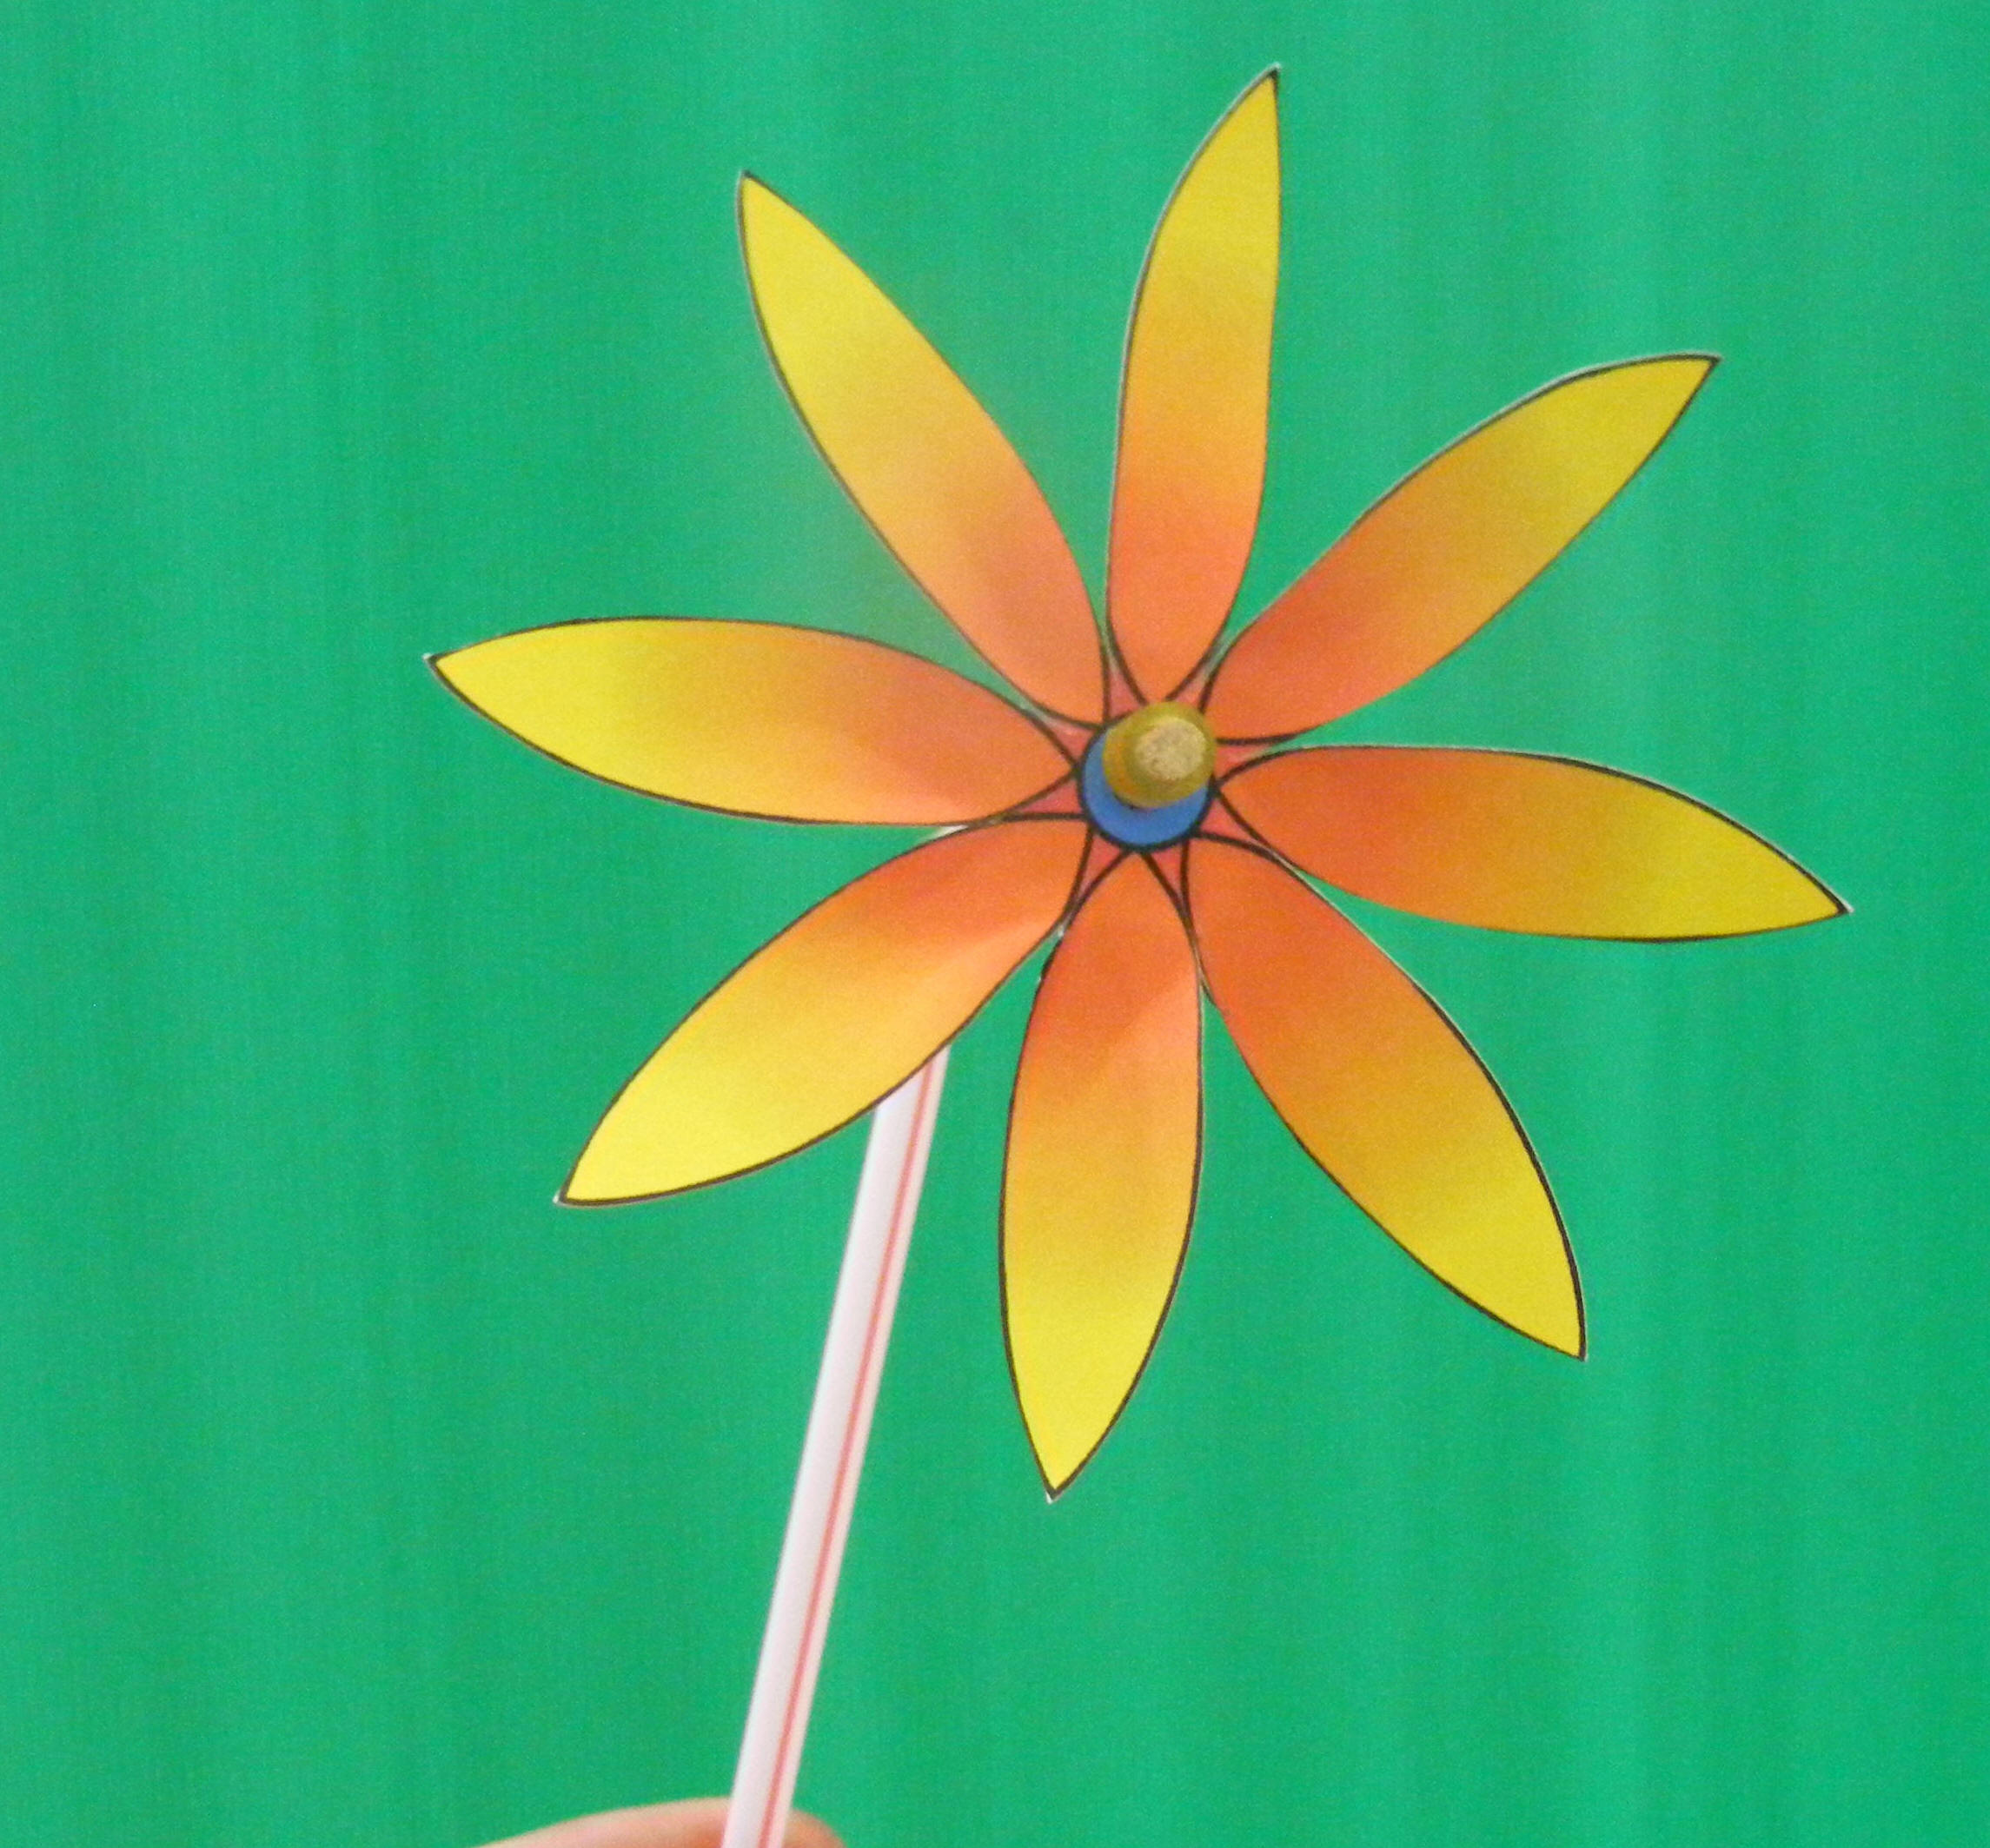
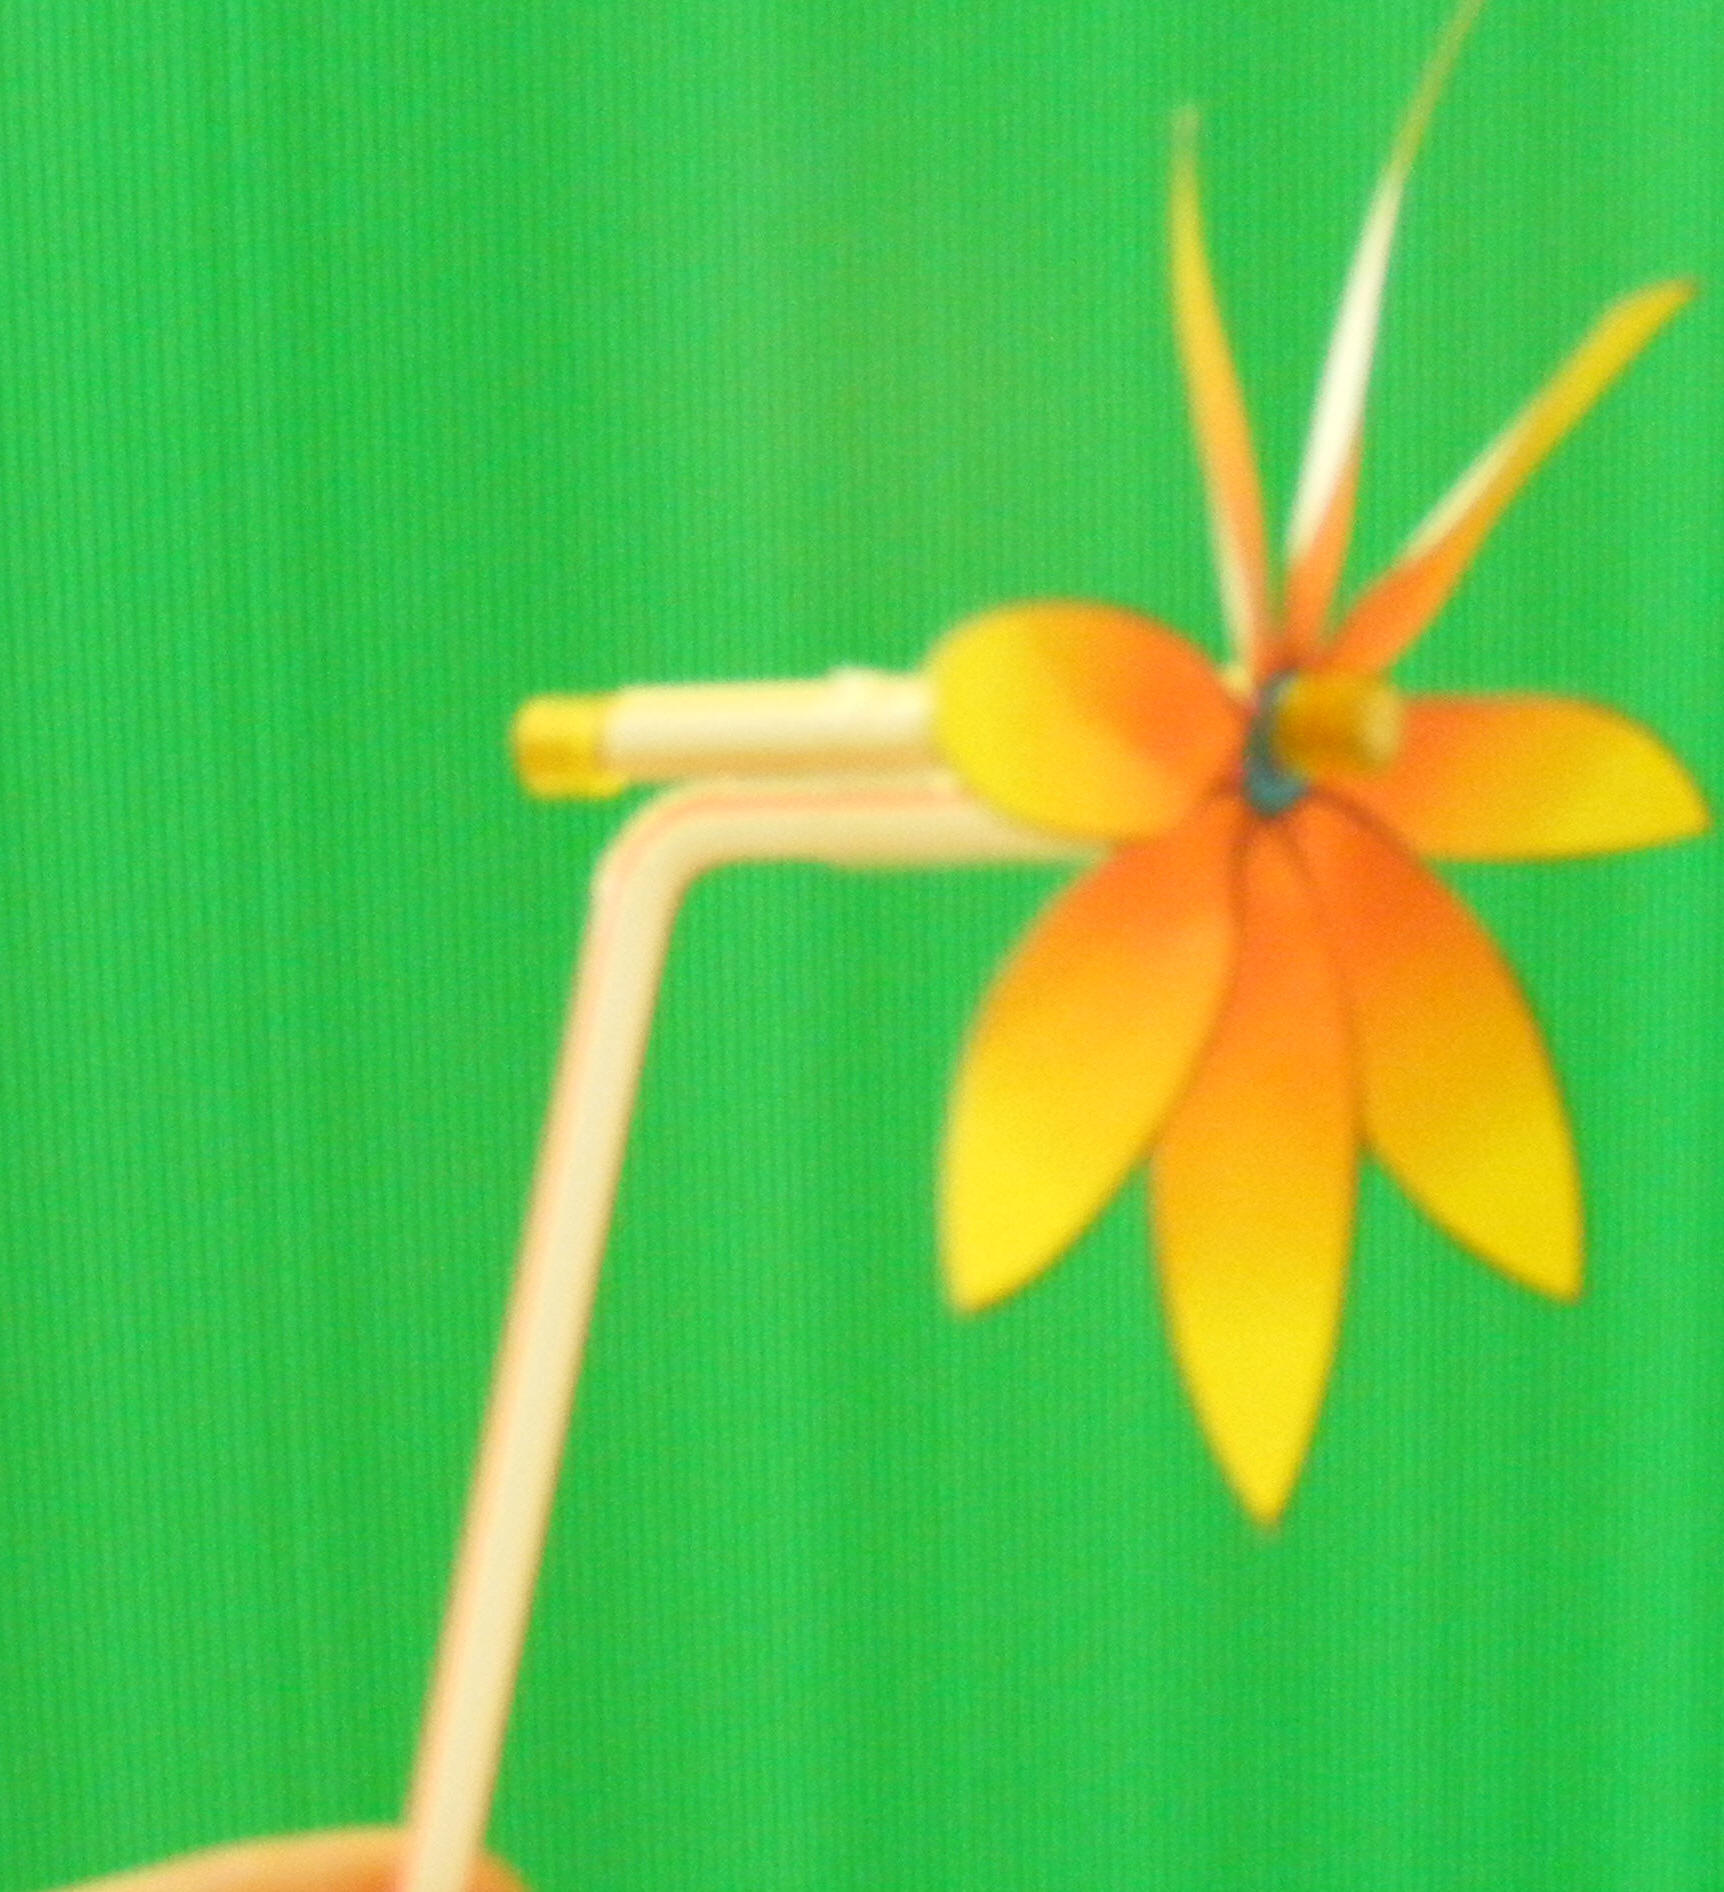
These flower windmills are a variation on the Colour Wind-Wheel and use the same combination of bendy and jumbo straw. Each 'petal' is bent over along one edge as before.
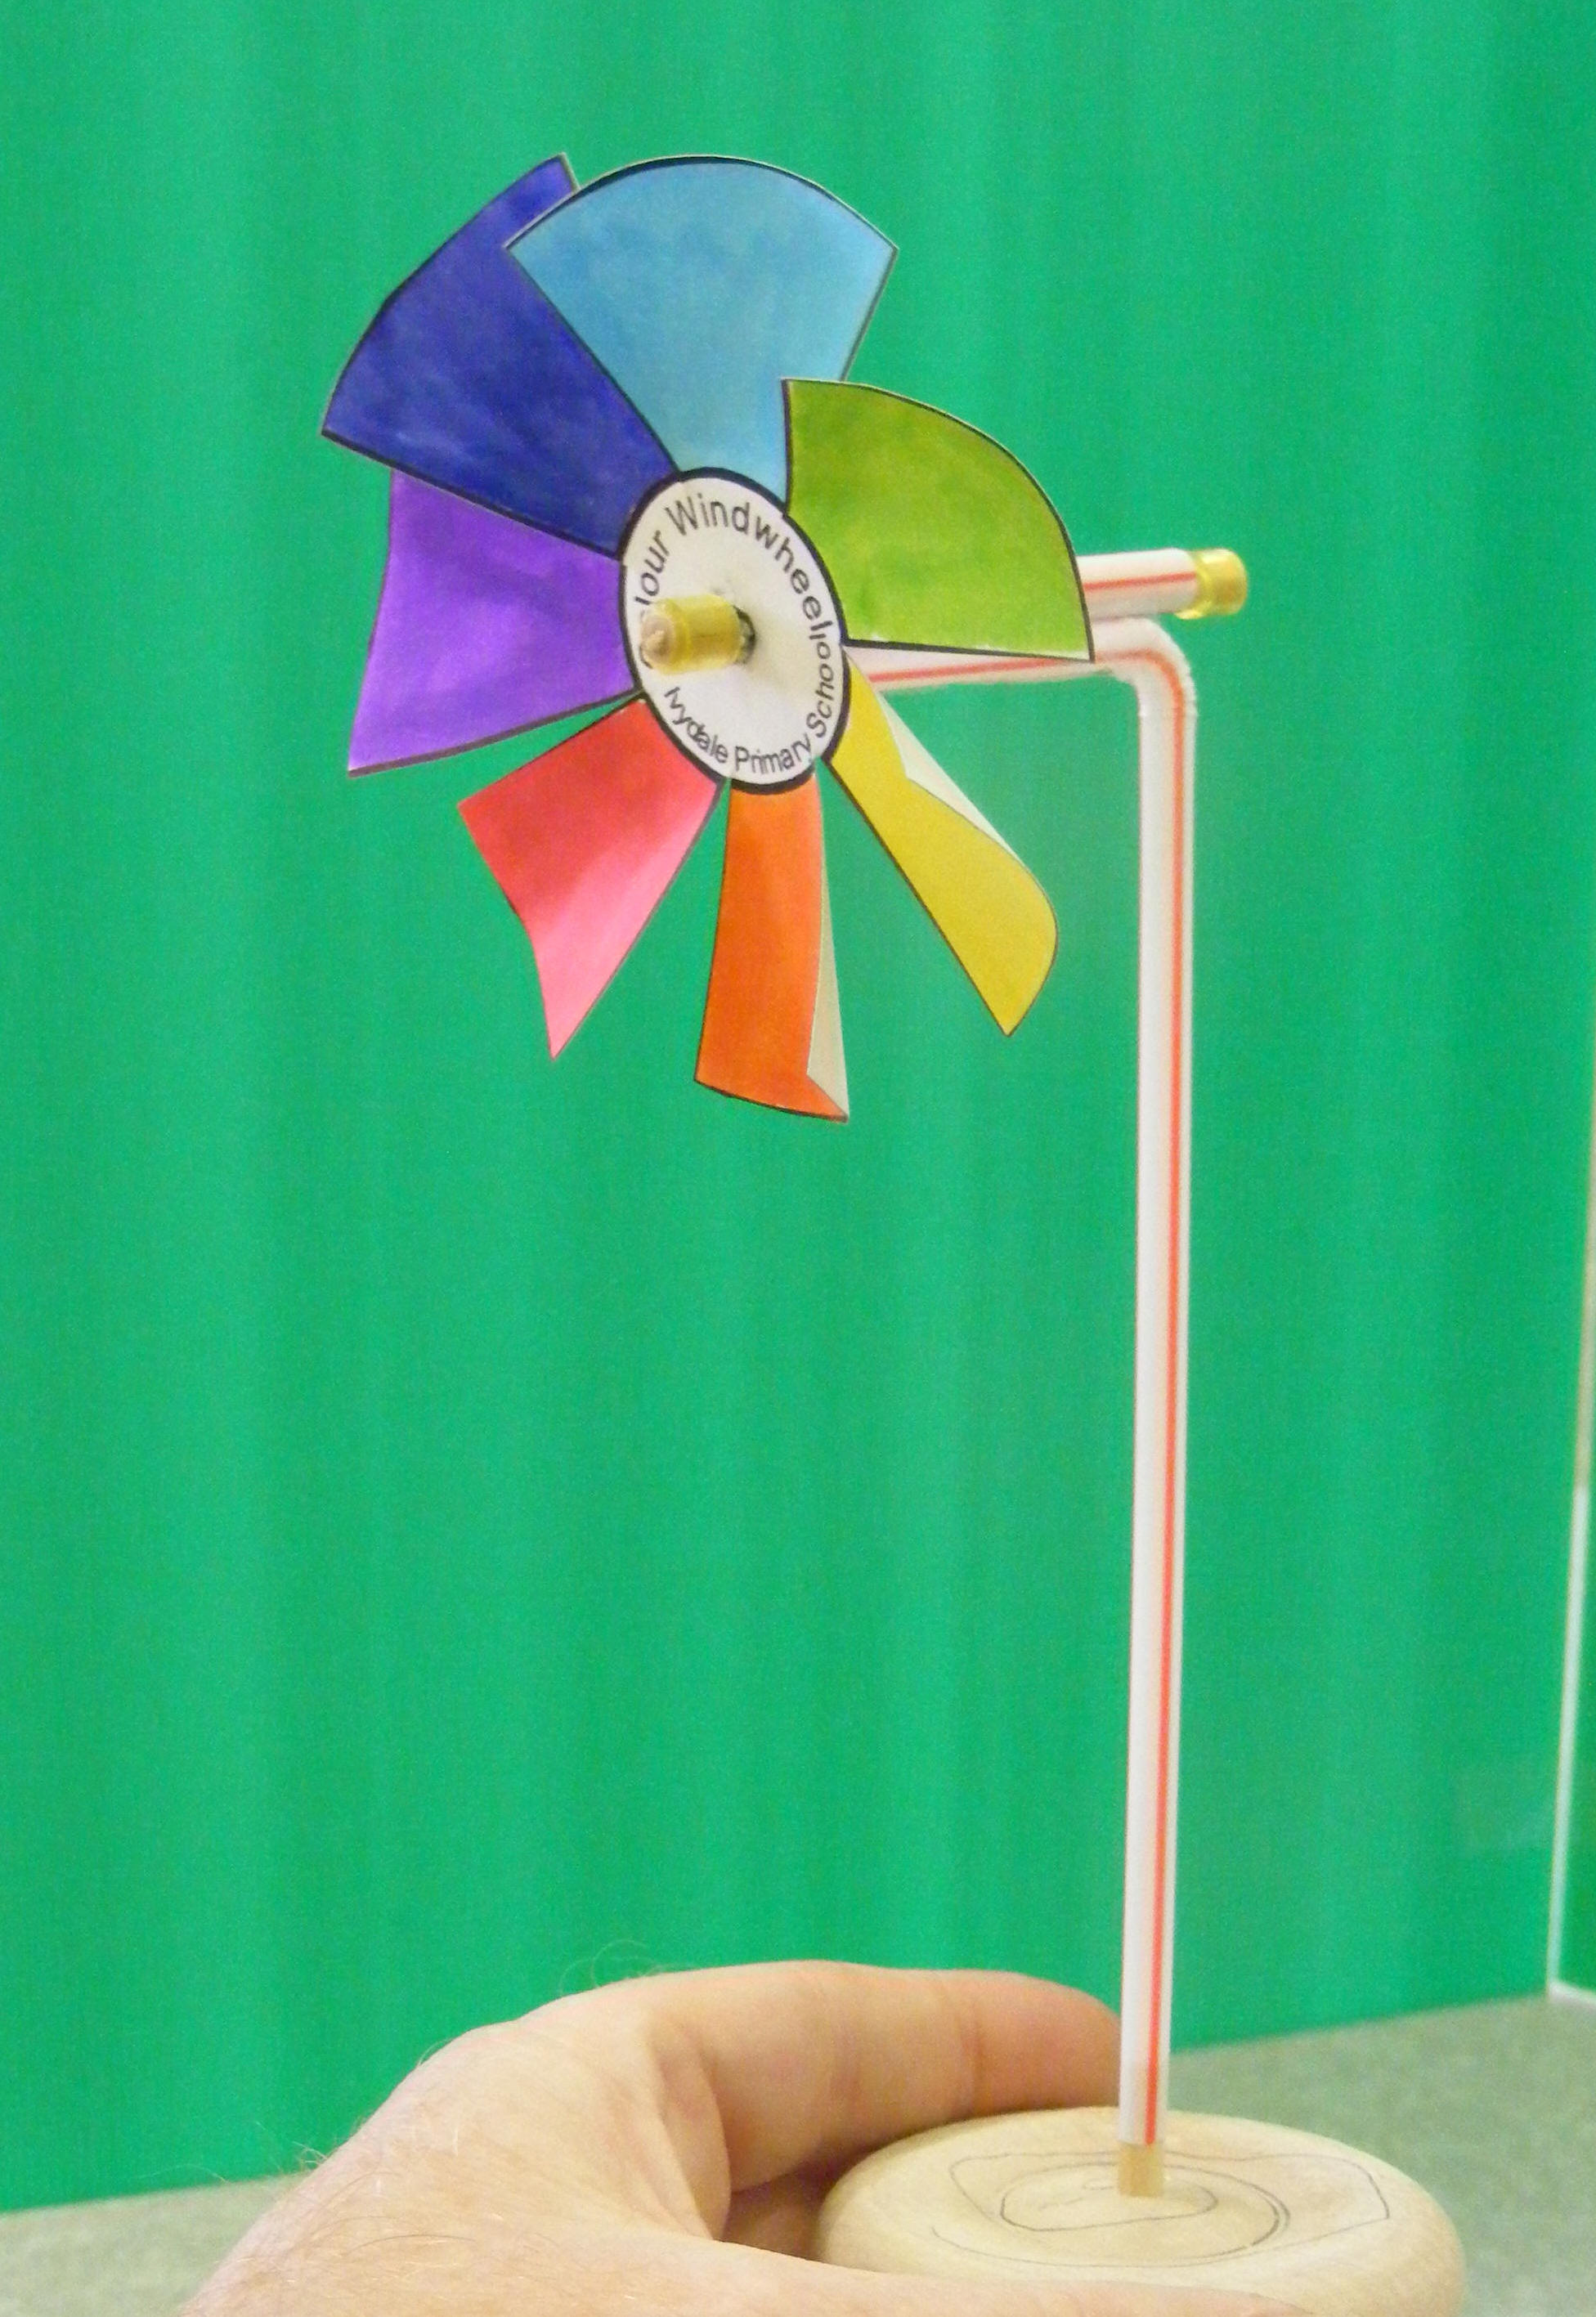
Sunflower Windmills:
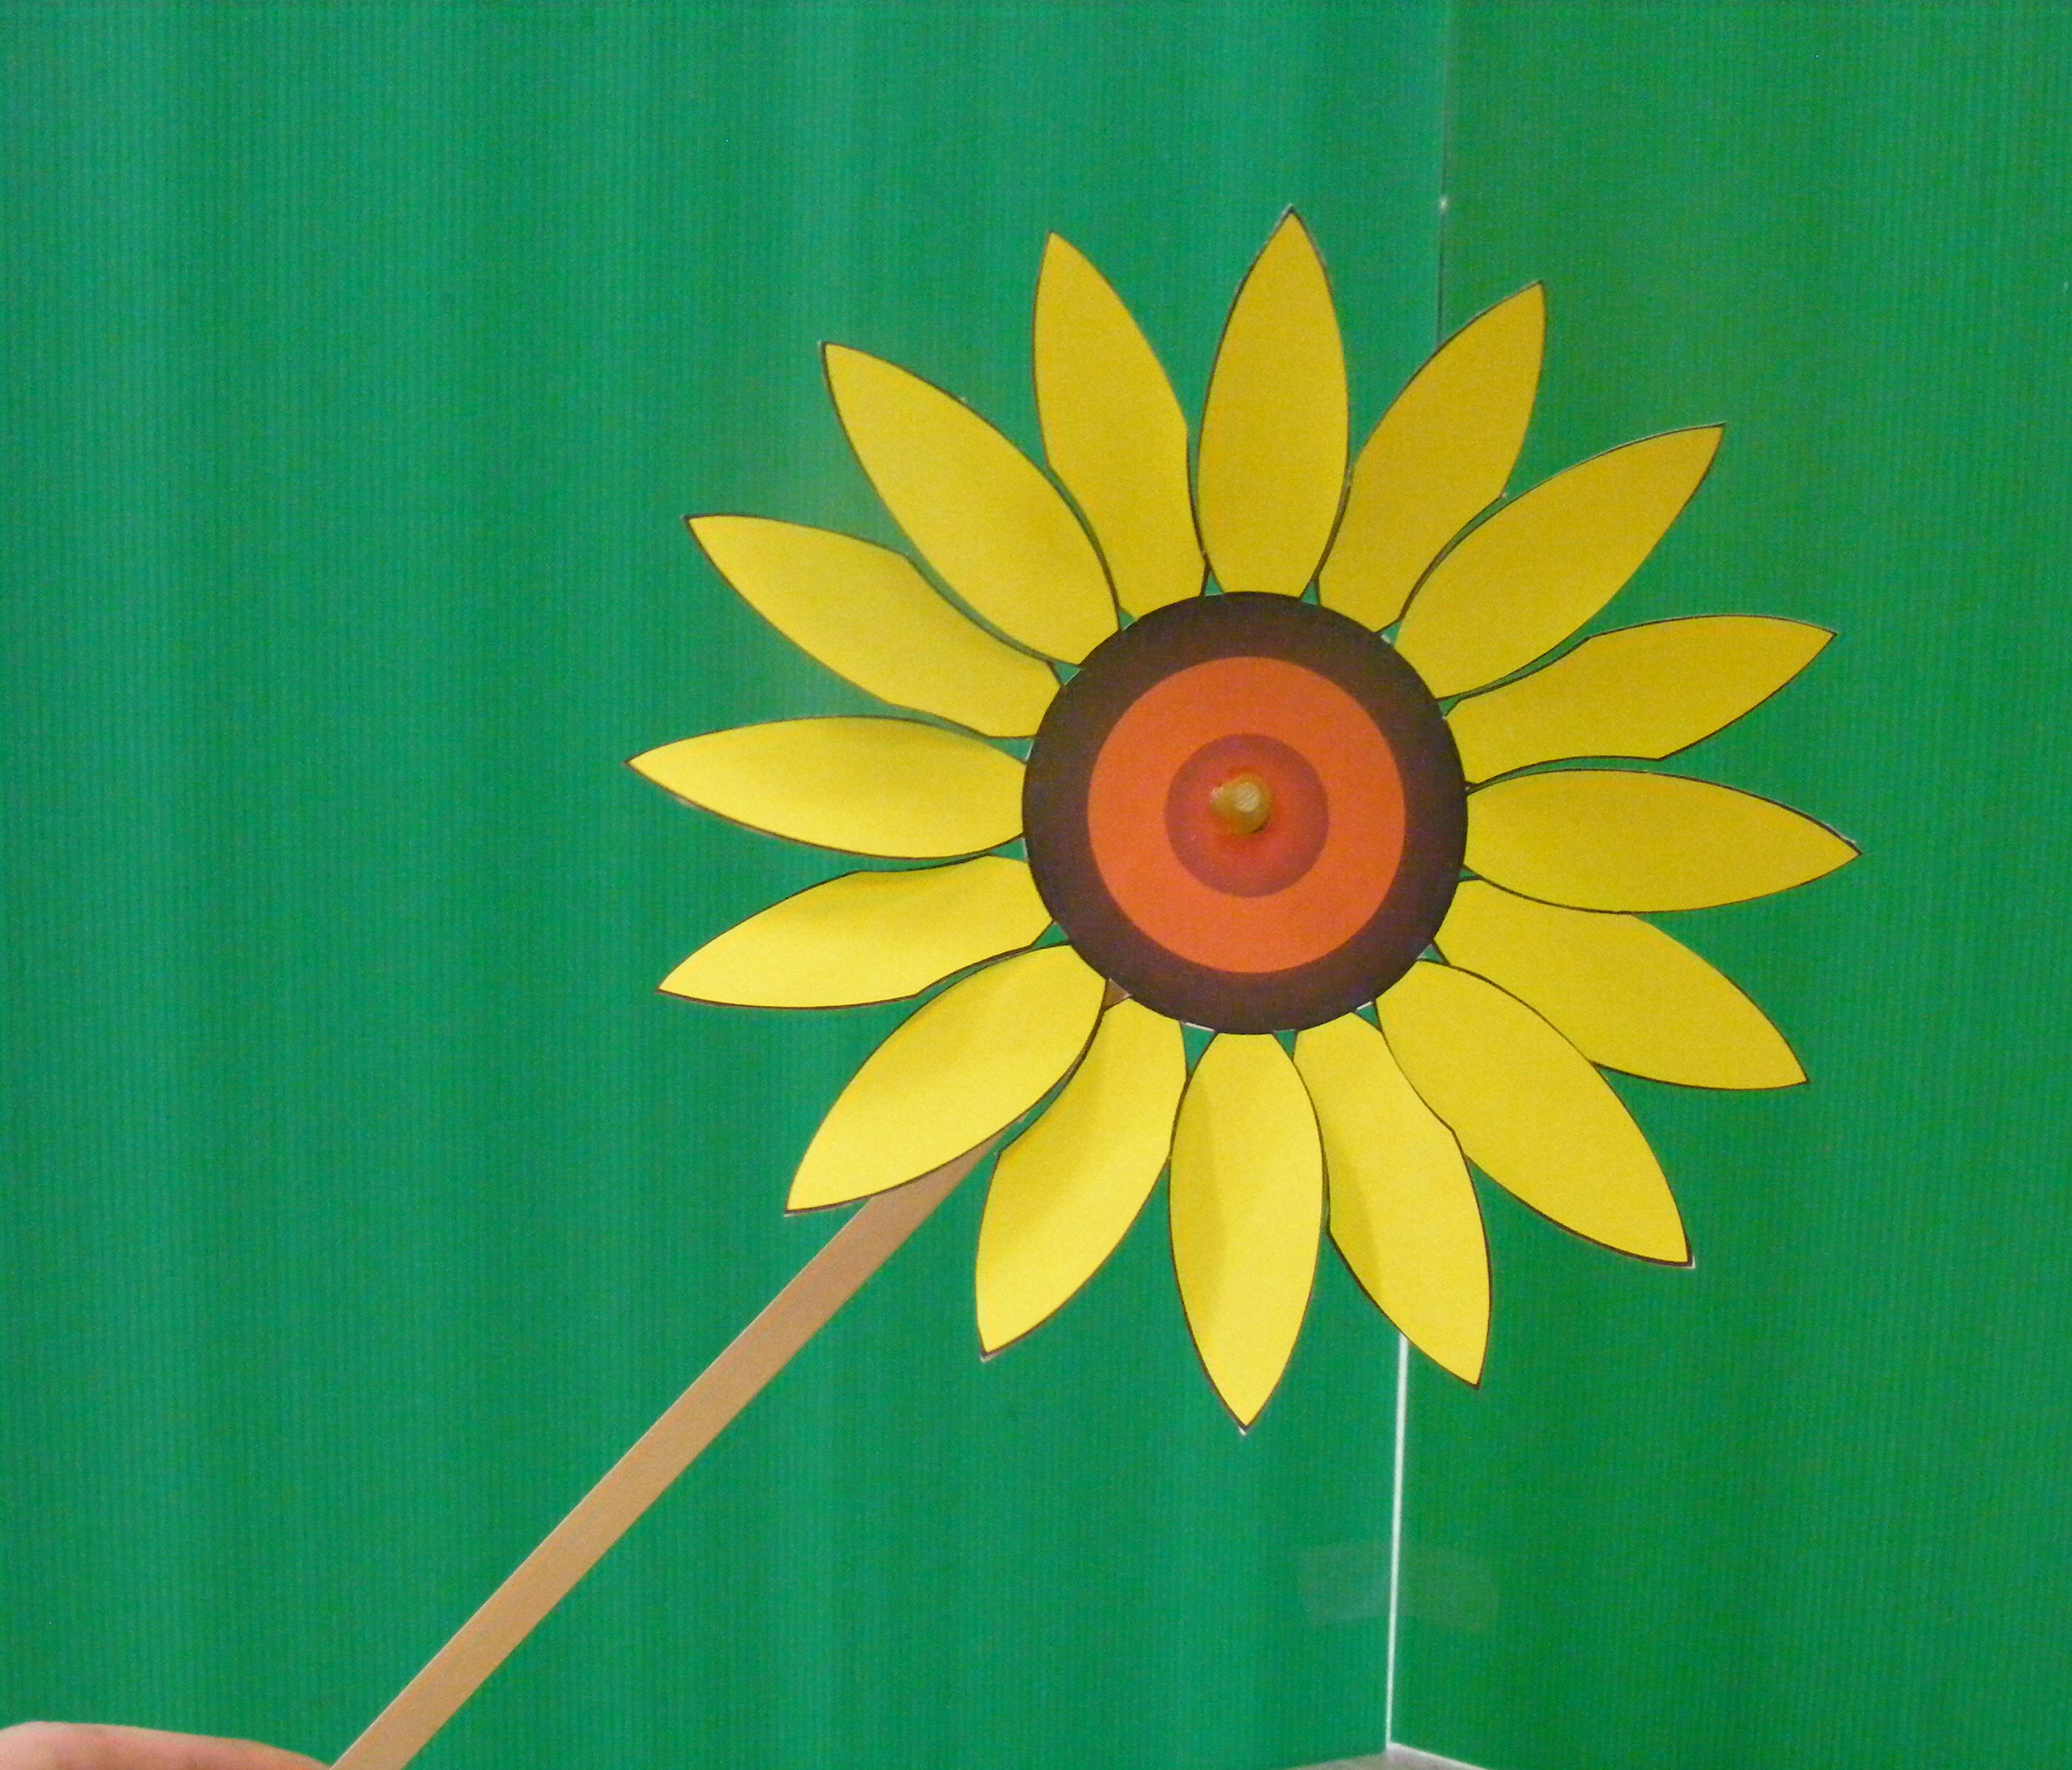

For this design I used two pieces of C100 square section wood to make the handle. Once again a piece of jumbo straw is used for the bearing - this time glued onto the top piece of wood. As before a small piece of PVC tubing is pushed onto the end of the axle (dowel) to secure it.
Plastic Bottle Windmills:
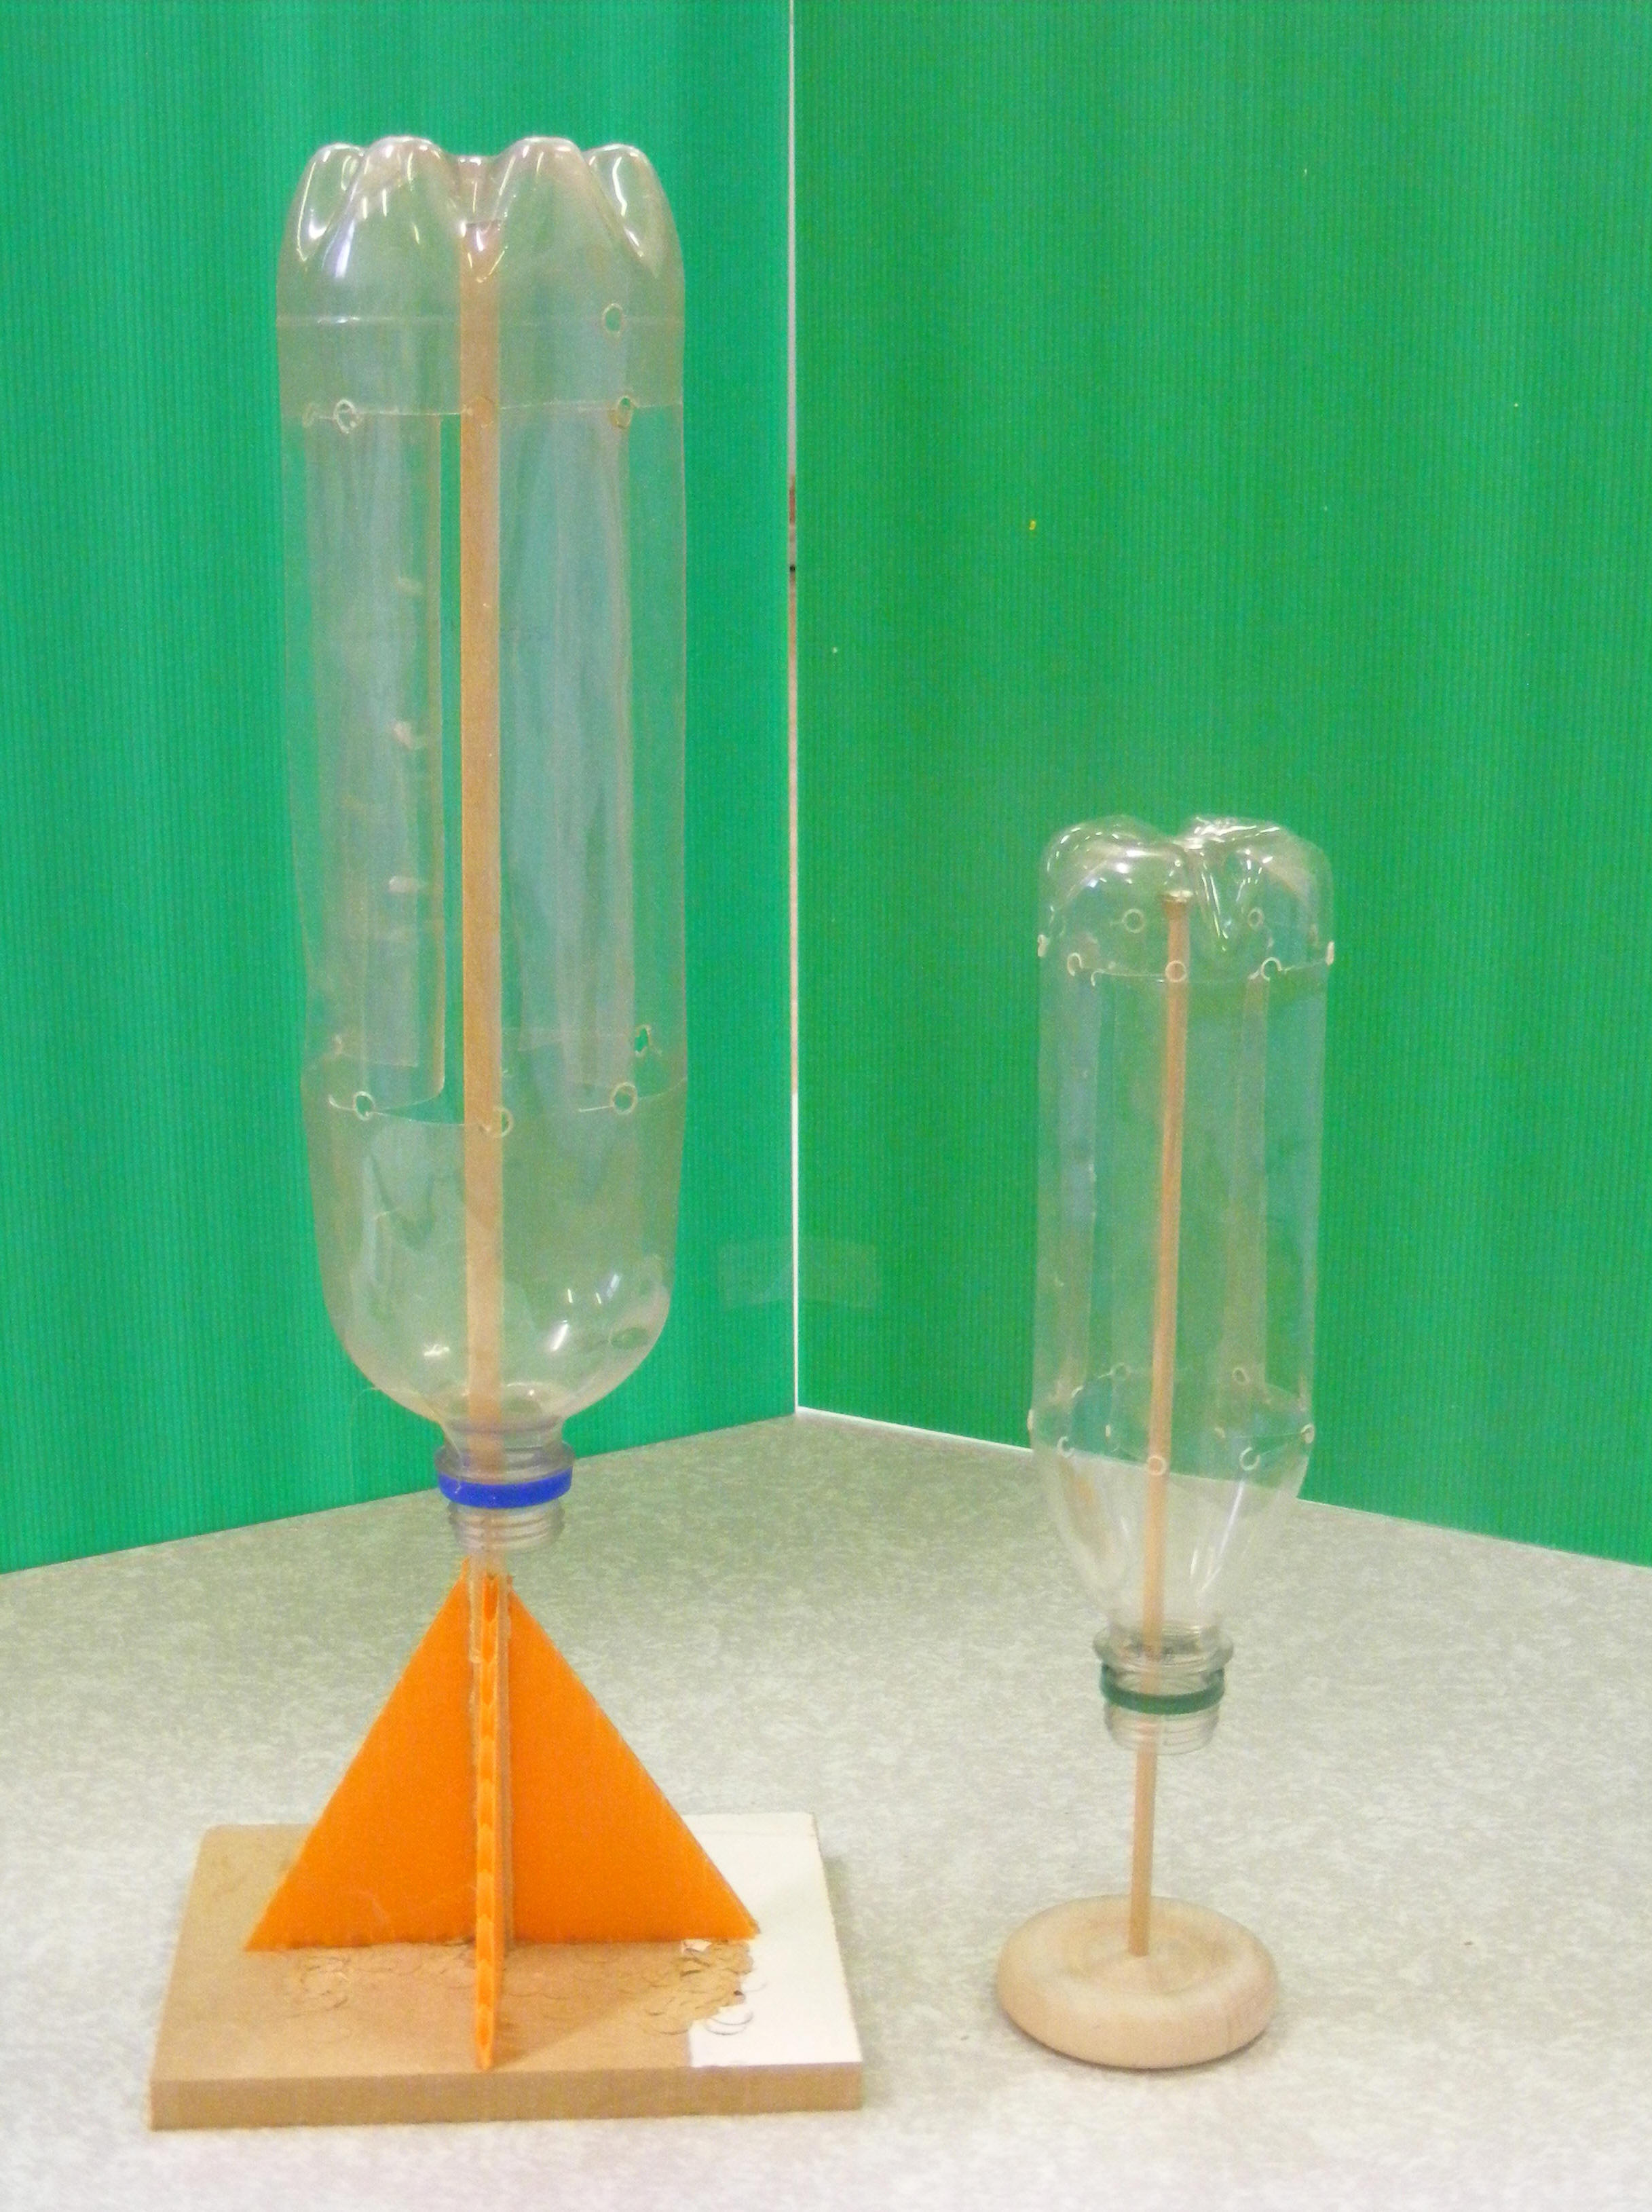

The windmills on the left have vanes cut out from the sides and bent INWARDS. An odd number of vanes seems to give better results than an even number. The central stick (C100) has a drawing pin stuck on the end to give a pinpoint bearing when the bottle is placed over it.
The centre picture shows a small bottle with vanes bent OUTWARDS and a large bottle with vanes bent INWARDS. This time they are hung via lengths of metal 'ball chain' - used for roller blinds.
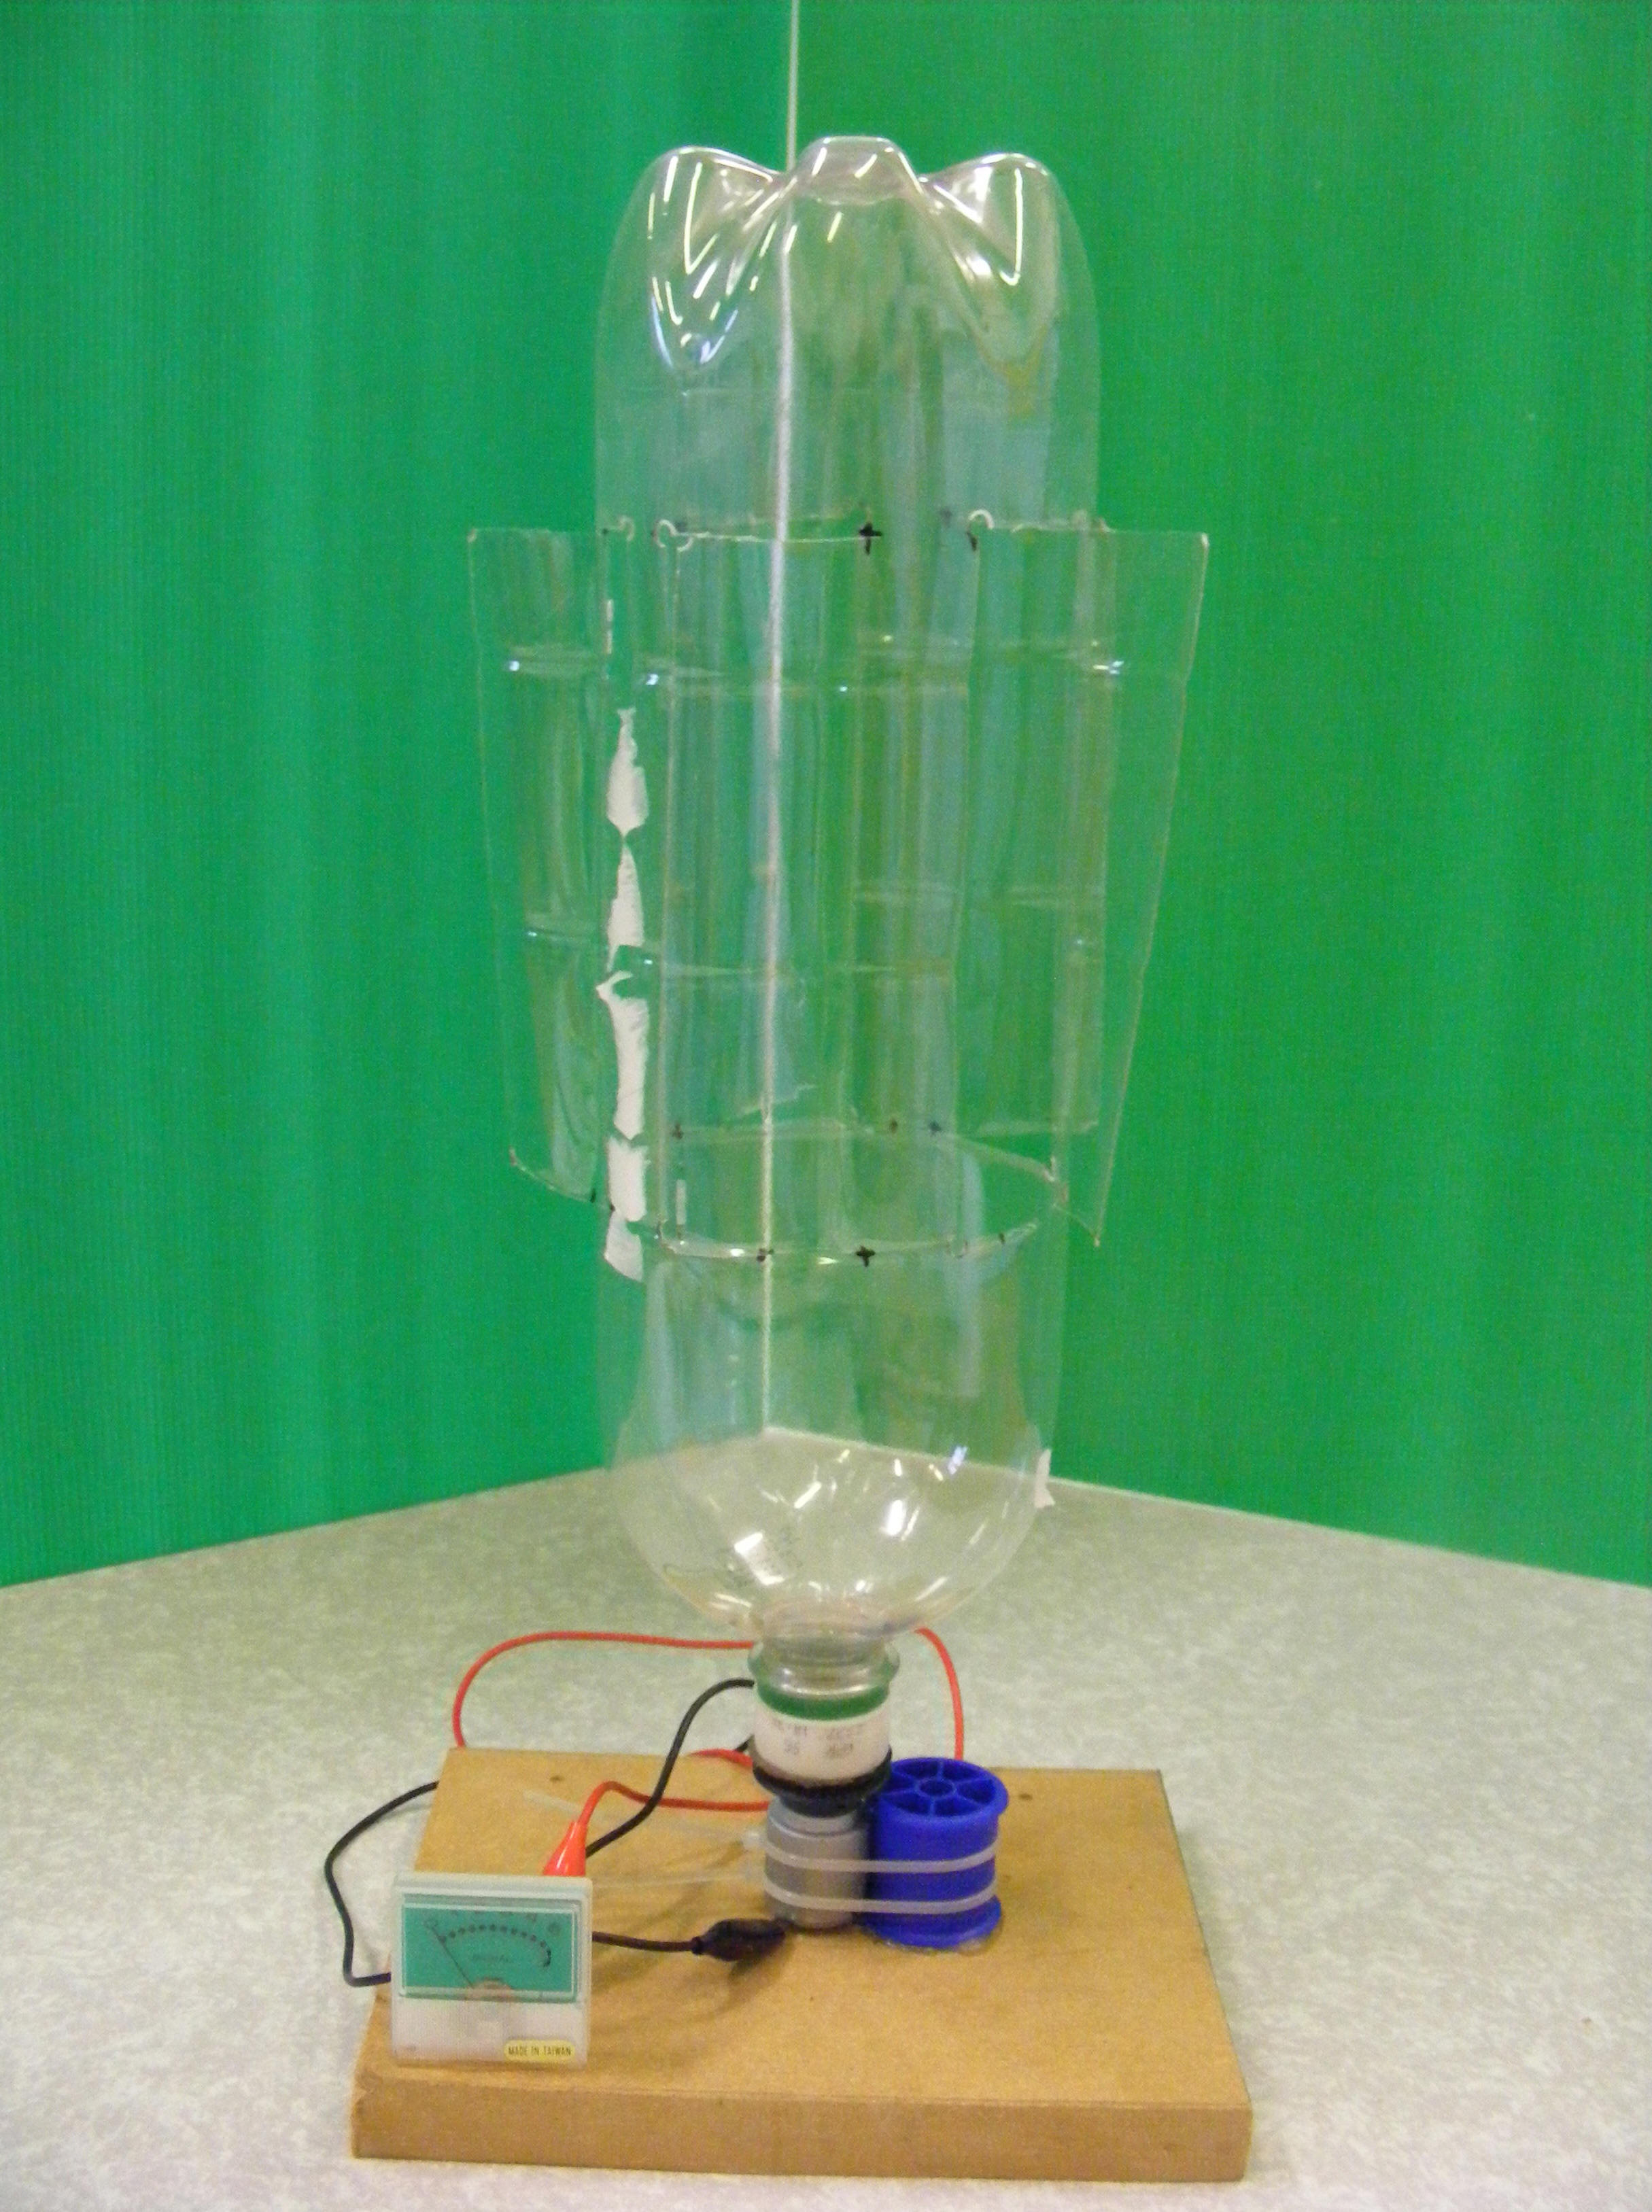
On the right is a bottle with vanes bent OUTWARD fixed to the shaft of a motor (E162). The motor is connected to a small meter (E210). When the windmill spins the motor generates a small amount of electricity which is indicated by the meter. Unfortunately the output is very small - not enough to light a bulb or even an LED.
Inwards or outwards? Which is best? I'm not sure.. but think the inward type is more elegant!
There are several videos available on YouTube which show how to make these bottle windmills.
Savonius Windmills (Rotors):

These windmills use a pair of curved vertical blades arranged opposite to each other. For best results overlap the blades in the centre of the windmill. They have the advantage of working in wind from any direction. They are used for small generators on boats, street (pavement) advertising signs and ventilators.
The large one centre left is made from a chart tube cut in half and two card disks (C125). A drawing pin is taped to the top disk and the pin balances on the end of a length of 5mm wood dowel which is thread through the windmill to form a pinpoint bearing. The colour wheel has two pieces of curved plastic cut from packaging glued onto its axle. The green savonius rotor is connected to a motor (E162). When a motor is spun electricity is produced - you've 'turned it' into a dynamo. The motor is connected to a meter which displays the (very small) amount of electricity produced.
A Paper 'Pinwheel' Windmill:


These windmills have an axle made from a piece of straight bendy straw running in a slightly longer piece of jumbo straw taped on to top of a bendy straw. The bendy straw is extended by taping on a jumbo straw (see Colour Wind-wheels and Flower Windmills earlier). The axle is held in place by small pieces of split PVC tubing pushed onto the axle.
Giro-Mill:
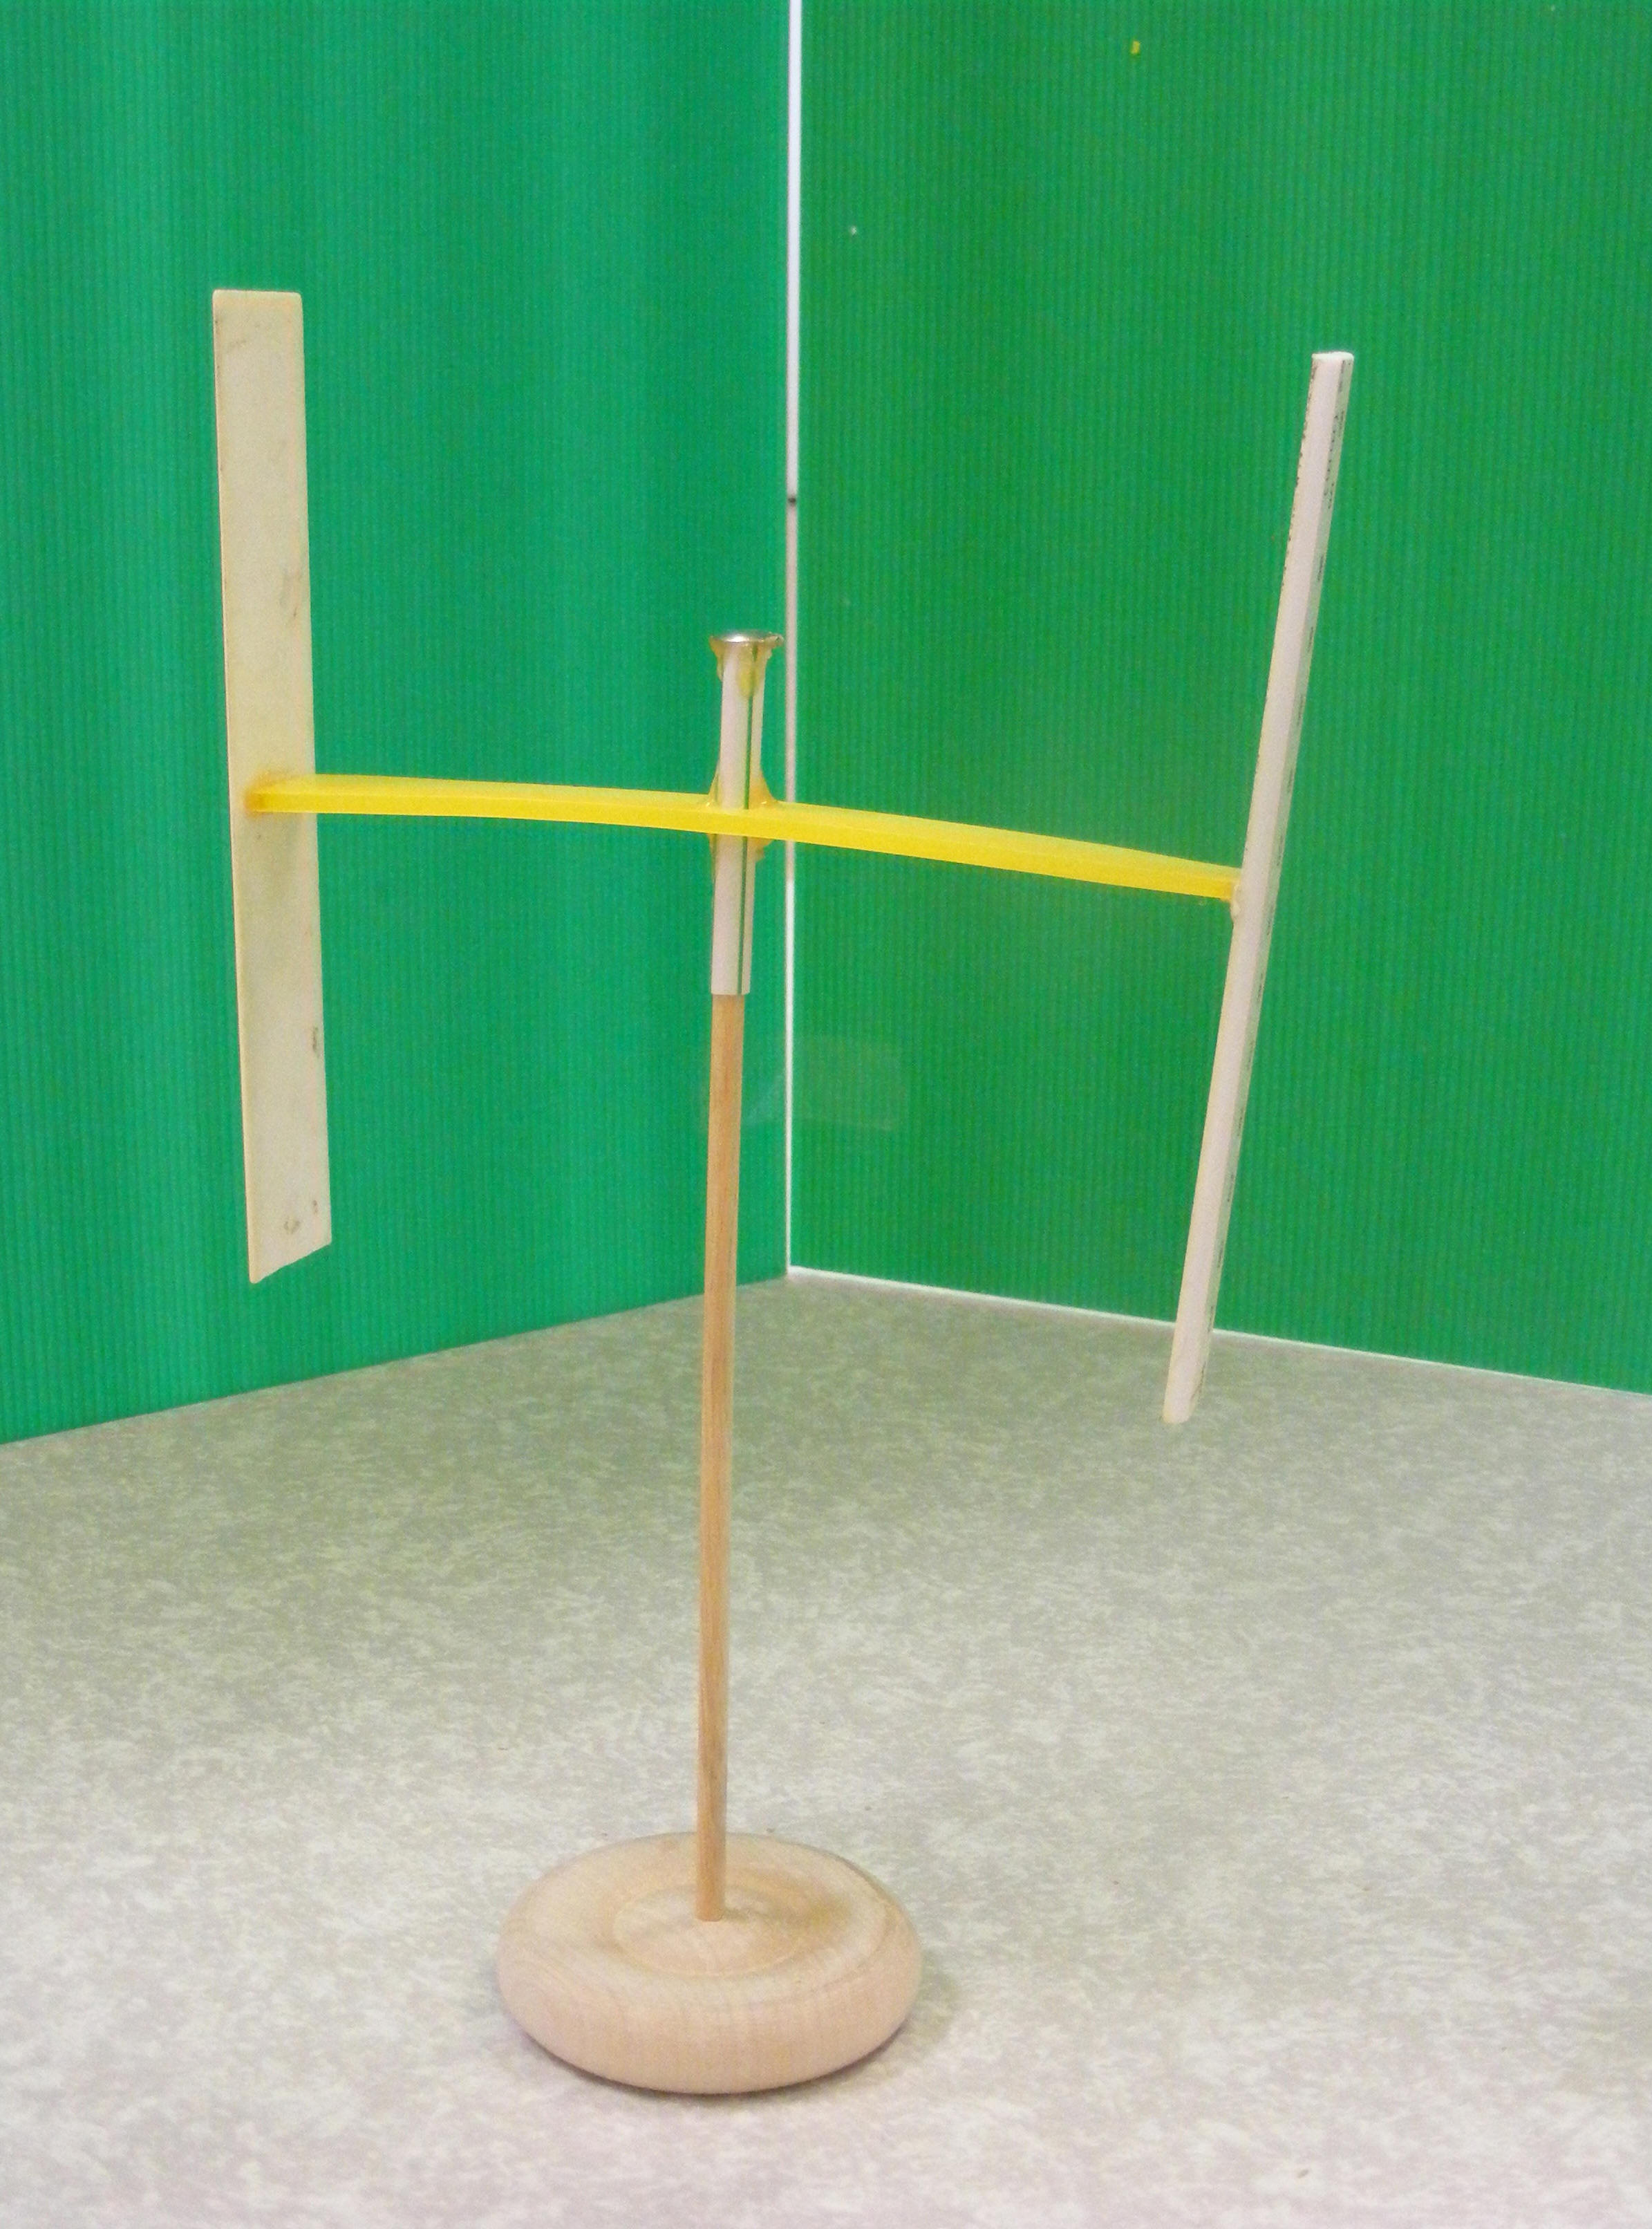
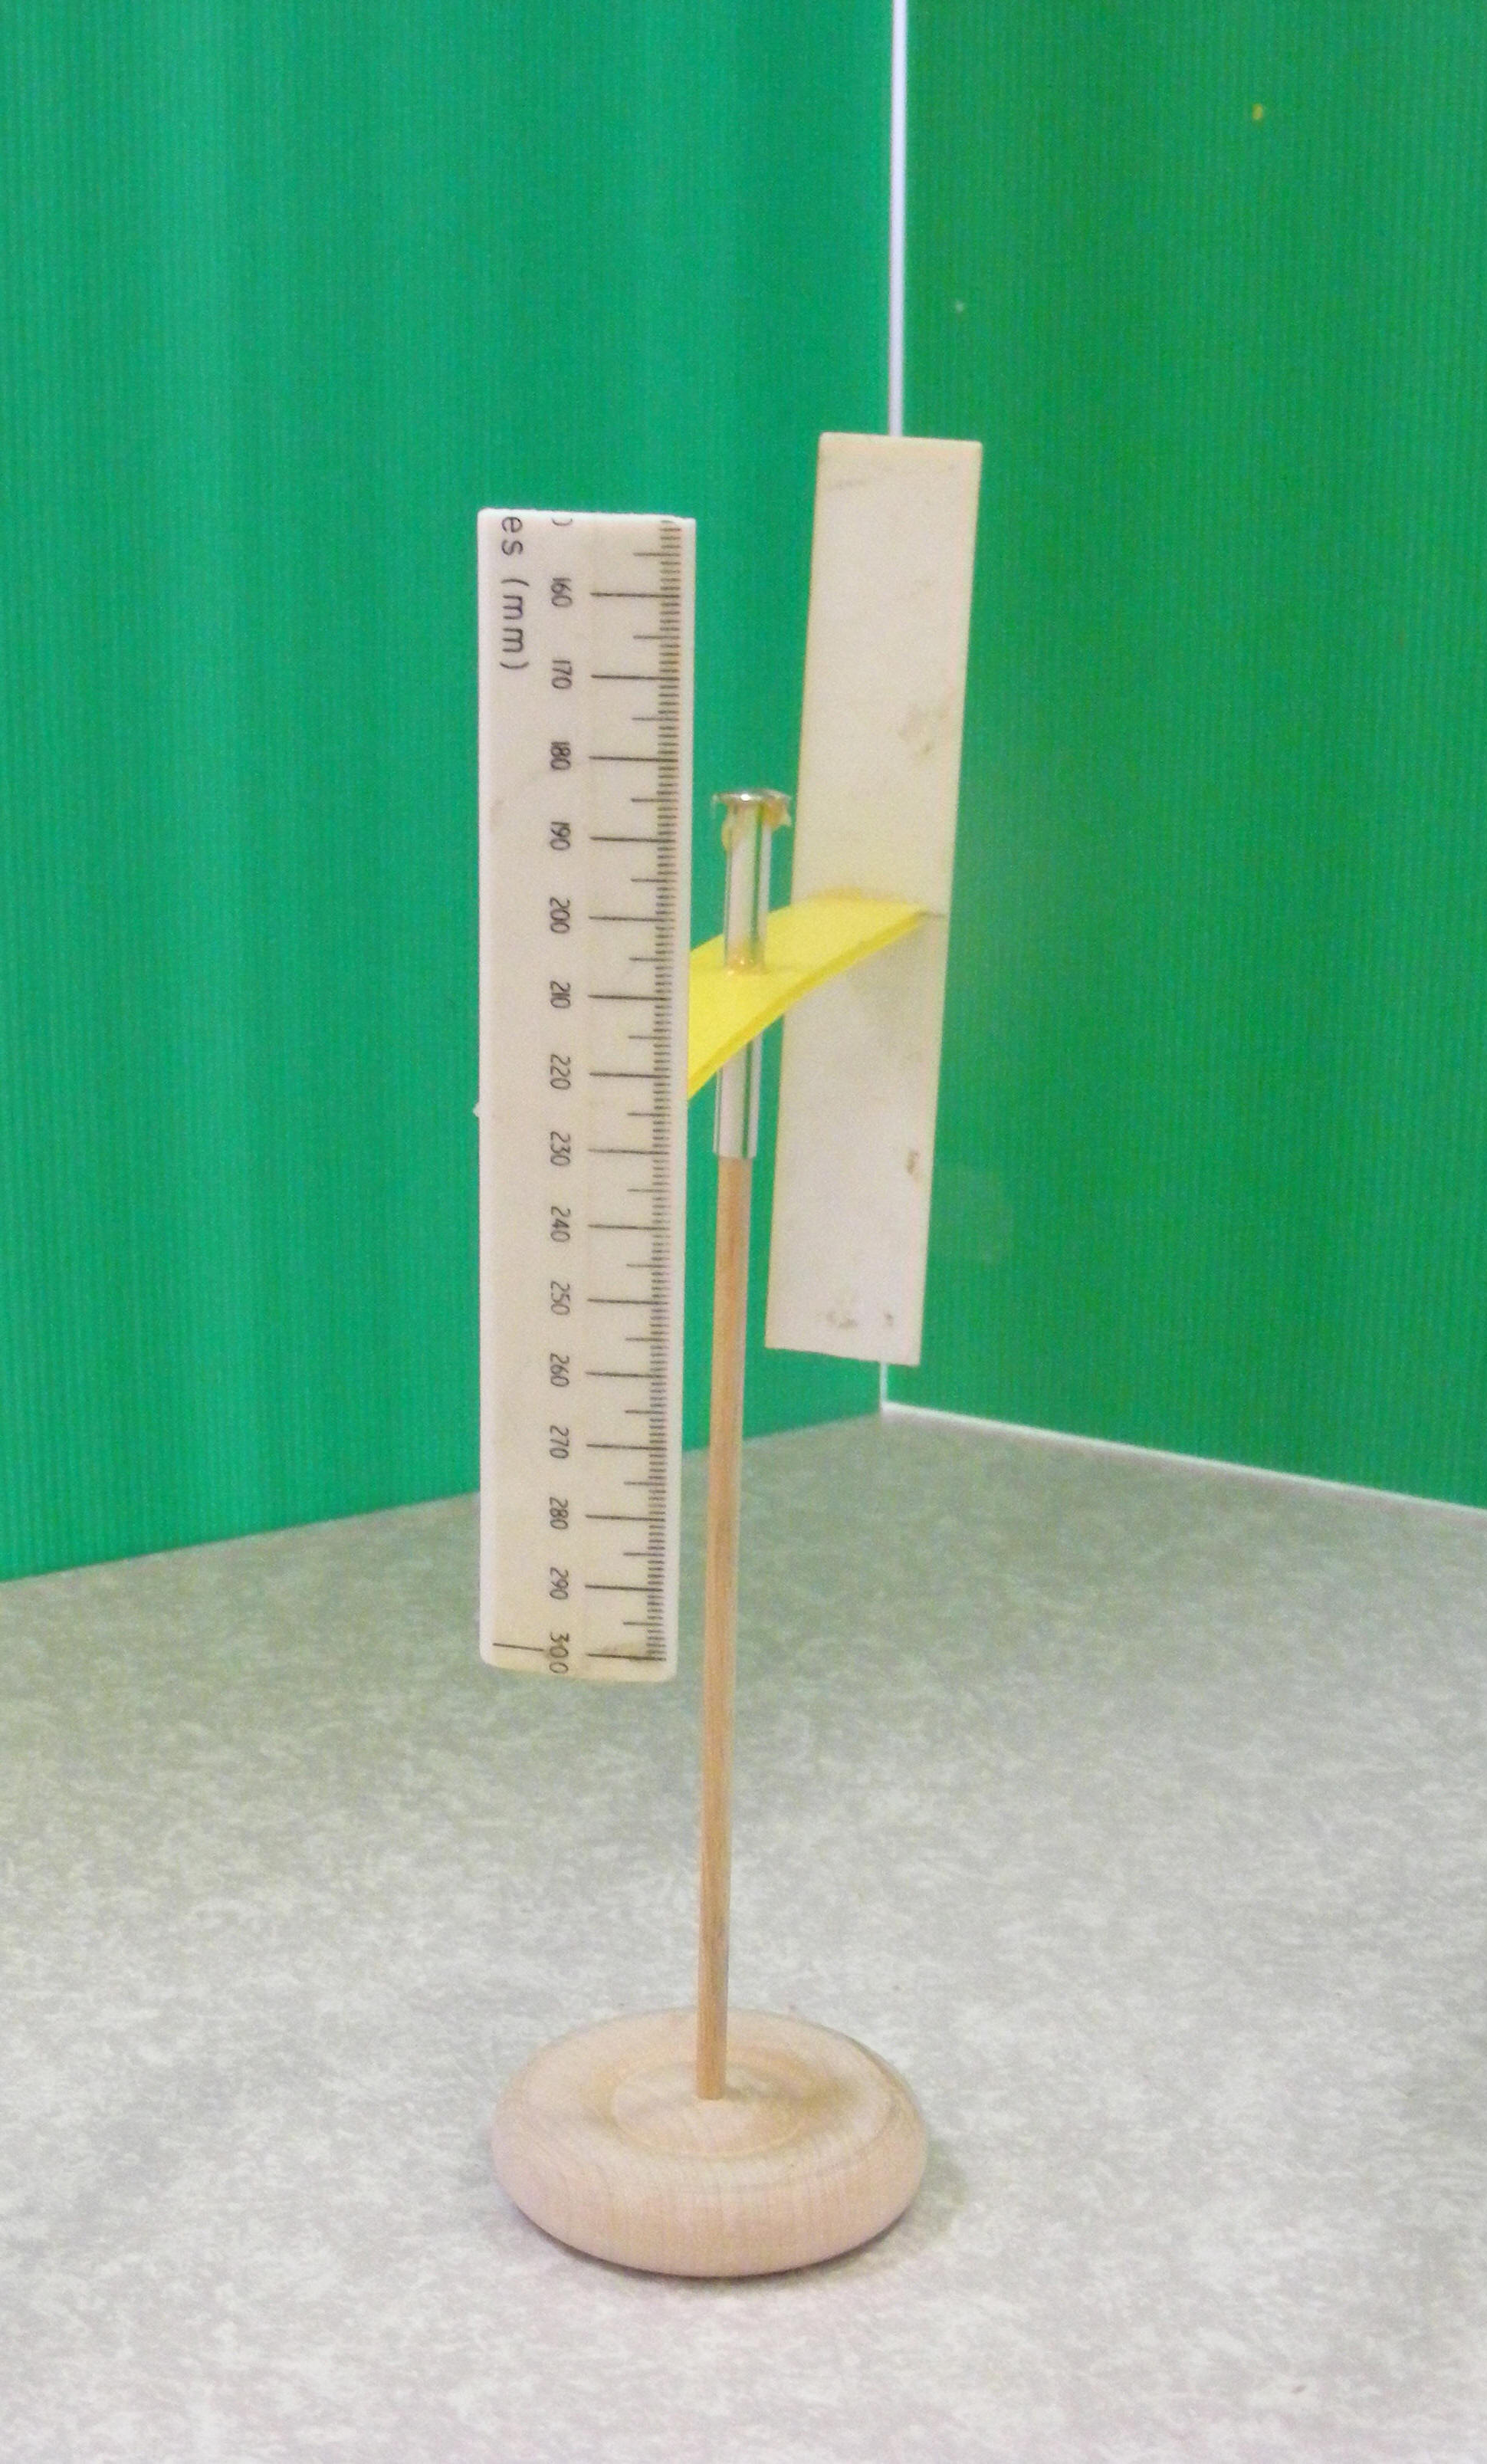
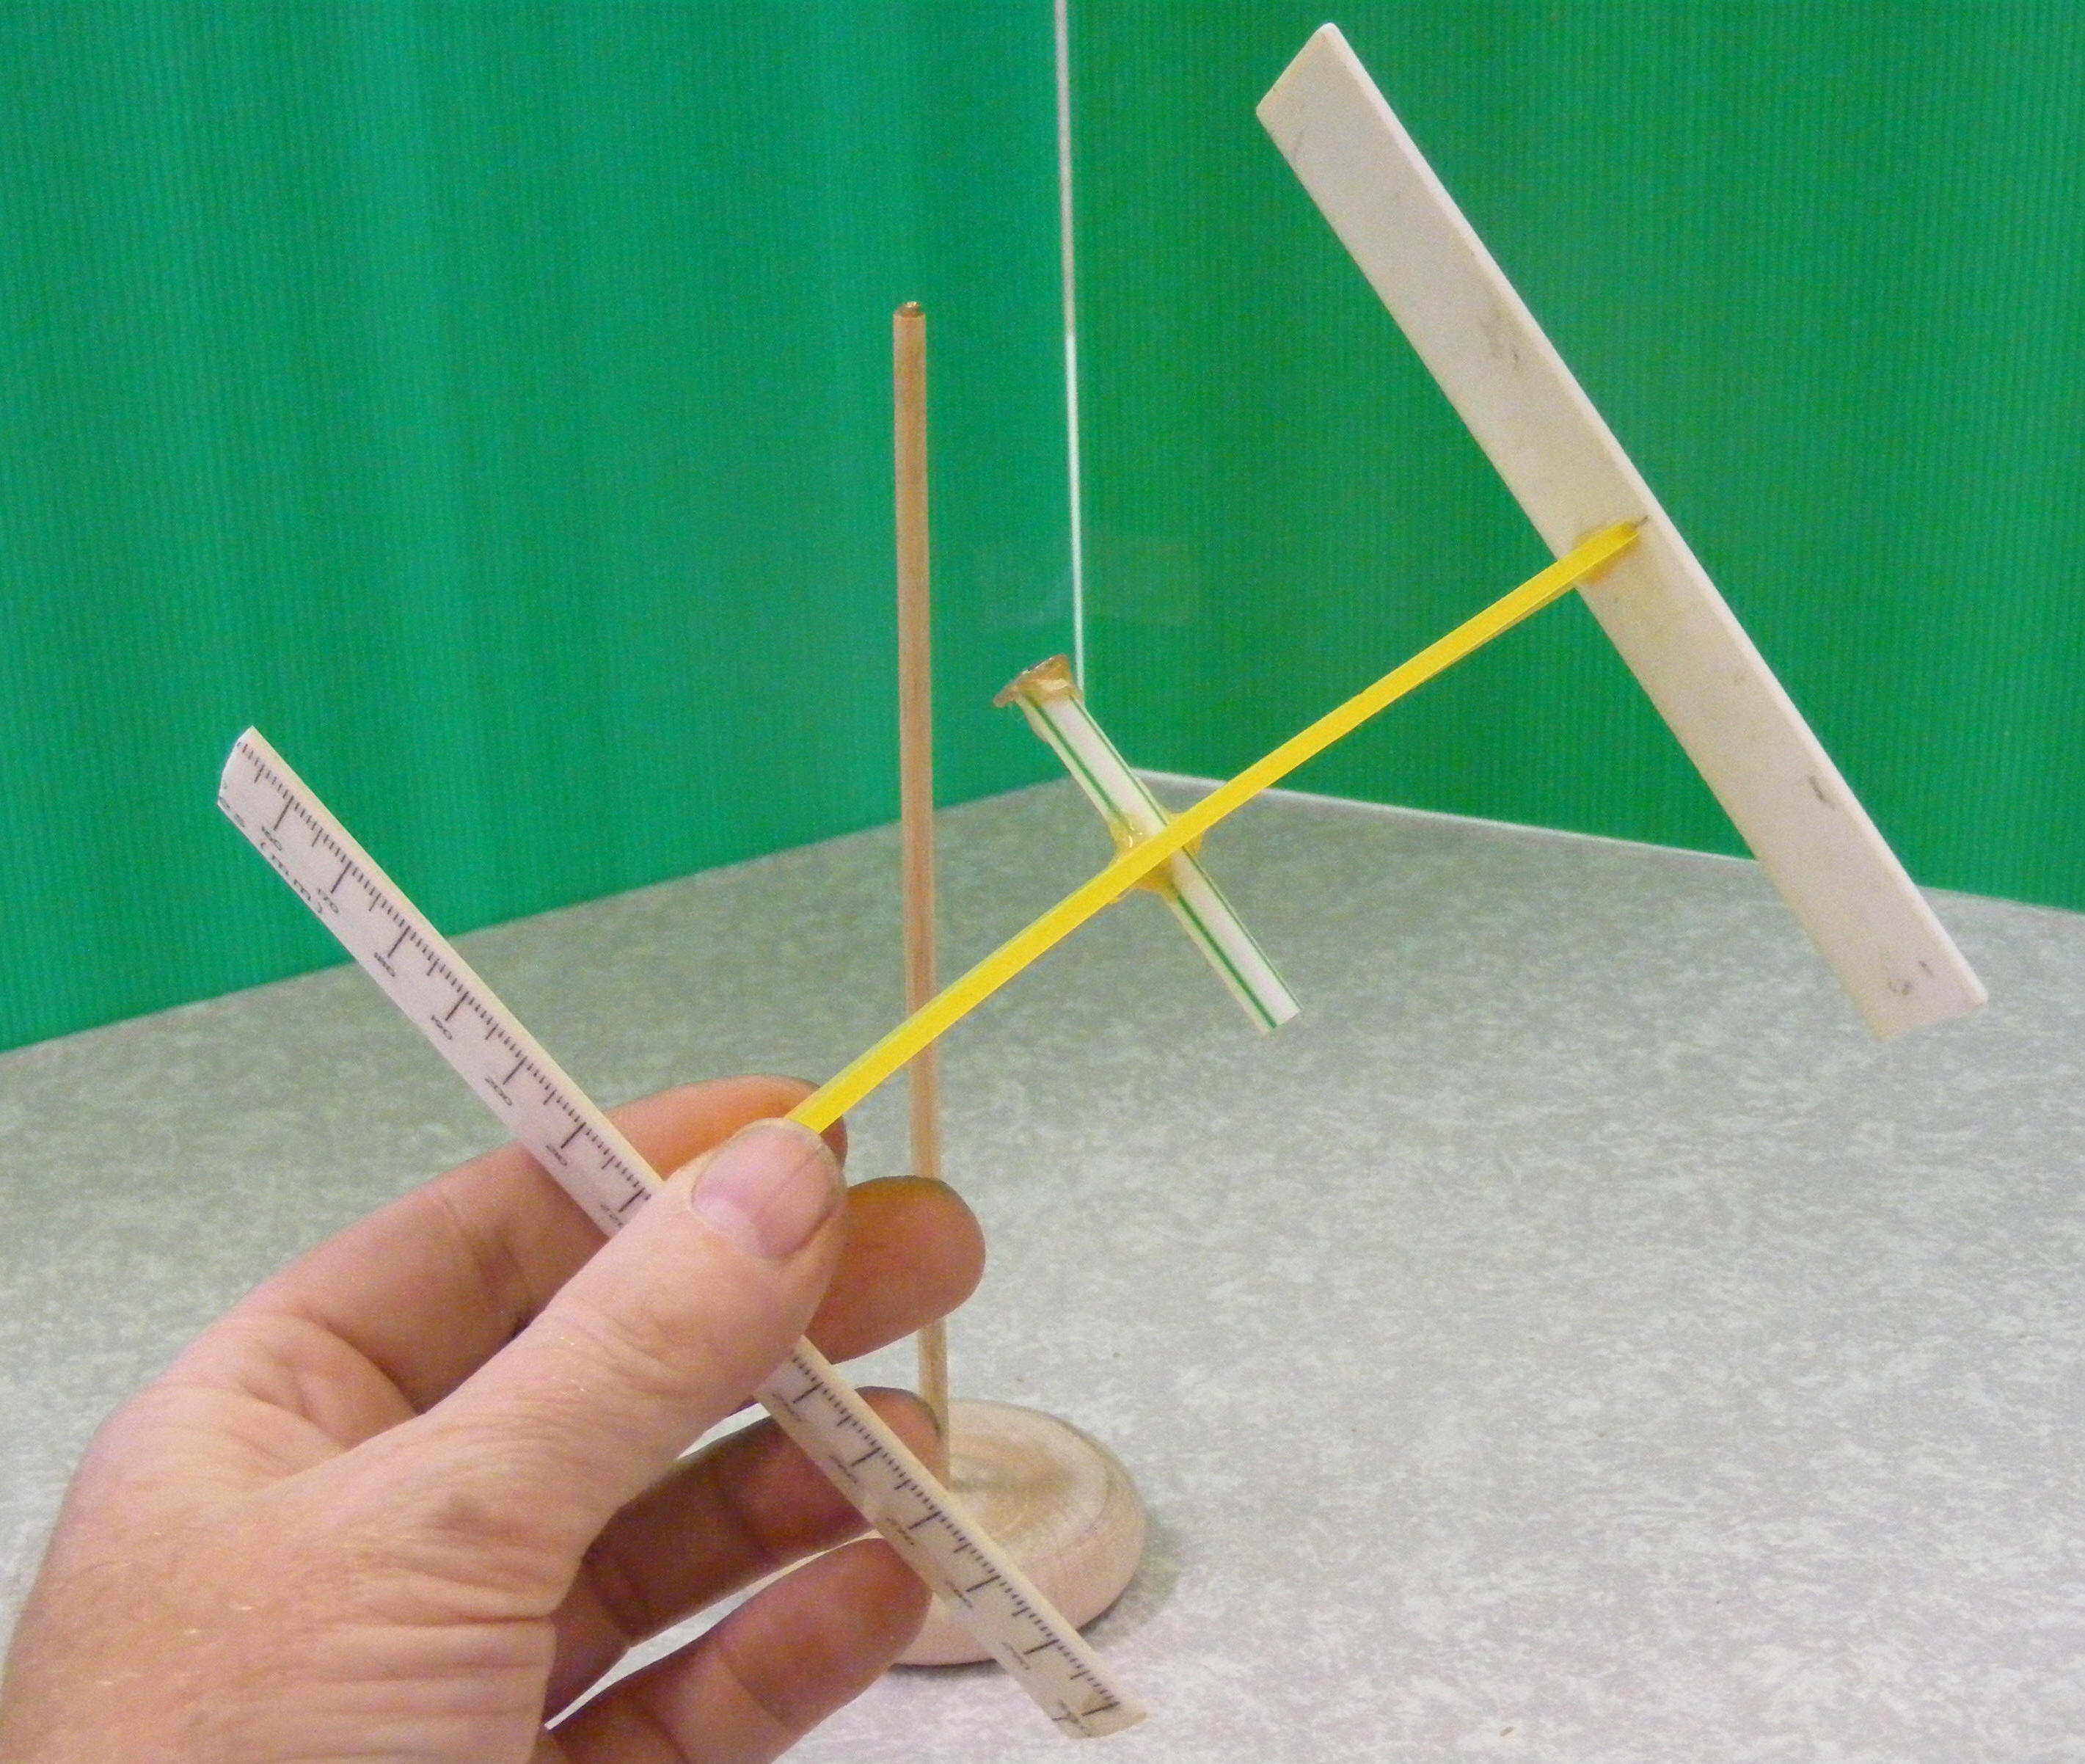
This unusual design is another that will work in wind from any direction but the model needs a fairly strong wind and a push to get it going. Its uses two vertical aerofoils (like the wings on an airplane). I've seen a 'real one' on the roof a a branch of B&Q near New Malden! Another variation has curved blades coming together at each end - this is called a Darrieus Rotor.
I've used a plastic ruler - the type that's thicker along one side than the other - cut in half. I used a sanding block (T250) to smooth off the edges to make a nice aerofoil profile - this only took a few minutes. A strip of correx is used to link them with short piece of jumbo plastic straw fitted through the middle. MAKE SURE ONE BLADE HAS ITS NARROW LEADING EDGE FACING YOU AND THE OTHER HAS ITS BLUNT EDGE FACING YOU. Make sure its well-balanced. A drawing pin is carefully glued to the top of the straw to make a pinpoint bearing onto the end of a piece of wood dowel (C093 or C095).
Windvanes:
Hopefully these pics explain themselves. The last two designs uses C100 square section wood handles with small pieces glued on behind each windvane as spacers. A drawing pin is pushed into them. The spiral windmills have blades twisted to make one spin clockwise and the other anti-clockwise.
I hope I've inspired you to have a go and make windmills.
If you are in M25 area you can book my Windmills D&T workshop for your school; details here.